Wide-leg pants are the epitome of effortless chic, offering comfort and style in equal measure. But the thought of tackling their construction often feels daunting, particularly the seemingly complex process of aligning side seams. What if I told you there's a simpler, faster way? This tutorial will guide you through creating beautifully flowing wide-leg pants without the fuss of traditional seam construction – eliminating the side seams entirely! Forget fiddly measurements and complex fitting adjustments; this pattern relies on a clever design that prioritizes ease and speed.
These effortless wide-leg pants are perfect for beginner sewers and seasoned pros alike, offering a satisfyingly quick project with impressive results. You'll learn how to create a comfortable, stylish garment using a minimal number of steps and a straightforward pattern. Ready to ditch the side seams and embrace the ease of wide-leg perfection? Let's dive into the step-by-step sewing instructions.
Preparation and Safety Guidelines
- sewing machine
- fabric
- pinking shears or serger
- elastic
- fabric pen
- measuring tape
- pins
- iron
- ironing board
- Always use sharp fabric shears to ensure clean cuts and prevent fraying. Dull shears can cause uneven cutting and potentially injure you.
- Be mindful of your fabric's drape and weight when choosing your pattern size. Heavier fabrics may require adjustments to the pattern to avoid excess bulk.
- Before using your sewing machine, ensure the needle is the correct size and type for your fabric to prevent skipped stitches or broken needles.
Step-by-Step Instructions
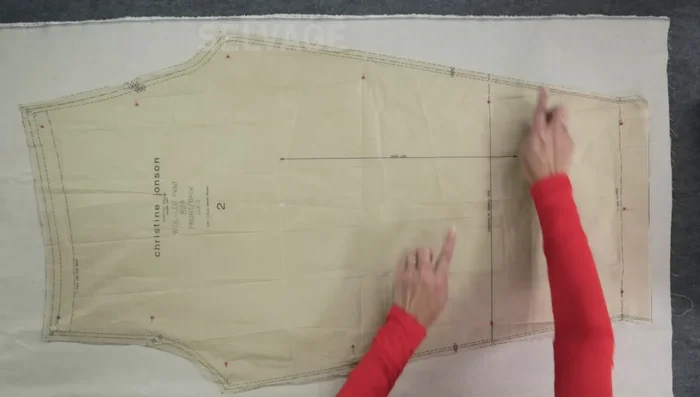
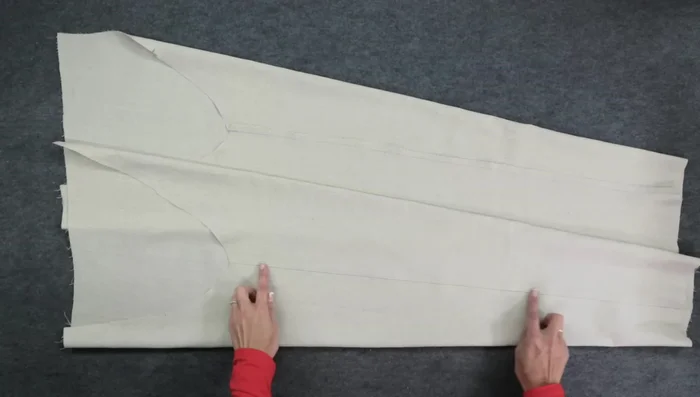
Cutting and Joining Pant Legs
- Cut out the pattern piece, aligning the grain line with the fabric's grain line.
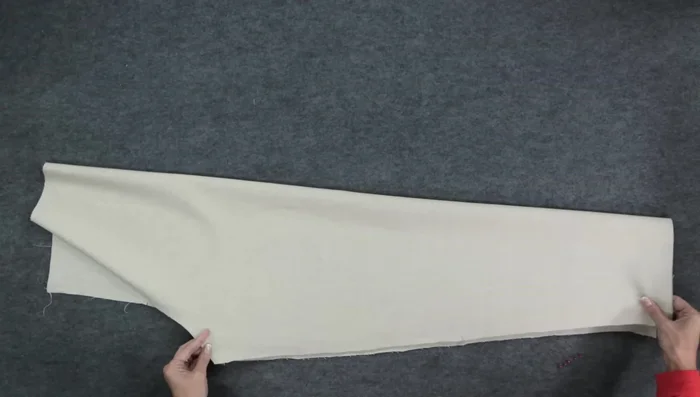
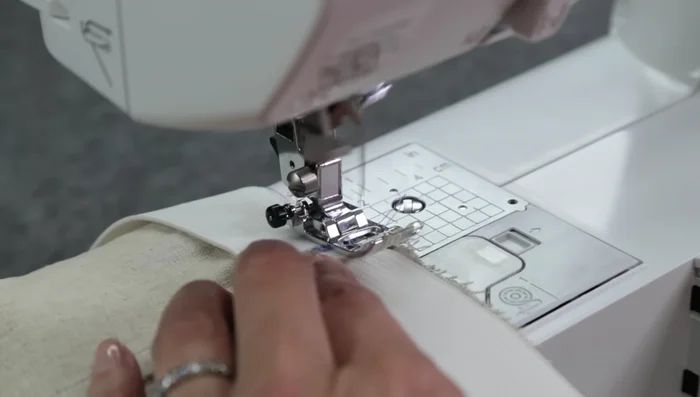
- Stitch the inseam, with right sides together, aligning notches and using a 5/8 inch seam allowance.
- Finish the seam allowances (pink shears, serger, zigzag stitch).
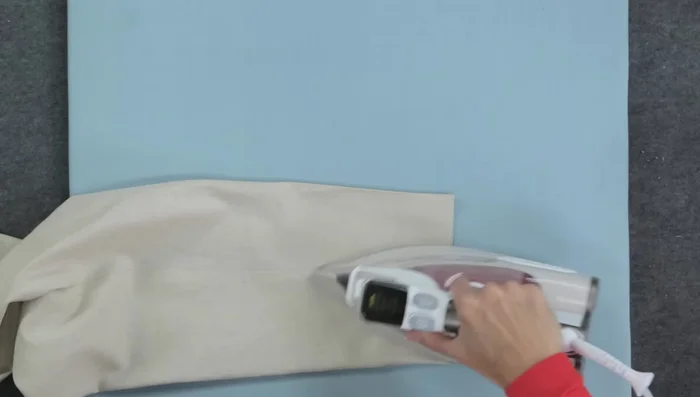
- Press the inseam allowance towards the back.

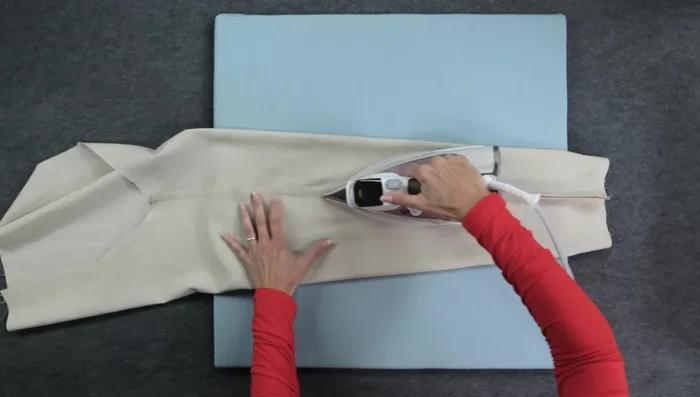
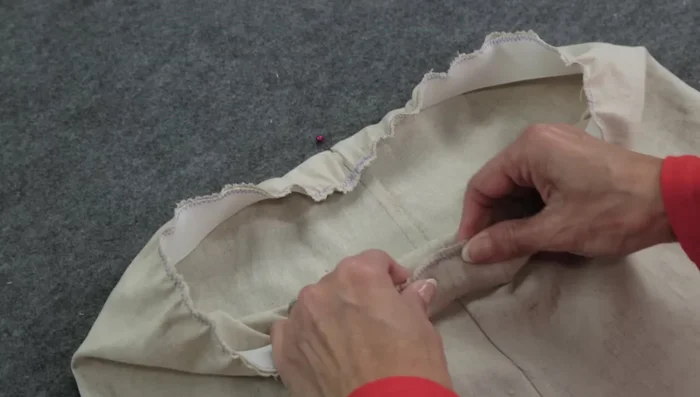
Cutting and Joining Pant Legs - Join the two pant legs at the crotch seam; right sides together, aligning notches.
- Stitch along the entire crotch curve, backstitching at the beginning and end. Press seam allowance to the back.
- Finish the crotch seam allowance.
Cutting and Joining Pant Legs Creating and Attaching Waistband
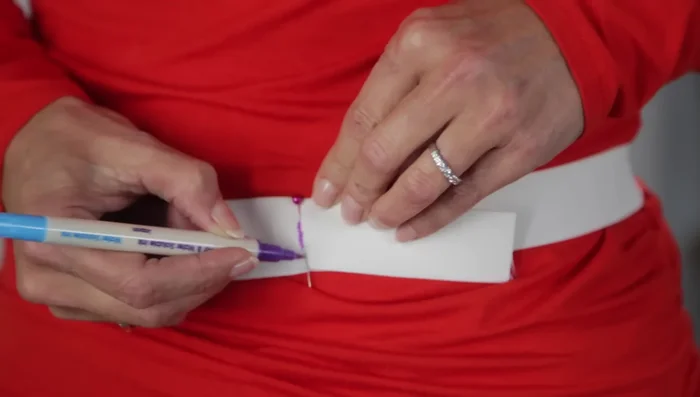
- Measure and cut elastic for the waistband.
- Join the elastic ends, overlapping and zigzag stitching.
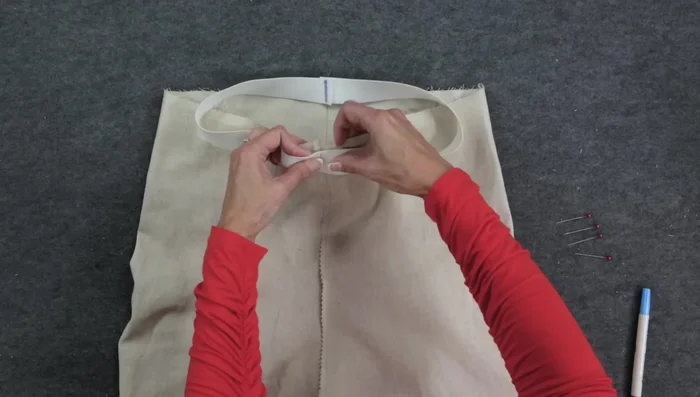
- Pin the elastic to the wrong side of the waistband, matching center front and center back markings, stretching elastic evenly.
- Zigzag stitch the elastic to the fabric, stretching the elastic as you sew. (1.4 length, 3.5 width)
Creating and Attaching Waistband - Fold the elastic to the wrong side, pin, and stitch the bottom edge of the elastic to the fabric with a wider zigzag stitch (1.8 length, 4.5 width), stretching the elastic as you sew.
Creating and Attaching Waistband Hemming the Pants
- Hem the pants using the hem allowance markings. Press, fold under, and top stitch.
Hemming the Pants

Read more: Raglan Sleeve Sewing Tutorial: A Step-by-Step Guide
Tips
- Choose a waist size that's large enough to get over your hips if using a non-stretch woven fabric.
- Use a contrasting thread for easier visibility during sewing, but you can use matching thread as well.
- Use a sleeve board or full-size ironing board for pressing the crotch seam.
- Use your sewing machine's guides for straight stitching while hemming.