Tired of overflowing linen closets and unsightly throw pillows? Transform your old, unwanted t-shirts into adorable, personalized pillowcases with this incredibly simple, no-sew method! This project is perfect for crafting enthusiasts of all skill levels, requiring minimal time, effort, and materials – just a few t-shirts and some clever tying techniques. You'll be amazed at how quickly you can upcycle your clothing and add a touch of handmade charm to your bedroom décor. Forget expensive store-bought pillows; you can create unique and comfortable pillowcases in a matter of minutes.
This no-sew approach offers a fantastic alternative to traditional sewing, eliminating the need for needles and threads. It's an ideal project for beginners, children, or anyone looking for a quick and satisfying craft. Ready to get started on creating your own personalized pillowcase? Let's dive into the easy step-by-step instructions below.
Preparation and Safety Guidelines
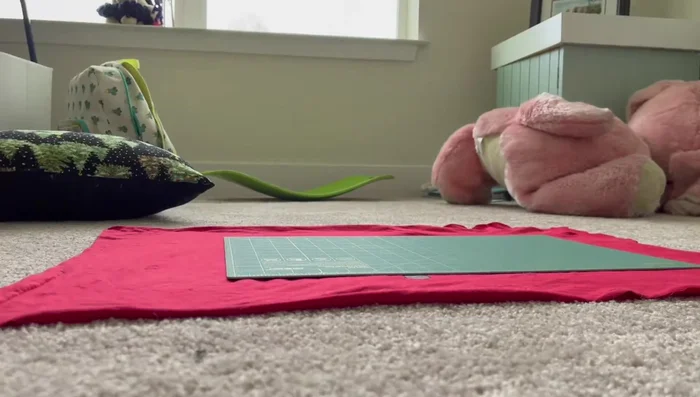
- Old pillow
- Scissors
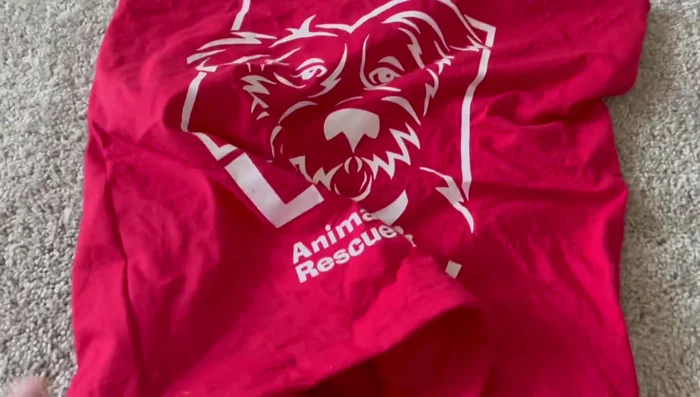
- T-shirt
- Measuring board
- Pins
- Sewing machine (optional)
- Always supervise children if they are participating in this activity. Sharp objects like scissors (even if not used in the no-sew method) should be kept away from children.
- Ensure the t-shirt is clean before starting. Unwashed shirts may contain residues that could irritate skin or cause allergic reactions.
- Use caution when handling hot glue or any other adhesive. Avoid contact with skin and eyes, and work in a well-ventilated area.
Step-by-Step Instructions
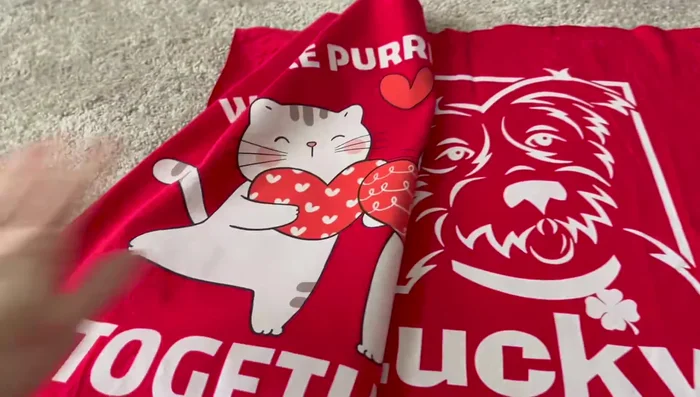
Prepare the T-shirt
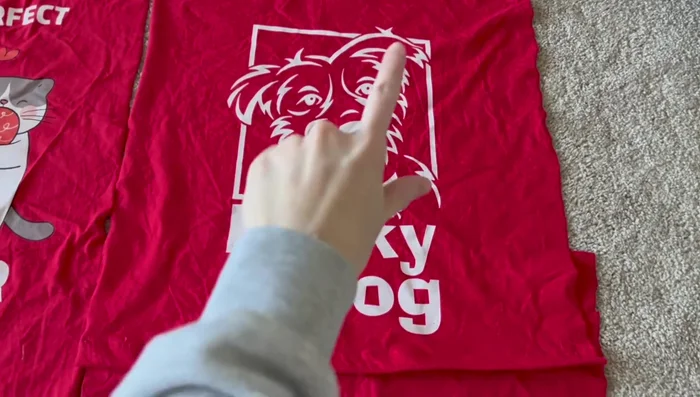
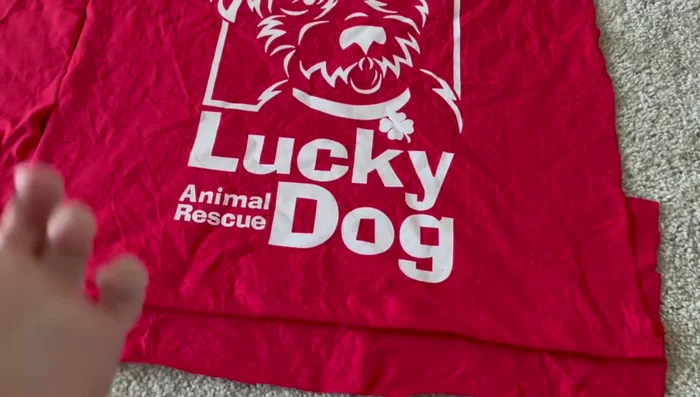
- Cut off the sleeves and collar of the t-shirt, leaving some room for the design on the front.
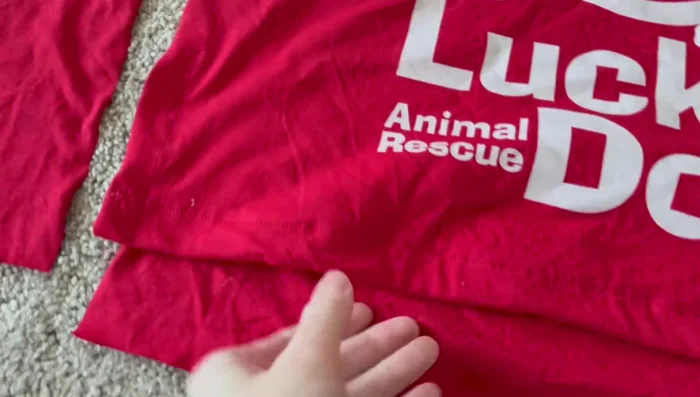
- Cut a 6-7 inch strip from the bottom of the t-shirt to use as a sleeve for the pillowcase.

Prepare the T-shirt Measure and Plan
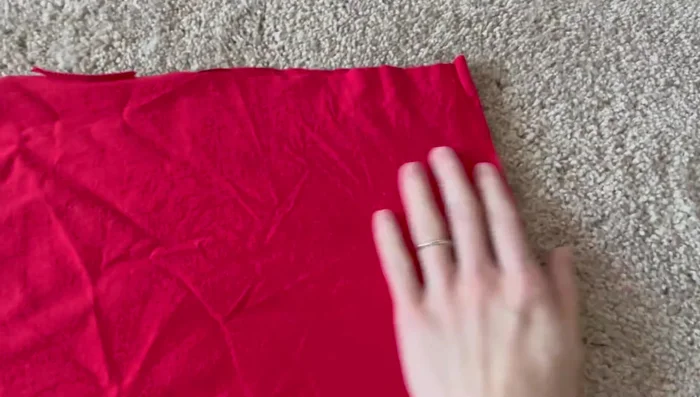
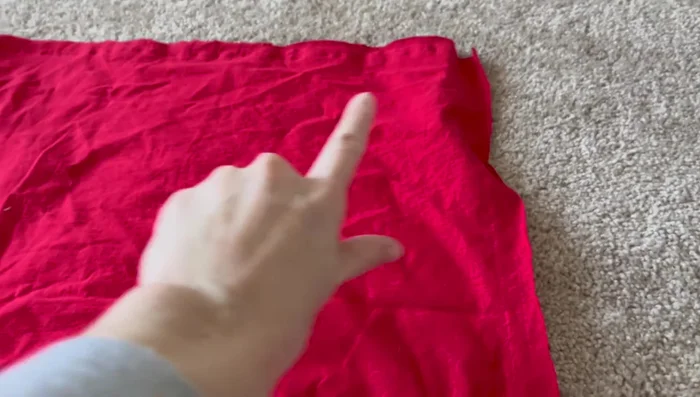
- Measure the pillow and t-shirt fabric to determine the size of the pillowcase. Ensure the design fits on the front.
Measure and Plan Create the Back Panel Sleeve
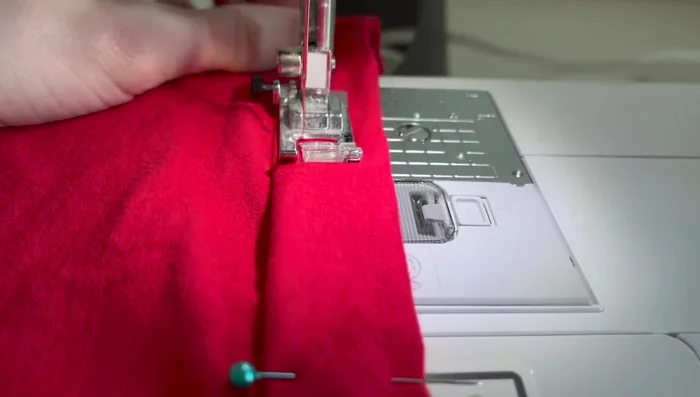
- Line up the back panel of the t-shirt with the sleeve piece, right sides together. Fold over the edge of the back panel twice and pin to create a clean seam.
- Sew a seam across the pinned edge to eliminate the raw edge.
Create the Back Panel Sleeve Assemble the Pillowcase
- Line up the back panel (with the sleeve piece) and the front panel of the t-shirt, right sides together. Ensure the same height and extra bottom room for the pillow form.
- Baste or pin the sides together to hold the fabric in place before sewing.
- Sew a seam across the side seams.
Assemble the Pillowcase Sew the Pillowcase
- Pin the front and back panels together, right sides facing, all the way around.
- Sew a seam around the entire pillowcase, leaving the opening at the bottom.
Sew the Pillowcase Finish and Insert Pillow
- Trim the excess fabric and corners to make turning right-side out easier.
- Turn the pillowcase right side out through the opening in the back. Insert pillow form.
Finish and Insert Pillow


Read more: King Size Quilt Tutorial: Efficient Chain Piecing Method
Tips
- Leave extra fabric at the bottom to create a sleeve for the pillowcase, eliminating the need for a zipper.
- Use a measuring board to ensure accurate measurements and a well-fitting pillowcase.
- Folding and pinning the raw edges before sewing creates a professional finish.
- Trimming corners after sewing makes it easier to turn the pillowcase right side out.