Christmas is just around the corner, and the festive spirit is in full swing! Are you looking for a fun, quick, and easy craft project to get you into the holiday mood? Look no further than this adorable DIY no-sew sock snowman! This charming little fellow requires minimal materials – mostly things you probably already have lying around the house – and absolutely no sewing skills whatsoever, making it the perfect activity for families with young children or anyone short on time. Forget complicated instructions and frustrating techniques; this project is all about simple, satisfying creativity.
Forget those expensive store-bought decorations; this delightful snowman is both budget-friendly and utterly delightful. Prepare to be amazed at how easily you can transform a simple sock into a festive winter friend! Ready to bring some cheerful winter magic to your home? Let’s dive into the step-by-step guide and create your own adorable no-sew sock snowman.
Preparation and Safety Guidelines
- sock
- chenille fabric (or quilt, drop cloth, muslin, old shirt)
- pins
- paper scissors
- pen or Sharpie
- jute or ribbon
- orange felt (or fabric)
- buttons
- polyfill stuffing
- glue gun
- scissors
- sewing machine (optional)
- acrylic paint or Sharpie
- powder blush (optional)
- Adult supervision is required, especially for younger children handling scissors or small objects like buttons.
- Ensure all materials are thoroughly cleaned before use, particularly if children will be handling the finished snowman. Avoid using materials that could be a choking hazard.
- Dispose of any sharp objects or potentially hazardous materials safely and out of reach of children after completing the craft.
Step-by-Step Instructions
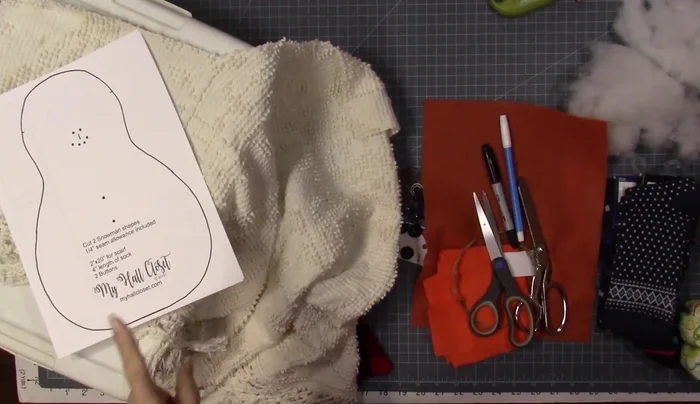
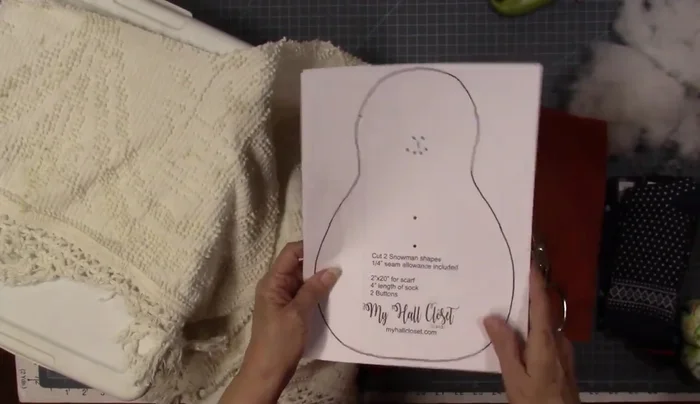
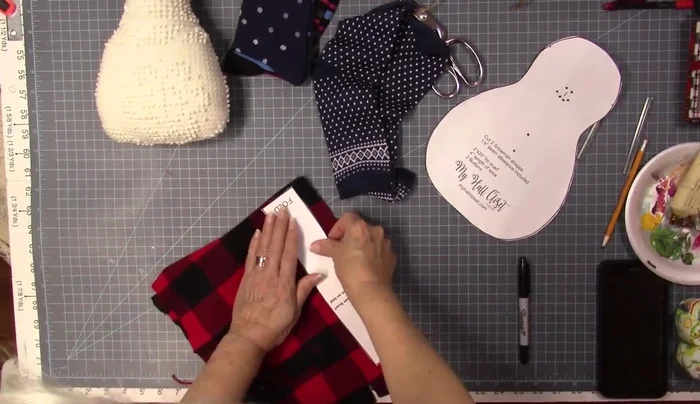
Prepare the Pattern and Fabric
- Print and cut out the pattern (available in Etsy store).
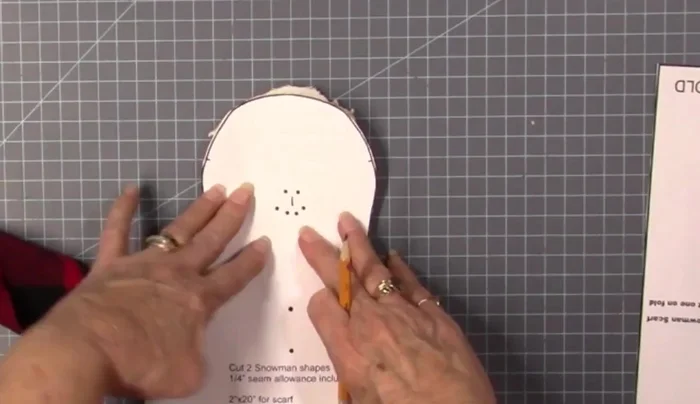
- Cut out the chenille fabric body using the pattern as a guide. Don't cut the seam allowance yet; mark it with a pen or Sharpie instead.

Prepare the Pattern and Fabric Sew and Shape the Body
- Stitch along the marked seam allowance using your sewing machine (optional). This is particularly helpful for chenille or similar fabrics to prevent fraying.
- Cut out the sewn chenille fabric, leaving the top open.
- Turn the fabric right side out and stuff with polyfill.
Sew and Shape the Body Add the Facial Features
- Mark the face features on the snowman's body.
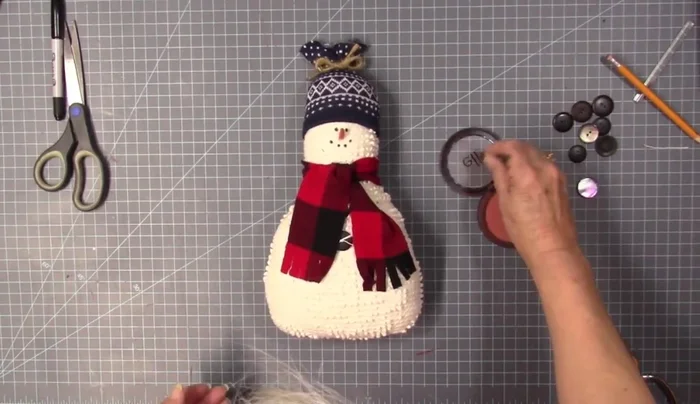
- Glue on the nose and buttons.
- Add blush for rosy cheeks (optional).
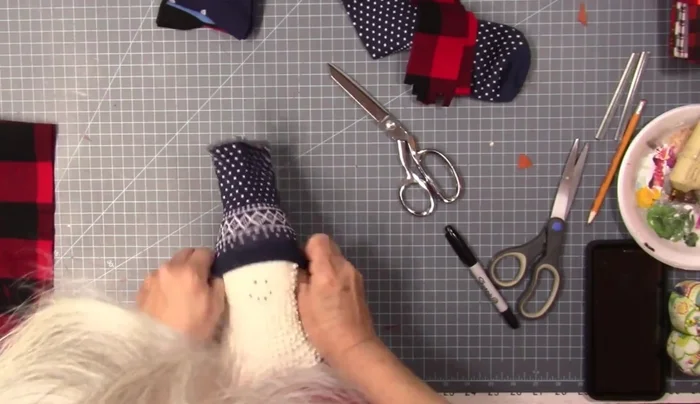
Add the Facial Features Add Accessories
- Cut out and glue the scarf onto the snowman.
- Prepare and glue the toboggan (from a sock) onto the snowman's head.
Add Accessories


Read more: DIY Fluffy Duck Plushie Tutorial: A Step-by-Step Guide
Tips
- Use paper scissors to cut the pattern, saving your good scissors for fabric.
- If using a fabric that frays easily, stitching before cutting helps create a clean edge.
- Experiment with different materials for the scarf and toboggan to add a personal touch.
- Consider the fabric's texture when choosing the method for adding facial features. Sharpies might bleed on some fabrics.
- Don't make it a toy for babies because of the glue and loose buttons.