Are you dreaming of cozy nights in comfortable, stylish sleepwear but dreading the hassle of sewing? Then you're in the right place! Forget complicated patterns and fiddly needles; this guide will show you how to create your own stunning no-sew sleep dress in minutes, using readily available materials and simple techniques. Imagine slipping into a beautifully crafted garment that you made yourself, all without touching a sewing machine. This project is perfect for beginners, busy individuals, or anyone who wants a quick and satisfying DIY project. We'll be utilizing clever no-sew methods to achieve professional-looking results.
Forget expensive store-bought sleepwear – reclaim your time and unleash your creativity with this incredibly easy project. This no-sew approach means you can personalize your sleep dress to perfectly match your style and comfort preferences, choosing fabrics and embellishments to suit your taste. Ready to start creating your dream sleepwear? Let's dive into the step-by-step instructions and craft your perfect no-sew sleep dress!
Preparation and Safety Guidelines
- Bias fusible tape
- Sewing machine
- Iron
- Pins
- Scissors
- Always use fabric intended for clothing. Avoid using fabrics that are flammable or could irritate your skin.
- Ensure all edges are finished to prevent fraying and ensure comfort against your skin. Consider using fabric glue or seam sealant.
- If using elastic, ensure it's appropriately sized and securely attached to avoid breakage or discomfort during wear.
Step-by-Step Instructions
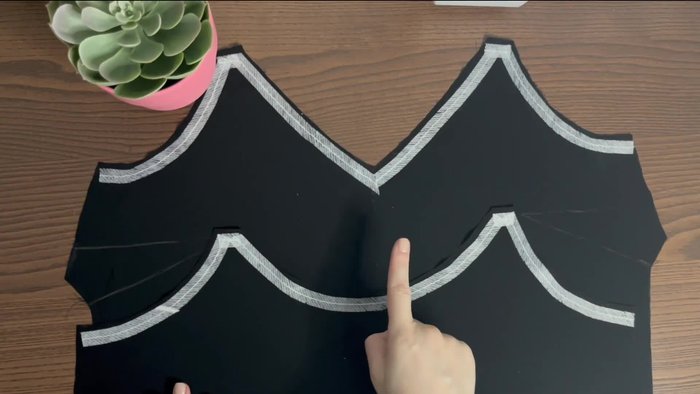
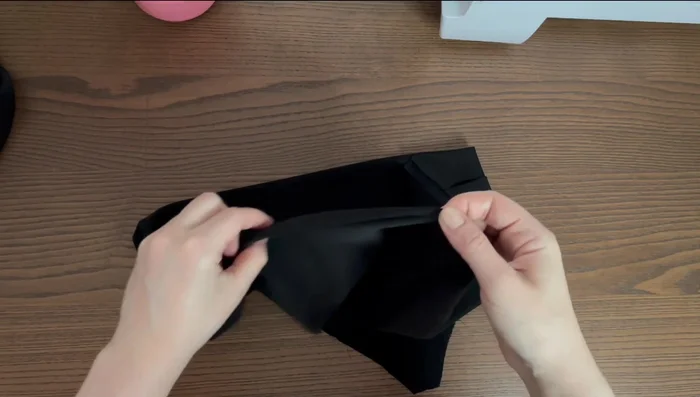
Prepare the Fabric
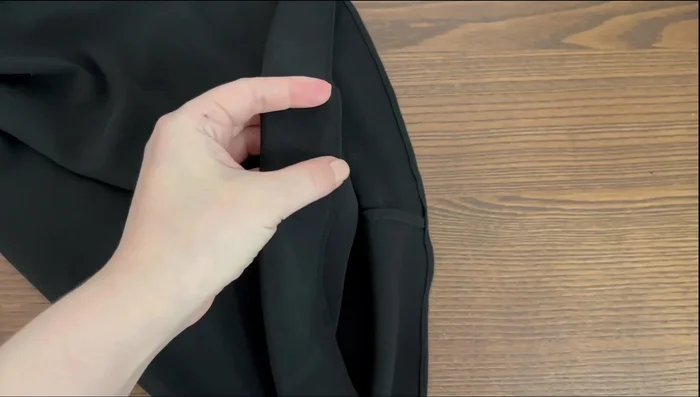
- Press bias fusible tape to the upper edge.
- Baste the darts, making stitching right next to the drawing lines.
- Press the darts down; the dart's edge should be pressed with the right hand. It is recommended to cut 3 millimeters from the face and upper edges for a better fit.

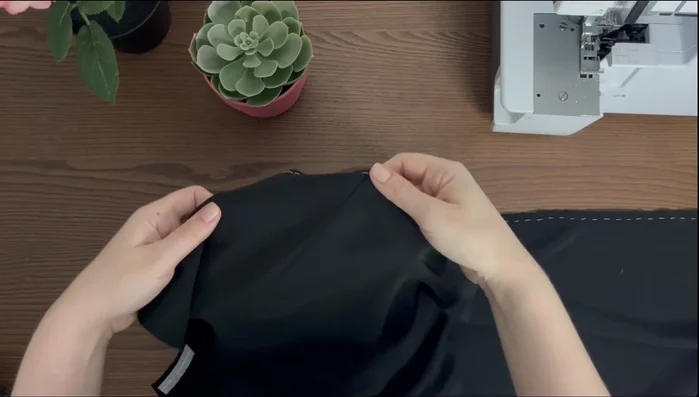
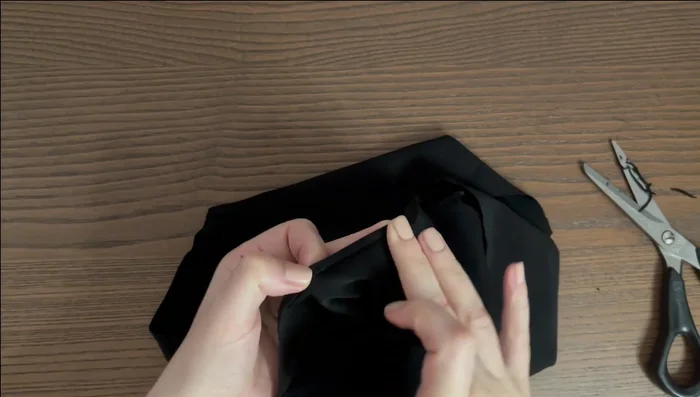
Prepare the Fabric Sew Side Seams
- Sew together side seams using a French seam. First, with wrong sides together, pin or baste the corresponding pieces. Using a straight stitch, sew a seam at a four-millimeter seam allowance. Cut extra threads and press the seam allowance to one side.
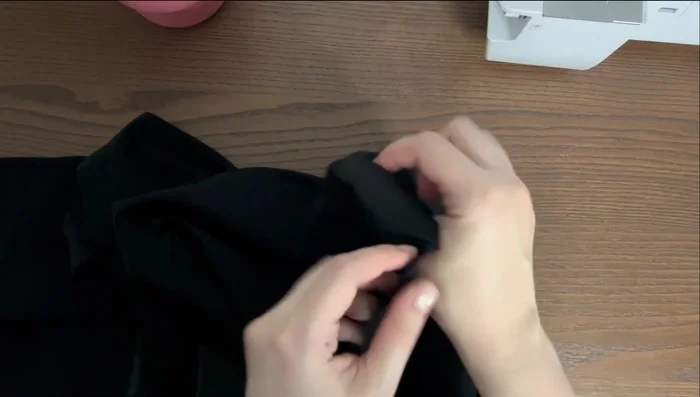
Sew Side Seams Sew Shoulder Seams
- With the garment's right sides together, stitch using a six-millimeter seam allowance. Cut the raw edge.
Sew Shoulder Seams Finish the Facing Hem
- Fold five millimeters of the facing's hem allowance to the wrong side, press, baste, and top stitch two millimeters from the folded edge. Trim the excess seam allowance close to the stitching line.
- Roll the hem up again to the wrong side, press, and baste. Stitch another straight line directly on top of the first one.
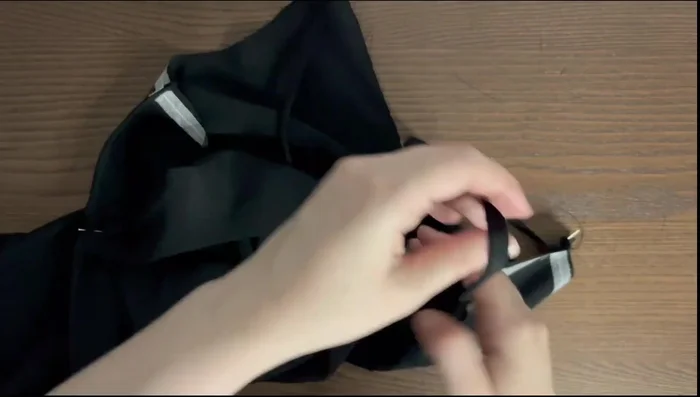
Finish the Facing Hem Make and Attach Straps
- Fold strap pieces with right sides inside, stitch on the sewing machine, turn straps right side out, and press. The strap width should not be more than one centimeter.
- Pin straps to the front and back right sides together; check the strap length. Place the facing and the dress right sides together, align the edges, pin, and sew.
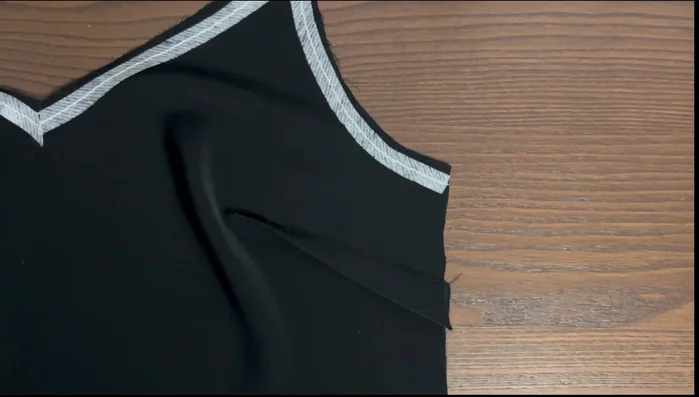
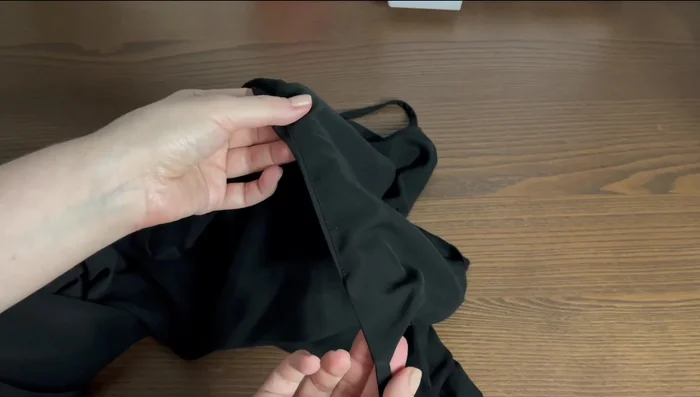
Make and Attach Straps Attach Facing and Finish Seams
- Trim the seam allowance in the middle of the V-line and cut corners near the straps.
- Stitch the seam allowance to the facing. Place the line of stitch one to two millimeters away from the original seam on the face and right side. Press the upper edge slightly, rolling the seam towards the facing. Hand stitch the facings and the dress side seams together.
Attach Facing and Finish Seams Finish the Hem
- Finish the hem the same way as the facing's hem.
Finish the Hem
Read more: Raglan Sleeve Sewing Tutorial: A Step-by-Step Guide
Tips
- Cut 3 millimeters from the face and upper edges for a better fit of the facing.