Transform your bedroom's aesthetic with a charming, ruffled bedspread – and without even touching a needle! This DIY project offers a delightful way to update your bedding with minimal effort and cost. Forget expensive, store-bought options; this no-sew ruffle bedspread is surprisingly simple to create, perfect for beginners and those short on time. Imagine the satisfying feeling of achieving a beautiful, personalized touch for your sleeping sanctuary, all while avoiding the complexities of traditional sewing. The satisfying result will leave your bedroom feeling fresh and inviting.
This tutorial will guide you through the straightforward process of creating your own stunning no-sew ruffle bedspread using readily available materials. From choosing the perfect fabric to securing the ruffles, we'll cover every step in detail. Ready to get started on your easy, elegant bedroom makeover? Let's dive into the step-by-step instructions!
Preparation and Safety Guidelines
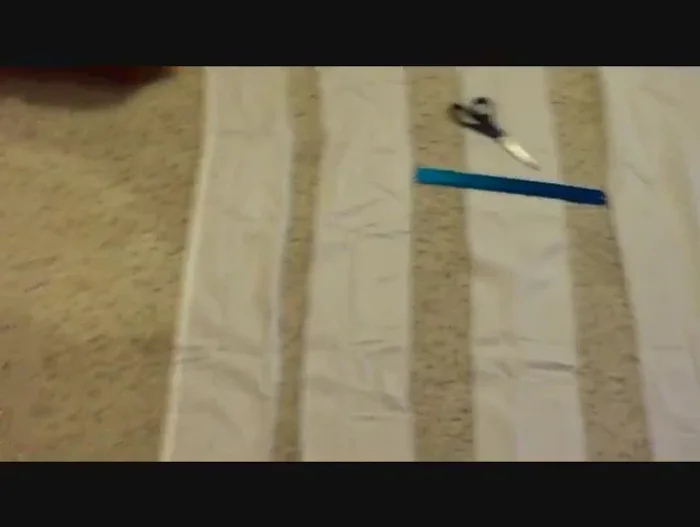
- sheets
- ruler
- scissors
- sewing machine
- needle
- thread
- pins
- Always supervise young children around fabric and materials to prevent choking hazards or accidental ingestion.
- Ensure your chosen fabric is pre-washed to prevent shrinkage after the bedspread is completed.
- Use caution when handling scissors or other sharp tools during the process. Always cut away from yourself.
Step-by-Step Instructions
Prepare the Fabric Strips
- Lay out your sheets and cut them into 6-inch strips, starting from the bottom and working your way up. You can fold the sheet in half to speed up the process.

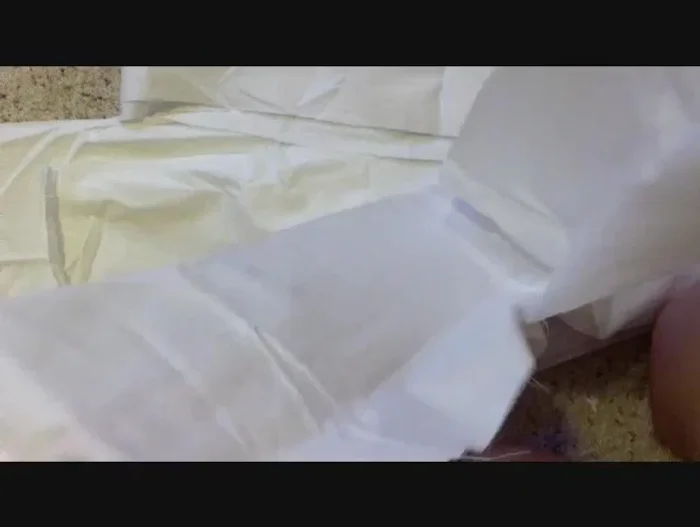
Prepare the Fabric Strips Join the Strips
- Sew the strips together in sets of two. Remove the existing stitches from the sewn parts of your sheets and sew the two strips together.
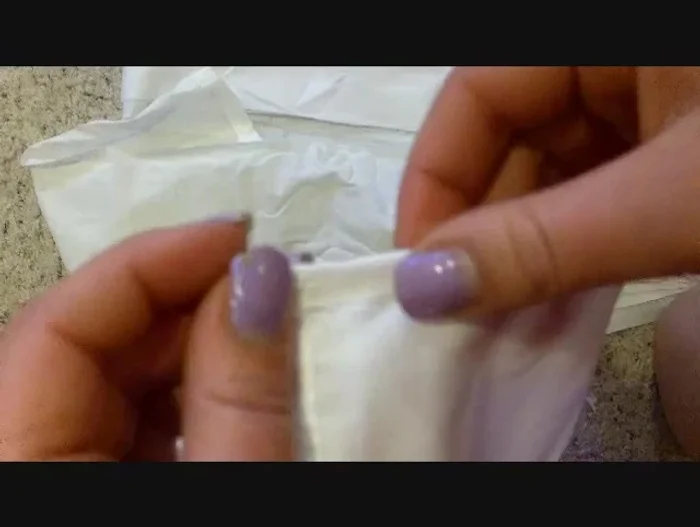
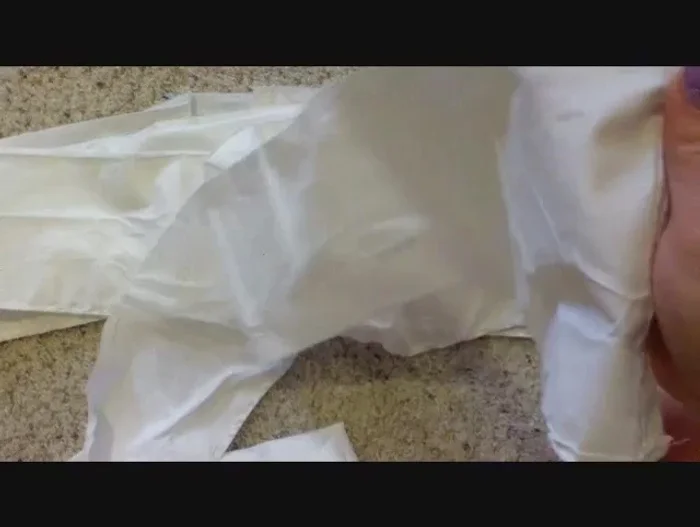
Join the Strips Hem the Double Strips
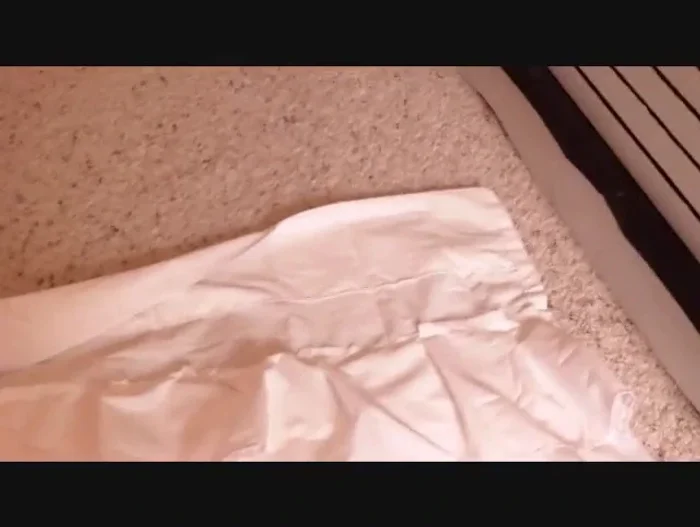
- Hem the double strips. Fold the end of the double strip over about 1/4 inch and sew it down to prevent fraying. You can fold it twice for a cleaner finish.
Hem the Double Strips Gather the Strips
- Create a running stitch across the top of the unhemmed strips to gather the fabric. This will allow you to pull the fabric together to create ruffles. The stitches should be about an inch apart.
Gather the Strips Attach Strips to Base
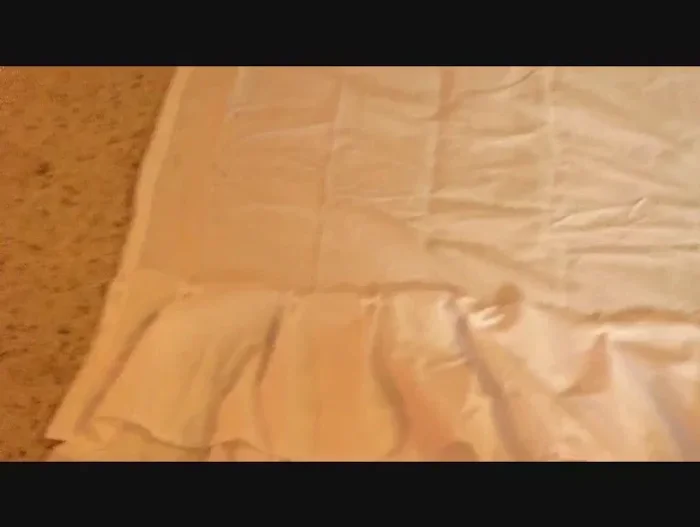
- Pin the gathered strips to your base sheet, distributing the fabric evenly. Pin every few inches or at each fold.
- Sew the strips to the base sheet. It doesn't have to be perfect as the top will cover any imperfections.
Attach Strips to Base Finish the Top Edge
- Fold the top of the bedspread over twice to create a clean edge, pin it down, and sew.
Finish the Top Edge

Read more: DIY Super Cute Whale Shower Curtain: A Step-by-Step Tutorial
Tips
- This project is not recommended for impatient people or new sewers. It takes considerable time.
- You can fold your sheets in half to cut strips faster.
- You don’t need to pin the fabric when hemming the strips; you can sew directly from the sewing machine.
- Look up 'running stitch' on YouTube for a visual guide.