Christmas crafting doesn't have to be a marathon! This year, skip the complicated stitching and embrace the festive charm of a no-sew quilted Christmas wreath ornament. Forget hours spent wrestling with needles and thread; this project is designed for speed and simplicity, perfect for busy schedules and those new to crafting. Using readily available materials and a clever technique, you can create a beautiful, personalized ornament in a fraction of the time it takes to make a traditionally sewn one. Imagine the satisfaction of adorning your tree with handmade decorations that reflect your unique style and festive spirit.
Forget the stress and embrace the joy of quick crafting! This no-sew method allows even the most novice crafter to produce a stunning quilted wreath ornament. Ready to transform simple fabric scraps into a gorgeous Christmas keepsake? Let's dive into the straightforward, step-by-step process and create this charming ornament together.
Preparation and Safety Guidelines
- 6-inch styrofoam wreath
- satin pins (400 count)
- Huffman Jingle Pops (2016, 2.5-inch strips)
- ribbons
- hot glue
- pressing mat
- hot iron
- small ruler (6.5 inches)
- picture
- Always supervise young children when using sharp objects like scissors, even if only for cutting fabric. Keep them out of reach when not in use.
- Use a hot glue gun with caution. The glue is extremely hot and can cause burns. Always point the nozzle away from yourself and others, and allow the glue to cool slightly before handling.
- Ensure your work surface is clean and free of flammable materials when using a hot glue gun. Never leave a hot glue gun unattended.
Step-by-Step Instructions
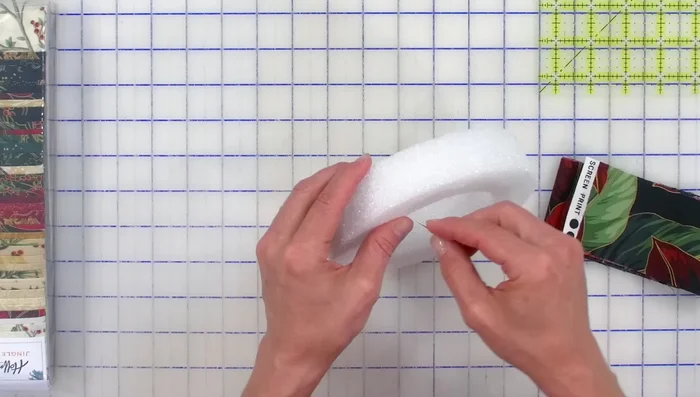
Prepare the Wreath Base
- Stack two 6-inch styrofoam wreaths and secure them with a pin through the center.

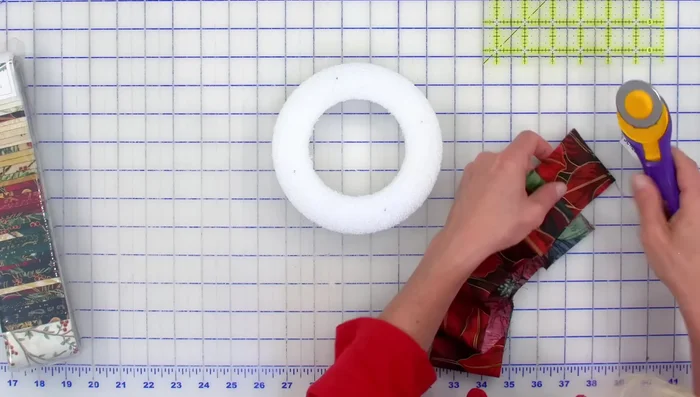
Prepare the Wreath Base Prepare Fabric Squares
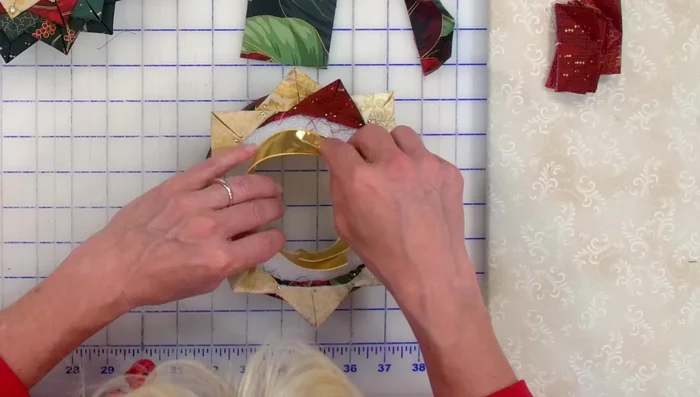
- Cut 2.5-inch squares from your Jingle Pop strips. Fold each square in half, press, then fold the flaps in to create a point, and press again.
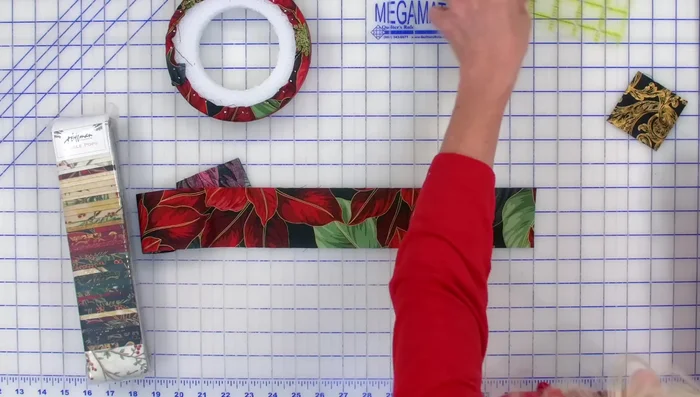
Prepare Fabric Squares Wrap the Wreath with Fabric Strips
- Trim the selvage from the 2.5-inch Jingle Pop strips. Lay a strip around the wreath and secure it with pins.
Wrap the Wreath with Fabric Strips Layer Fabric Squares onto Wreath
- Arrange and pin the fabric squares onto the wreath, starting with a base color (e.g., cream). Use a criss-cross pattern in the center for efficiency, then work outwards, placing squares approximately 1/8 inch apart for optimal density. Alternating colors is recommended for a visually appealing result.
Layer Fabric Squares onto Wreath Add Finishing Touches and Ribbon
- Once all layers are complete, add a piece of ribbon to the back of the wreath and secure it with pins. Attach your chosen picture to the back with pins.
Add Finishing Touches and Ribbon Hang or Display the Ornament
- Tie a ribbon loop to the top for hanging, or leave it off for use as a candle holder (ensure a flameless candle is used).
Read more: DIY Super Cute Whale Shower Curtain: A Step-by-Step Tutorial
Tips
- Use a small ruler for precise cutting of fabric squares.
- Add sizing to fabric squares for crisper edges.
- Pin straight down to avoid fabric squares poking out to the sides.
- Use a criss-cross pattern when pinning the center squares to minimize the number of pins needed.
- Adjust spacing between fabric squares to control density.