Tired of mismatched pillowcases or simply craving a quick and easy home décor refresh? Then you've come to the right place! This tutorial will guide you through creating a beautiful, no-sew pillowcase in minutes, perfect for beginners and experienced crafters alike. Forget fiddly needles and tangled thread – we're harnessing the power of fabric glue and clever folding techniques to achieve professional-looking results without any sewing whatsoever. Say goodbye to frustrating sewing projects and hello to instant gratification!
This simple, no-sew method is ideal for transforming existing fabric scraps into unique and personalized pillowcases, or for quickly updating your bedroom's style with minimal effort and cost. We'll be using readily available materials, making this project accessible to everyone. Ready to transform your pillows with stunning new covers? Let's dive into the step-by-step instructions to create your own DIY no-sew pillowcase!
Preparation and Safety Guidelines
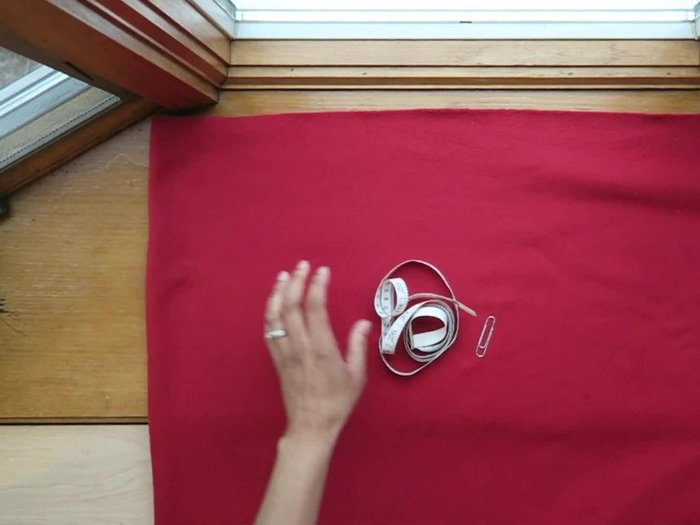
- Fabric (20x20 inch pieces x 2)
- Measuring tape
- Scissors
- Always supervise children if they are assisting with this project, especially when handling scissors or sharp objects.
- Ensure the fabric you choose is clean and pre-washed to prevent shrinkage or color bleeding after the pillowcase is made.
- Use strong adhesive, following the manufacturer's instructions carefully, to ensure the pillowcase remains securely fastened and durable.
Step-by-Step Instructions
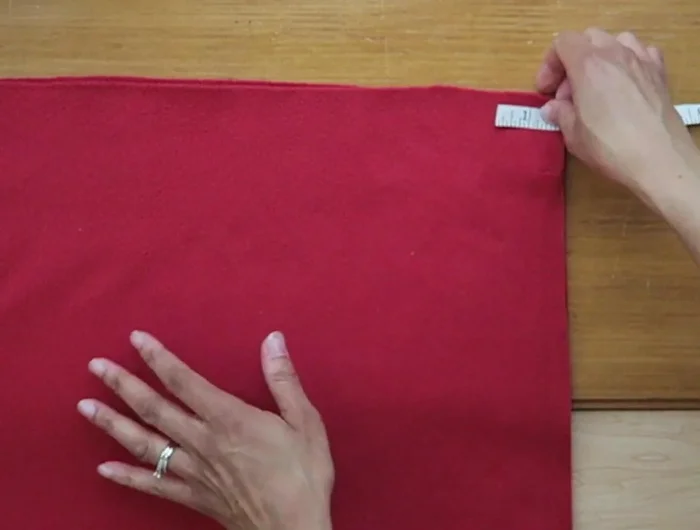
Prepare Fabric Squares
- Cut two 20x20 inch fabric squares. No need for precision.
- Cut a 2x2 inch square from each corner of both fabric pieces.
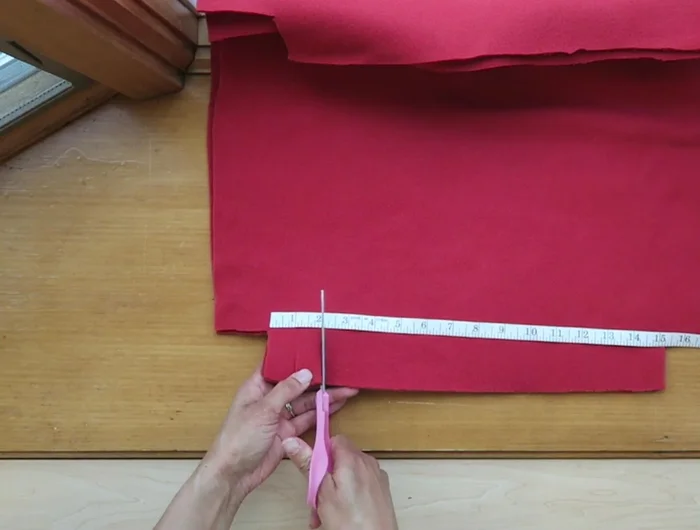
- On three sides of each fabric square, make 1-inch cuts along the edge, stopping at the 2-inch corner cuts.

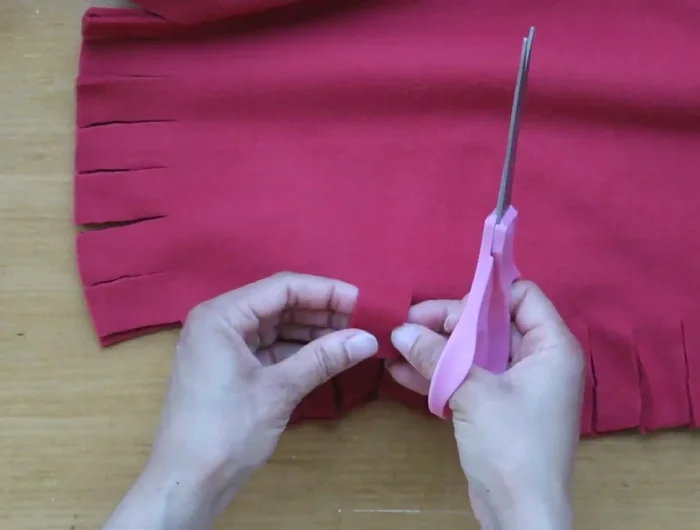
Prepare Fabric Squares Create Flaps and Slits
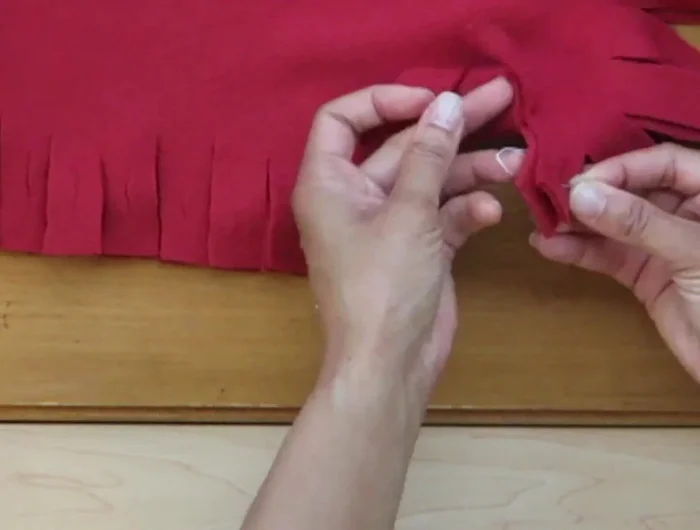
- Make a slit through both layers of fabric on each flap.
Create Flaps and Slits Interlock Fabric Squares
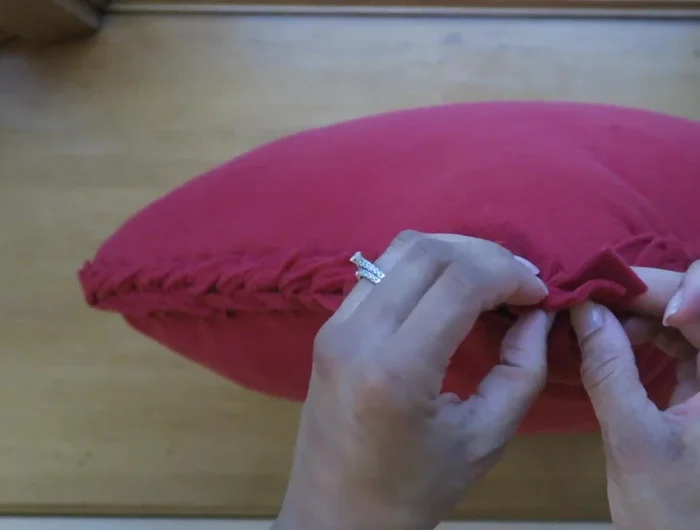
- Insert one pair of flaps through a slit, then pull the other pair through the slit.
- Repeat step 5 for all three sides. Tuck in any loose ends for a neat finish.
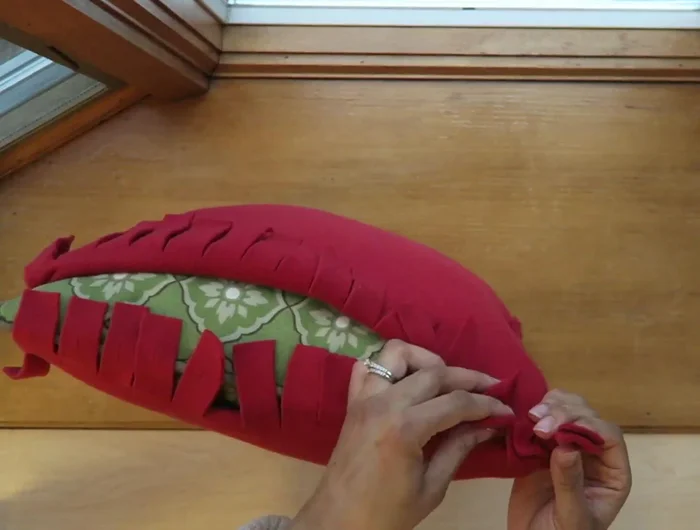
Interlock Fabric Squares Insert Pillow and Secure
- Insert pillow into the pillowcase.
- Wrap the remaining flaps around the back of the pillow and tie a knot.
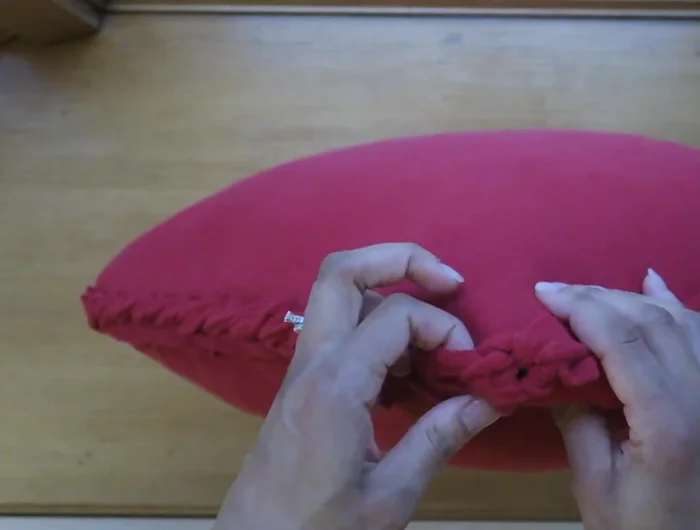
- Tuck and neatly finish the remaining flaps.
Insert Pillow and Secure

Read more: King Size Quilt Tutorial: Efficient Chain Piecing Method
Tips
- Precision isn't crucial in cutting the fabric.
- Hand-tying the flaps is easier than using a paperclip.
- Make the slits wide enough to easily pull the fabric through.