Transforming a simple storage box into a luxurious ottoman has never been easier. Forget complex sewing projects and frustrating upholstery techniques; this guide unveils a stunningly simple, no-sew method that will leave you amazed. Imagine a beautifully upholstered ottoman, perfectly tailored to your style and décor, created without a single stitch. This revolutionary technique utilizes readily available materials and surprisingly straightforward steps, resulting in a piece of furniture you'll be proud to display. The impact is undeniably chic, providing a stylish seating option while cleverly concealing storage space.
This no-sew approach eliminates the need for specialized tools or extensive crafting experience. Whether you’re a seasoned DIY enthusiast or a complete beginner, you'll find this project remarkably accessible. Prepare to be captivated by the ease and elegance of this method as you create your own bespoke ottoman. Ready to get started? Let's dive into the step-by-step process outlined below.
Preparation and Safety Guidelines
- Fabric
- Wadding
- Back tack card (or stiff card)
- Hammer
- Tacks
- Piping (optional)
- Curved slipping needle
- Strong linen thread
- Scissors
- Ruler
- Pins
- Always use heavy-duty adhesive suitable for fabrics and wood. Cheap glues may fail, leading to structural collapse and potential injury.
- Ensure the base is sturdy and stable before beginning upholstery. A wobbly or damaged base could cause the ottoman to tip over.
- Work in a well-ventilated area, as some adhesives release strong fumes. Wear gloves to protect your hands from adhesives and potential staining.
Step-by-Step Instructions
Prepare the Box Base
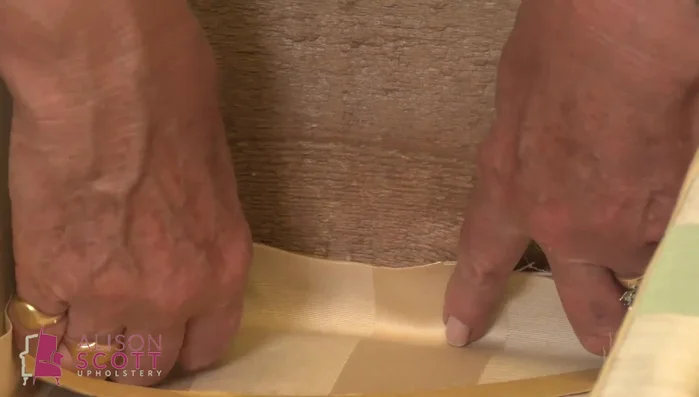
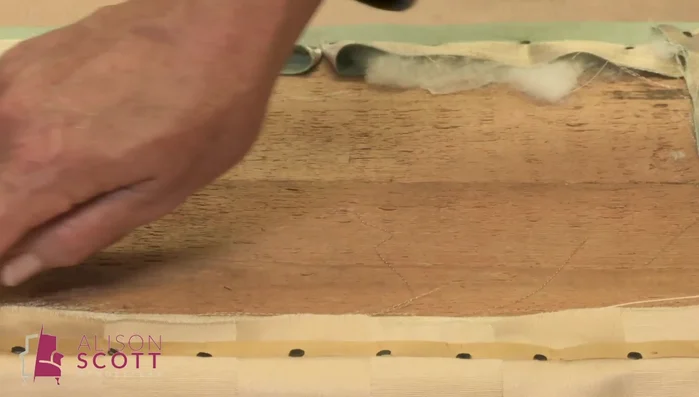
- Line the box base with fabric and wadding, leaving raw edges as they'll be hidden.
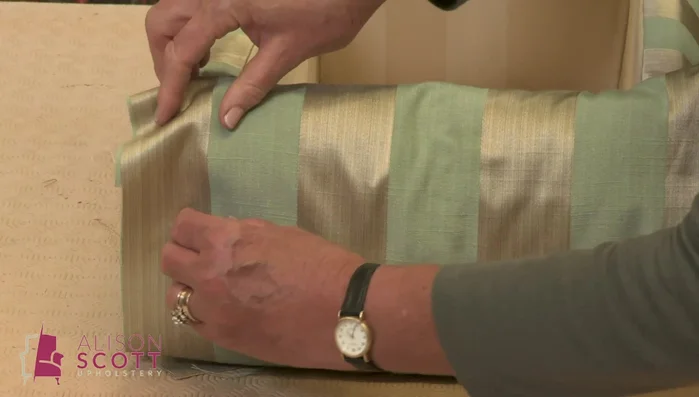
Line the Box Sides
- Line the long sides, using back tack card to create crisp edges. Bring fabric up and around, securing with temporary tacks through the card and fabric.
- Repeat for the end panels, matching patterns carefully. Ensure even fabric distribution on sides before hammering tacks flush.

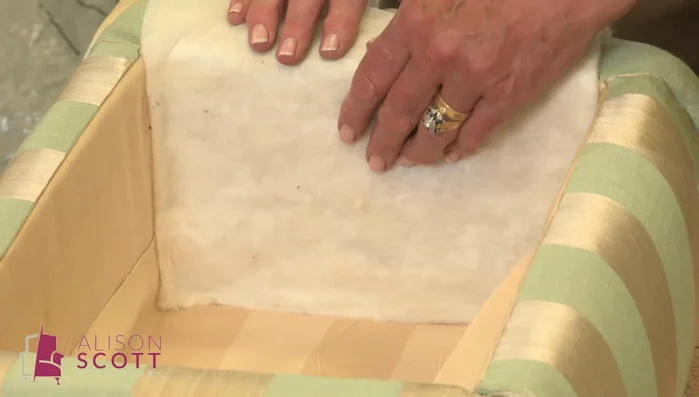
Line the Box Sides Prepare the Lid Underside
- Line the underside of the lid, ensuring wadding doesn't extend beyond the frame. Trim excess fabric and wadding to the edge. Temporary tacks are used for ease of adjustment.
Prepare the Lid Underside Cover the Box Exterior
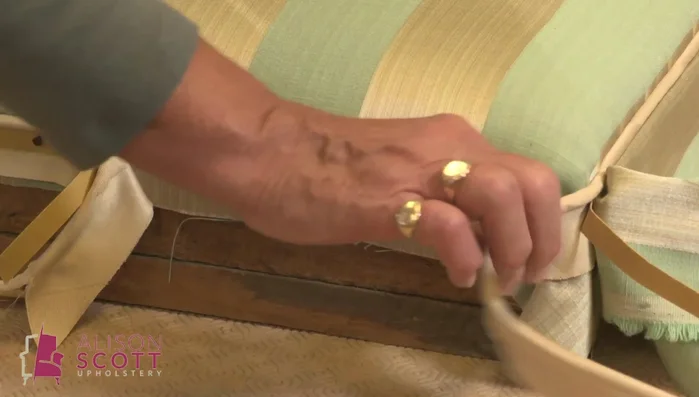
- Cover the outside of the box with coordinating fabric. Use back tack card to hide tacks, positioning it close enough to the edge for support but far enough back to conceal the tacks. Secure with tacks towards the folded edge.
- Trim excess fabric neatly, folding and tucking into corners to create clean edges.
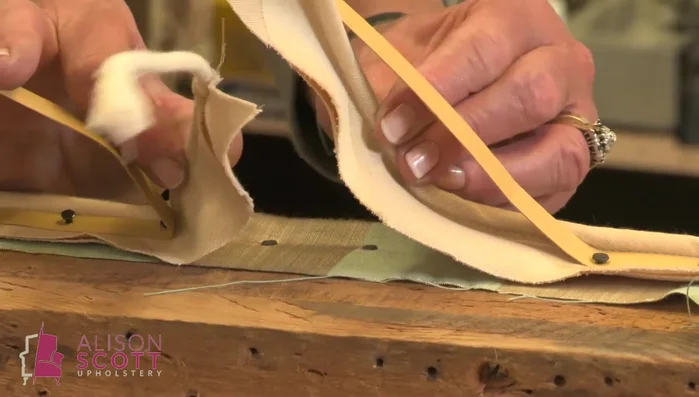
- Add optional piping around corners (if applicable) by back tacking it in place before covering with the side fabric.
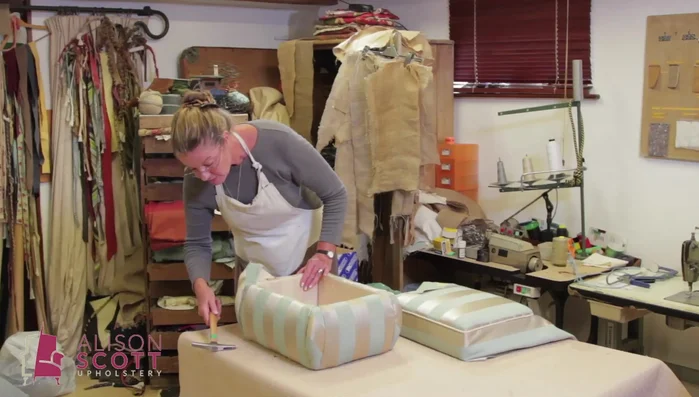
Cover the Box Exterior Complete Box Covering
- Bring the side fabric over the wadding, tacking neatly. Ladder stitch the single piping into place. Finish with a bottoming fabric to hide raw edges.
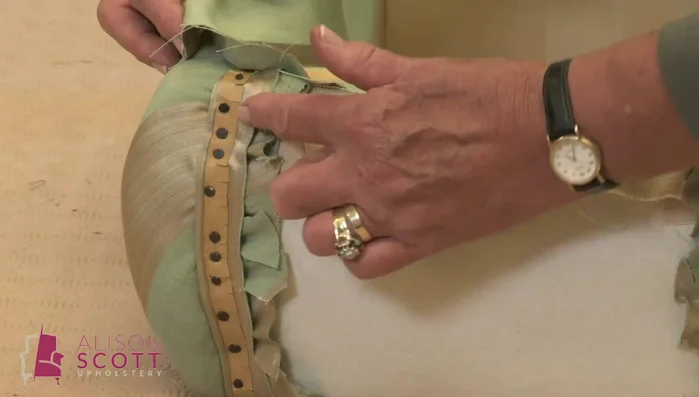
Complete Box Covering Cover the Lid Top
- Cover the lid top first; add optional piping and contrasting band. For the band, use the back tack trick, pressing the card hard against the piping to avoid showing the card underneath.
- To join piping, carefully trim and align, removing excess cord to avoid lumps. Slide the piping fabric back to reveal the cord and trim where needed.
- Secure the band around the bottom of the lid using tacks positioned far enough from the edge to be hidden by the lining.
Cover the Lid Top Finish Lid Seam
- Ladder stitch the remaining seam, pulling tight to make stitches disappear. Secure thread with a tack.
Line the Lid Interior
- Line the inside of the lid using back tack card. Add a thin layer of wadding to soften the fabric away from the wooden edge. Secure with pins before ladder stitching.
Line the Lid Interior Add Lid Stay
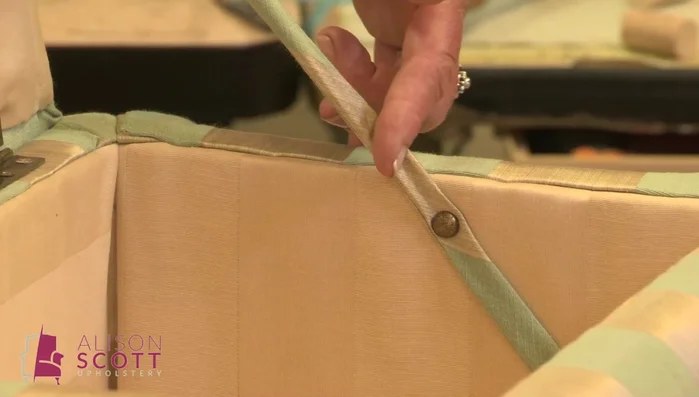
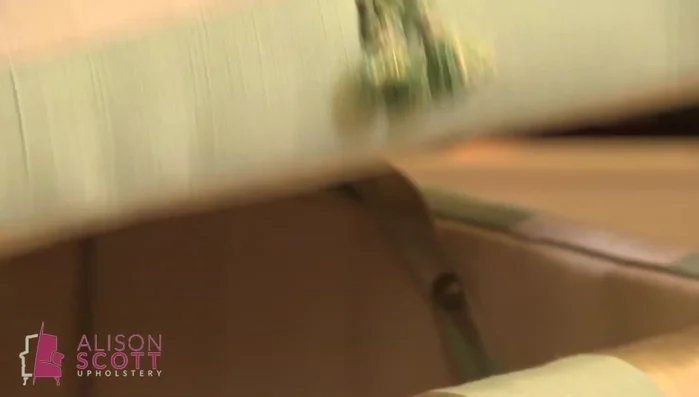
- Add a stay (decorative cord or fabric strip) to prevent the lid from folding back and breaking hinges.
Add Lid Stay Add Finishing Touches
- Add a handle or tassel for opening the lid.
Add Finishing Touches

Read more: DIY Super Cute Whale Shower Curtain: A Step-by-Step Tutorial
Tips
- Leave tacks temporary until certain everything is straight and even before hammering them away.
- Check pattern alignment by focusing on side-to-side matching, not just the center.
- Use strong linen thread (waxed for extra strength) for ladder stitching; sewing machine thread is too weak.
- Always start ladder stitching at the top and work down to manage excess fabric.
- Pull ladder stitches tight to make them disappear; any gaps will show the stitches.