Halloween is just around the corner, and you're looking for a quick, easy, and adorable craft project? Look no further! This no-sew fluffy sock cat tutorial is perfect for beginners and busy crafters alike. Forget complicated patterns and messy glue guns; we're creating a charming feline friend using only a fluffy sock, some basic craft supplies, and a little bit of creativity. This project is incredibly budget-friendly, utilizing materials you might already have around the house, making it the ideal last-minute Halloween decoration or a fun activity for kids.
Get ready to transform a simple sock into a purrfectly spooky (or cute!) Halloween companion! This step-by-step guide will walk you through each stage of the process, from preparing your materials to adding the final finishing touches. Let's get crafting and create some seriously fluffy, fun Halloween cheer!
Preparation and Safety Guidelines
- Fluffy socks (dollar store socks recommended)
- Scissors
- Needle and thread
- Stuffing (polyester fiberfill)
- Pins
- Optional: Hemostats or paintbrush for stuffing
- Optional: Wool felt, googly eyes, fabric glue
- Adult supervision is required, especially for younger children handling scissors or small parts.
- Ensure all materials are securely attached to prevent choking hazards. Discard any broken or damaged parts immediately.
- Avoid using materials that could be easily ingested or cause allergic reactions.
Step-by-Step Instructions
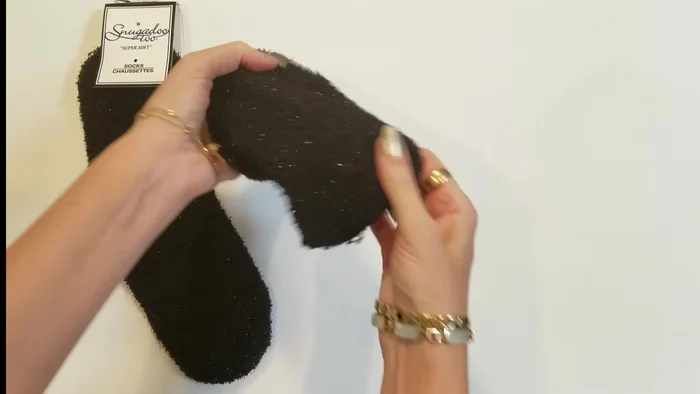
Prepare the Sock and Cut Leg Patterns
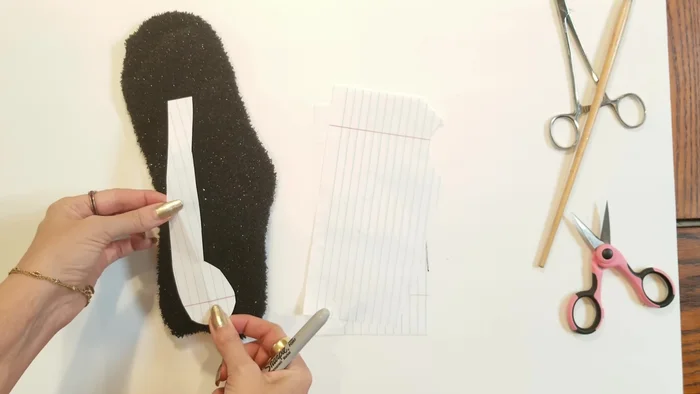
- Turn the sock inside out, then lay it flat with the heel down and toe up. This will form the cat's head and body.
- Cut out the leg shapes (see website for patterns if needed).

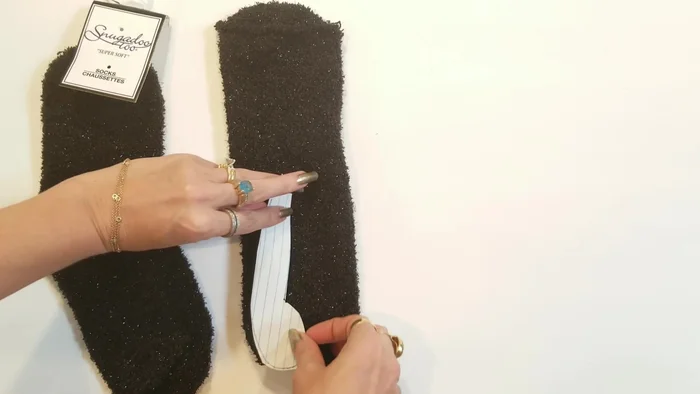
Prepare the Sock and Cut Leg Patterns Attach and Prepare Legs
- Place the leg patterns onto the sock, aligning the top with the sock's bottom (heel area), and sew slightly inside the elastic.
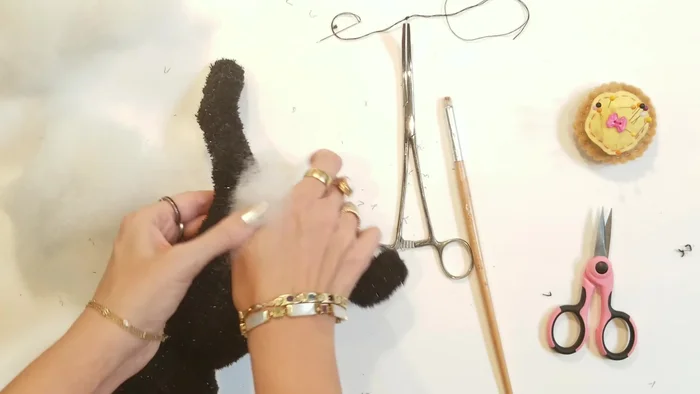
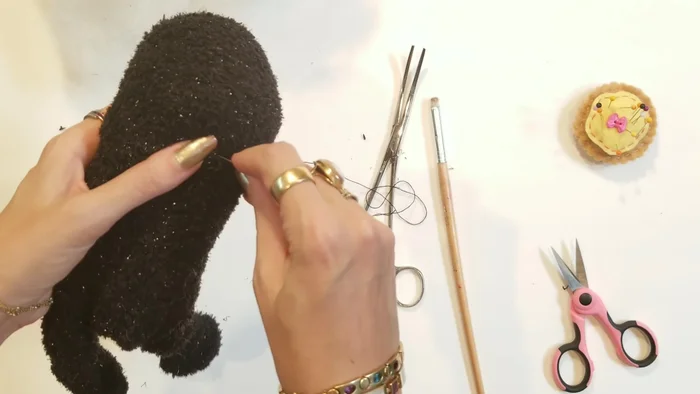
- Stuff the legs firmly, creating a nice round shape in the feet. Use hemostats or a paintbrush to help maneuver the stuffing.
- Using a ladder stitch, close the leg openings.
Attach and Prepare Legs Stuff and Shape the Body
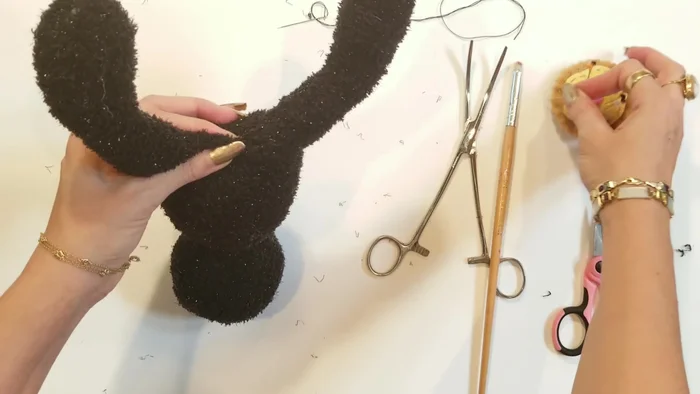
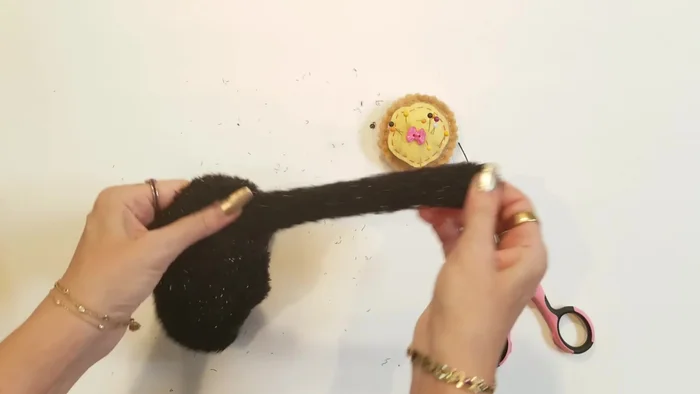
- Turn the body (main sock piece) right side out through the opening between the legs. Stuff firmly, creating a round head and a plump body.
- Using a running stitch, sew around the neck area of the sock to define the head and neck.
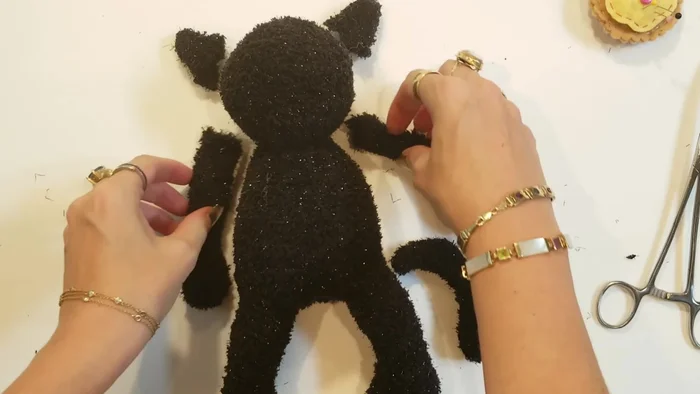
Stuff and Shape the Body Prepare and Attach Limbs and Ears
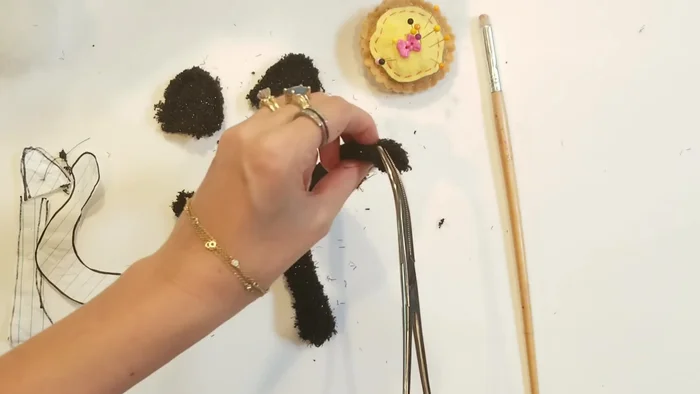
- Using the second sock, cut out patterns for arms, ears, and a tail. Sew around the edges of each piece.
- Turn the limbs and tail right side out and stuff firmly.
- Pin the limbs, tail, and ears into place. Whip stitch to secure them.
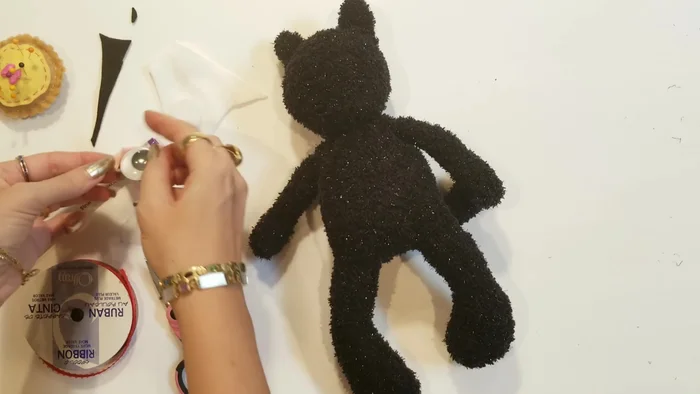
Prepare and Attach Limbs and Ears Add Facial Features
- Use felt or googly eyes to create the cat's face. Attach with glue or stitching.
Add Facial Features

Read more: DIY Fluffy Duck Plushie Tutorial: A Step-by-Step Guide
Tips
- Fluff your stuffing before use to make it easier to manipulate.
- Use hemostats or a paintbrush to help stuff the legs and limbs efficiently.
- Use larger stitches when sewing to avoid showing the thread through the fluffy fabric.
- Don't be afraid to manipulate the stuffing to achieve the desired shape. The sock material is very forgiving.
- Turn the edges of openings inward by a quarter of an inch before sewing to prevent the sock from shedding.