Cozy up with a handmade fleece blanket this winter, even if sewing isn't your forte! Forget fiddly needles and complicated stitches – this project is all about simple, no-sew techniques that are perfect for beginners and those with limited dexterity. Imagine the satisfaction of creating a wonderfully warm and snuggly blanket in just a short amount of time, using materials readily available at most craft stores. This no-sew method makes it achievable, even one-handed!
Forget the frustration of complex sewing projects; this DIY fleece blanket is designed for effortless creation. We’ll guide you through a step-by-step process that requires minimal effort and no specialized tools, making it ideal for crafting enthusiasts of all skill levels. Ready to transform two pieces of fleece into a cozy masterpiece? Let’s get started!
Preparation and Safety Guidelines
- Fleece fabric (1.5 yards each for two different colors or 3 yards for the same color)
- Scissors or rotary cutter
- Rotary cutting mat (if using a rotary cutter)
- Ruler
- Painter's tape
- Always supervise young children around fleece fabric to prevent accidental ingestion of small pieces.
- Use sharp fabric scissors and be cautious when cutting fleece to avoid cuts or injury. Keep fingers clear of the blades.
- If using a hot glue gun, ensure proper adult supervision and follow manufacturer instructions to avoid burns. Keep the hot glue gun out of reach of children.
Step-by-Step Instructions
Prepare Fleece Fabrics
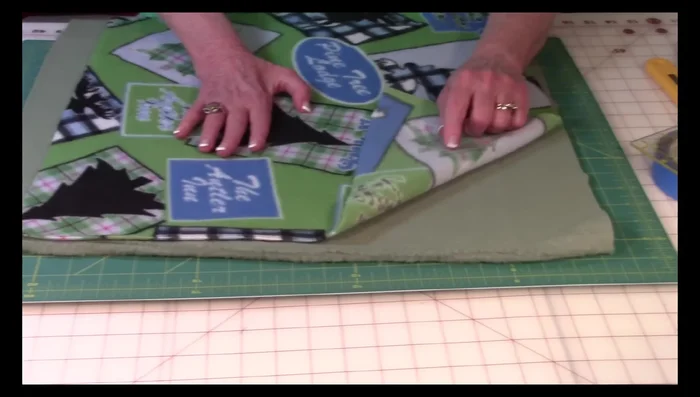
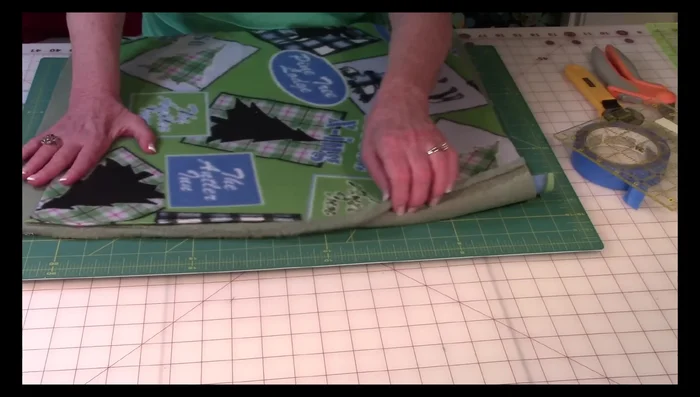
- Prepare your fleece fabrics. Place the back side of both fleece pieces together, ensuring the front side of the top piece is facing up.
- Straighten all edges and cut off the selvage (the rolled-up edges).

Prepare Fleece Fabrics Cut Corner Squares and Fringe
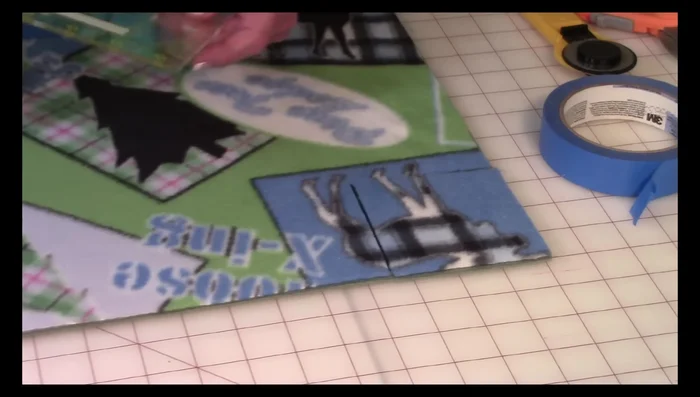
- Cut out a square from each corner (3-4 inches). The size of the square determines the length of your fringe.
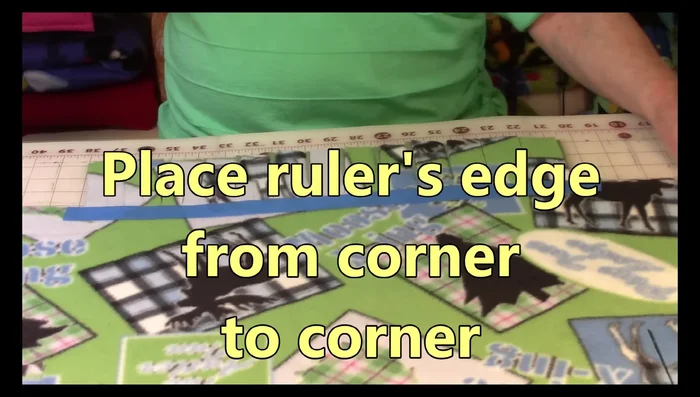
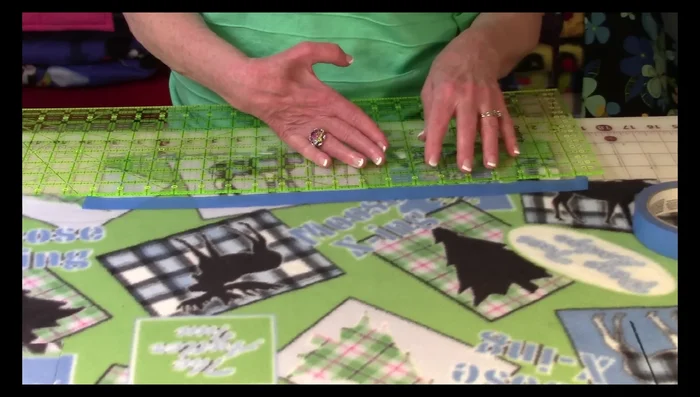
- Use a ruler to measure and mark a diagonal line from corner to corner (using the same measurement as your corner squares). Secure this line with painter's tape.
- Cut along the taped line to create fringe strips (1.25-1.5 inches wide). Repeat this process along all four sides.
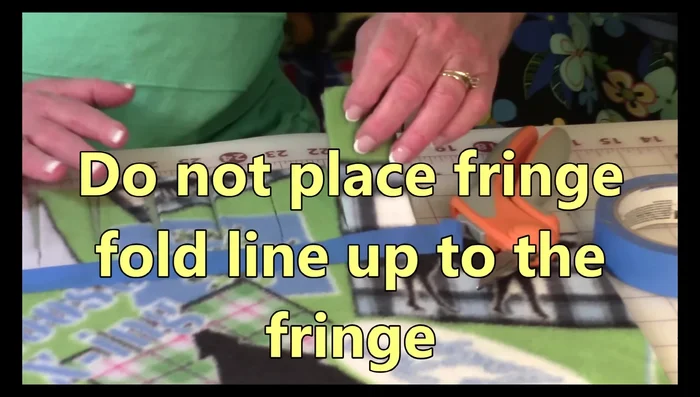
Cut Corner Squares and Fringe Fold and Snip Fringe
- Grab both layers of fringe and fold them towards the tape, about half an inch from the tape. Snip the fringe close to the fold.
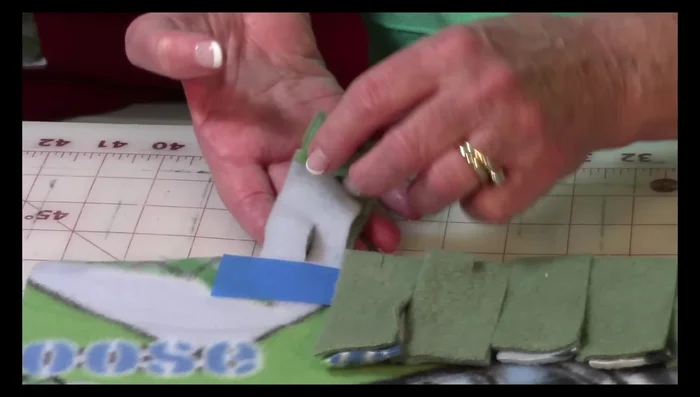
Fold and Snip Fringe Attach Fringe
- Working from one side, push the first fringe piece through the adjacent hole and pull it through. Repeat this until all fringe pieces are attached on one side, and then move to the next side and repeat.
Attach Fringe
Read more: DIY Super Cute Whale Shower Curtain: A Step-by-Step Tutorial
Tips
- Use sharp scissors or a rotary cutter for clean cuts.
- If using a rotary cutter, use a cutting mat to protect your work surface.
- Don't make fringe strips less than 1.25 inches wide; otherwise, it might be too weak.
- Keep the fringe folded while snipping to make the process faster and easier.
- Be cautious when using sharp tools around children.