Transforming humble fabric scraps into a stylish and functional floor pouf is easier than you think! This no-sew tutorial empowers you to create a cozy addition to your living space without the need for needles and thread, making it a perfect project for beginners or anyone short on time. Imagine a vibrant, textured pouf, uniquely crafted from your own collection of beloved fabrics – a testament to creativity and resourcefulness. This project is not only budget-friendly but also incredibly satisfying, allowing you to repurpose old fabrics and add a touch of personalized charm to your home.
Forget complicated sewing patterns and frustrating stitches; this DIY project utilizes a simple yet effective technique to create a sturdy and comfortable floor pouf. Using readily available materials, you’ll be surprised how quickly you can assemble this stylish piece. Ready to get started on your own unique creation? Let's dive into the step-by-step process!
Preparation and Safety Guidelines
- Woven fabric (thrift store finds recommended)
- Fabric scraps (for stuffing)
- Fabric or bias tape
- Upholstery cord
- Sewing machine
- Scissors
- Iron
- Pins
- Zipper (optional)
- Always supervise young children around the pouf to prevent falls or suffocation. The pouf is not a toy.
- Ensure the filling material is completely contained within the fabric. Loose stuffing can present a choking hazard, especially to small children or pets.
- Use strong, durable fabric and secure all ties tightly to prevent the pouf from unraveling or coming apart during use.
Step-by-Step Instructions
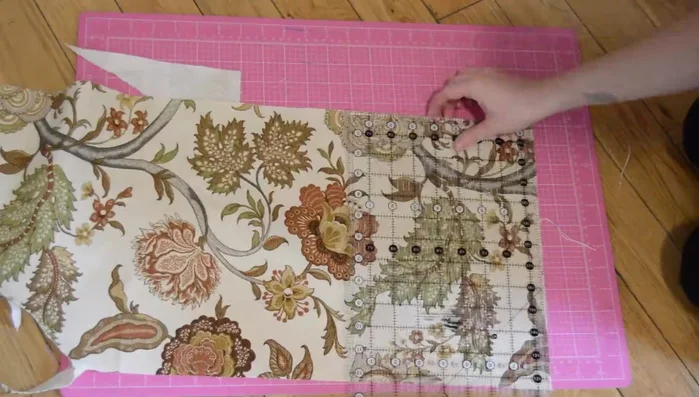
Prepare Fabric
- Cut out one circle each of your chosen fabrics. Use a base (like a fan) to trace the circles or estimate.
- Fold each circle in half, mark the center, and cut. Repeat this process for each half.
- Cut out two base pieces of each fabric. The width should match the measurement of one quarter piece from step 2.

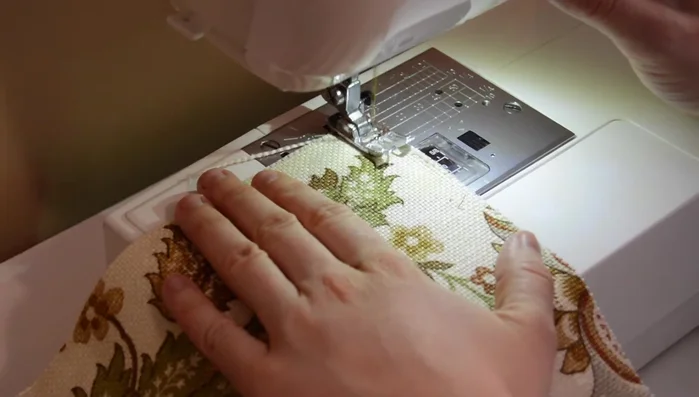
Prepare Fabric Construct Top and Bottom
- Sew the quarter pieces of the top and bottom circles together to form half-circles, finishing the raw edges with a zigzag stitch. Press seams to opposite sides.
- Sew the two half-circles together, matching the middle points. Press for a crisp finish.
Construct Top and Bottom Make Bias Tape (Optional)
- Cut 2-inch bias strips, pin them together at 90-degree angles, sew, press seams open, and fold to create bias tape.
Make Bias Tape (Optional) Attach Ribbing
- Fold the bias tape in half, iron, fold sides to the middle, and iron again. Fold along the crease, add upholstery cord to the inside, and sew close to the cord.
- Finish raw edges with a zigzag stitch. Pin bias tape (with cord) to the circle, pressing toward the middle. Fold and sew one end over the other for a clean finish.
Prepare Base
- Finish raw edges with a zigzag stitch. If using a zipper, sew a 5/8-inch seam, press open, pin the zipper, and sew it in place.
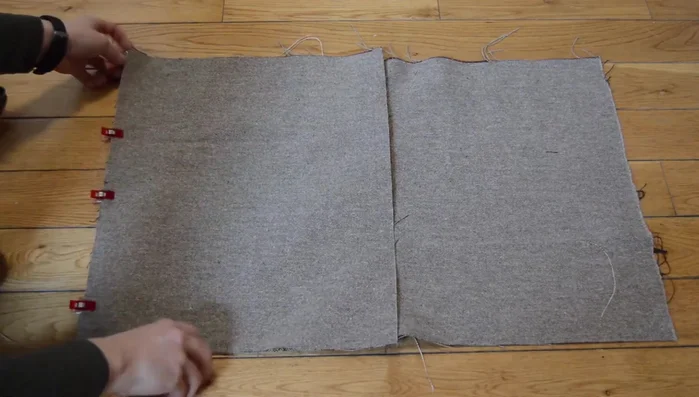
Prepare Base Assemble Base
- Pin and sew the remaining sides of the base pieces together using a 5/8-inch seam allowance. Press seams open.
Assemble Base Attach Top/Bottom to Base
- Pin one circle to the base opening, matching fabrics and stitching over previous stitches. Open the zipper before attaching the second circle. Hand-sew around the zipper.
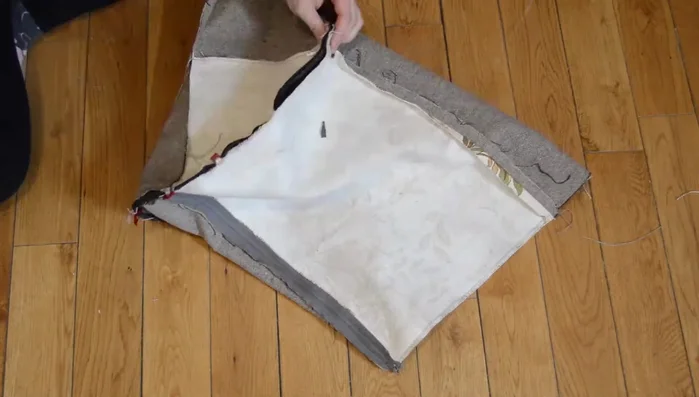
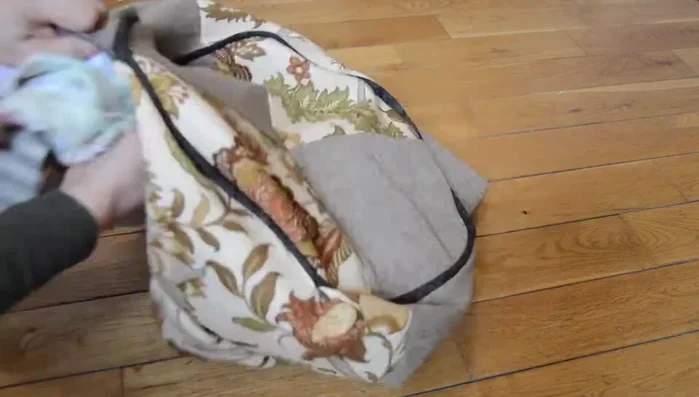
Attach Top/Bottom to Base Stuff and Finish
- Turn the pouf inside out and stuff with fabric scraps.
Stuff and Finish


Read more: DIY Super Cute Whale Shower Curtain: A Step-by-Step Tutorial
Tips
- Use a fan base or other circular object to trace your circles for consistent sizing.
- Finishing raw edges with a zigzag stitch prevents fraying.
- Pressing seams to opposite sides reduces bulk.
- Opening the zipper before sewing on the second circle makes stuffing easier.