Tired of looking at that worn-out sofa or mismatched armchair? Wish you could refresh your furniture's look without the hassle of complex sewing or expensive reupholstery? Then prepare to be amazed by the no-pattern slipcover method! This revolutionary technique allows you to dramatically transform your furniture in mere minutes, breathing new life into your living space without any complicated measuring or sewing skills. Forget those frustrating DIY projects that take hours and leave you feeling defeated; this method is quick, easy, and surprisingly effective.
Imagine effortlessly updating your living room with a fresh, vibrant look, all without spending a fortune or needing any prior crafting experience. This simple, no-pattern approach utilizes readily available materials and a clever technique to create stunning slipcovers that perfectly fit your existing furniture. Ready to learn how to achieve this incredible transformation? Let's dive into the step-by-step process!
Preparation and Safety Guidelines
- Fabric
- Pins
- Sewing Machine
- Scissors
- Iron
- Always measure your furniture accurately before purchasing fabric. Incorrect measurements will result in a poorly fitting slipcover.
- Use a fabric that is durable and easy to clean, considering the intended use of the furniture and the frequency of cleaning.
- If using pins or clips, be careful not to damage the fabric. Consider using fabric-safe pins or clips to avoid any snags.
Step-by-Step Instructions
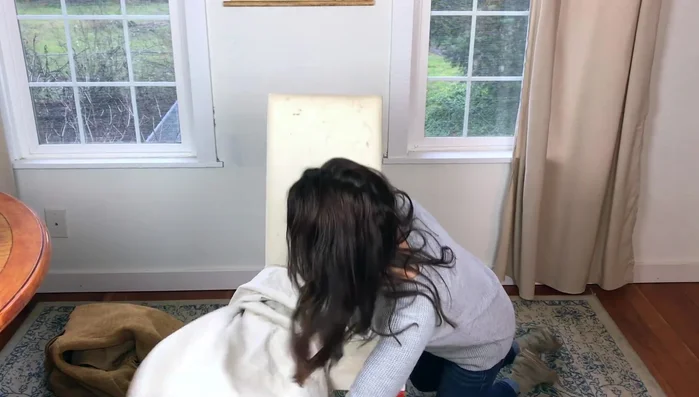
Prepare and Cut Fabric
- Determine the right side of your fabric and lay it on the furniture, allowing for seam allowance.
- Pin the fabric to the furniture, ensuring a snug fit and enough fabric for seams. Decide how many seams you want (more seams = more structure).
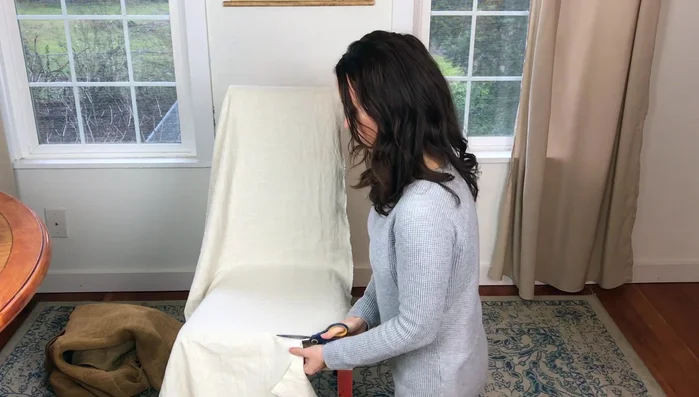
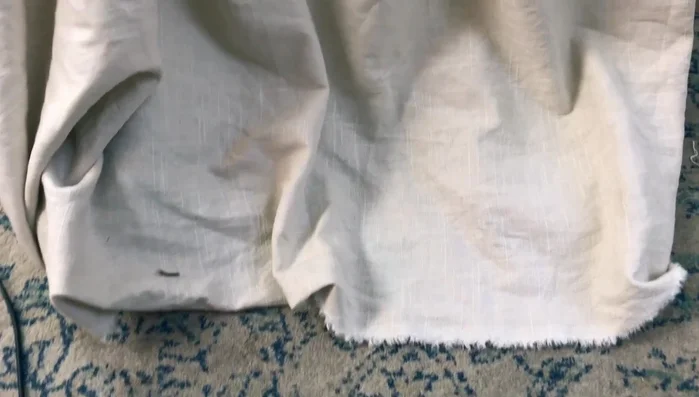
- Cut around the pinned fabric, leaving an inch or two of overhang.

Prepare and Cut Fabric Stitch the Main Slipcover
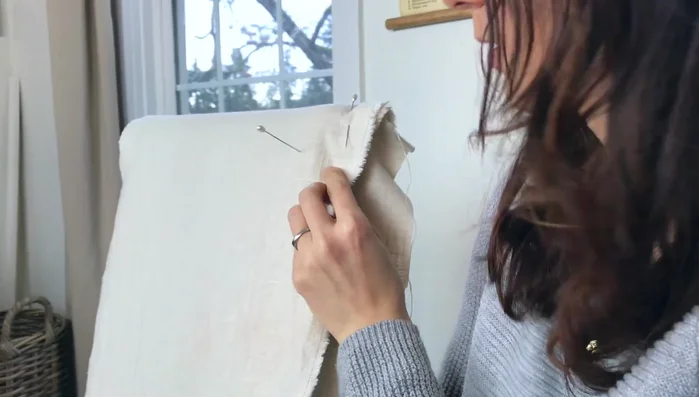
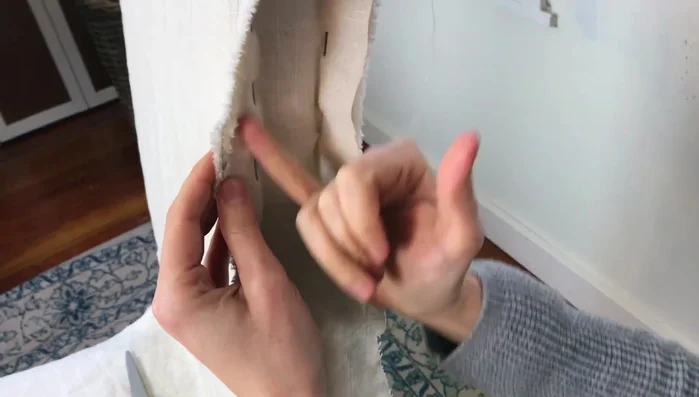
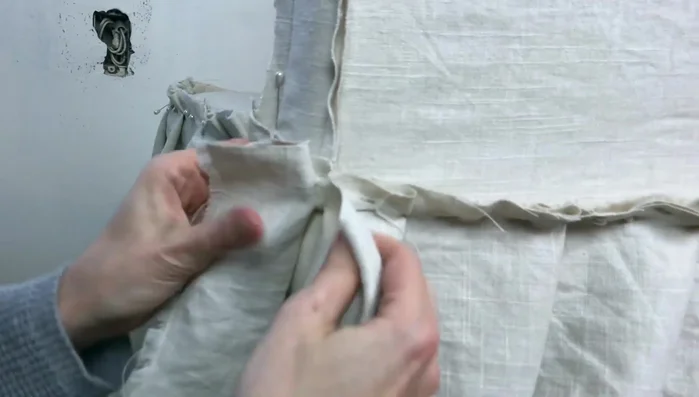
- Pin along the outline of the furniture to create seam lines. Make sure it’s snug.
- Stitch along the pinned seam lines, remove pins, and trim excess fabric (leaving about 1/2 inch).
Stitch the Main Slipcover Create and Attach Ruffle
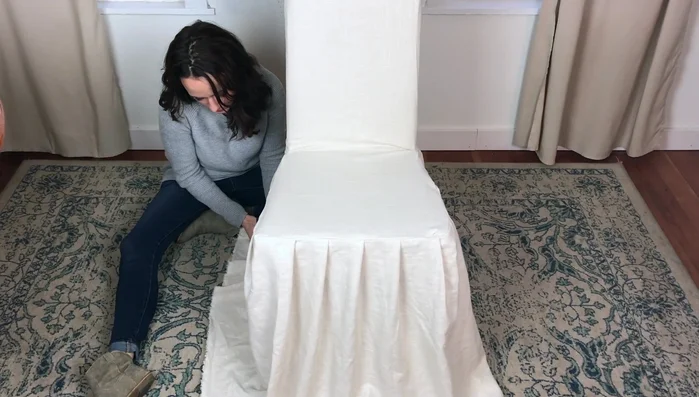
- Cut a long strip of fabric for the ruffle skirt. Pin the ruffle around the bottom edge of the slipcover, leaving extra fabric to seam together later.
- Stitch the ends of the ruffle together. If you run out of fabric, add a strip using the same method, matching the right sides of fabric together and stitching.
- Close the ruffle seam, pin where you want the stitching to be, and stitch along the pinned lines. Trim the excess fabric.
Create and Attach Ruffle Finish the Ruffle
- Hem the bottom edge of the ruffle by folding under a quarter inch and then stitching it in place.
- Open up the side hems of the ruffle for a flatter look, fold up the desired hem width, iron, and sew with a wide, loose stitch.
Finish the Ruffle


Read more: DIY Super Cute Whale Shower Curtain: A Step-by-Step Tutorial
Tips
- Don't trim fabric too close to the seam to prevent unraveling after washing.
- For the ruffle, leave extra fabric to seam together at the end. If you run out of fabric, simply add another piece.
- When hemming, don't use a super tight stitch; you want a loose drape.