Creating adorable clothing for little ones is a joy, and delicate net fabric offers a beautiful, ethereal look for baby dresses. However, the sheer nature of net can sometimes present challenges when it comes to finishing seams neatly. This tutorial will guide you through a simple yet effective gathering stitch, perfectly suited for assembling a baby dress made from net fabric. This technique ensures a professional finish without requiring advanced sewing skills, resulting in a garment that's both charming and durable. We'll focus on a method that's particularly easy to manage even for beginners, minimizing frustration and maximizing your enjoyment of the project.
This easy gathering stitch is ideal for gathering the bodice or skirt of your baby's net dress, creating a beautifully ruffled effect. Let's dive right into the step-by-step process, showing you exactly how to achieve professional-looking gathers with minimal effort, transforming your net fabric into a delightful and wearable masterpiece for your little one.
Preparation and Safety Guidelines
- sewing machine
- net fabric
- lining fabric (crepe fabric)
- elastic
- zipper
- Always use sharp, appropriate-sized needles for net fabric to prevent snags and breakage. A smaller needle is generally better for finer net.
- Net fabric can be delicate. Work slowly and gently to avoid pulling or stretching the fabric, which can distort the finished garment.
- If using a sewing machine, select a fine stitch length and test on a scrap of net before working on the dress to avoid damaging the fabric.
Step-by-Step Instructions
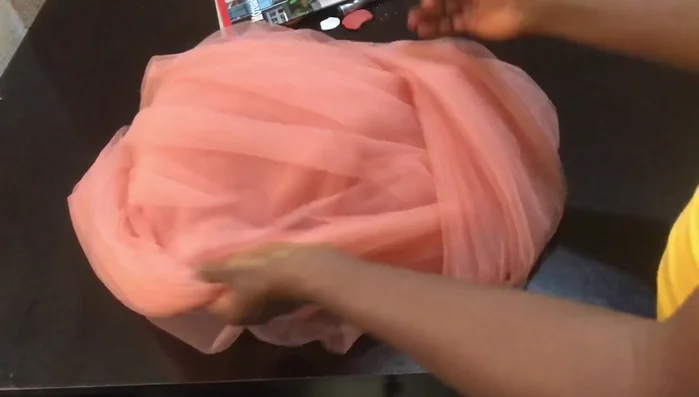
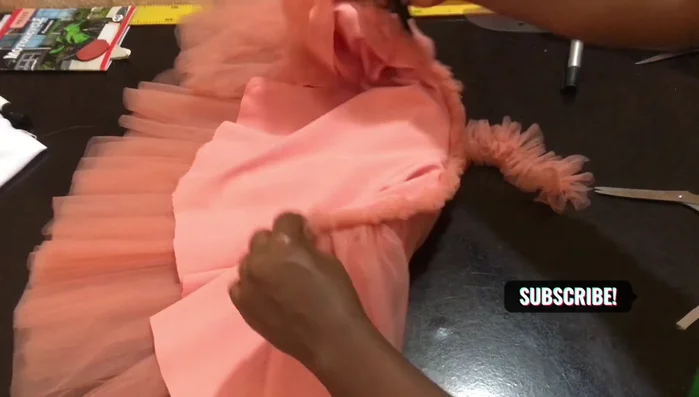
Prepare Net Fabric
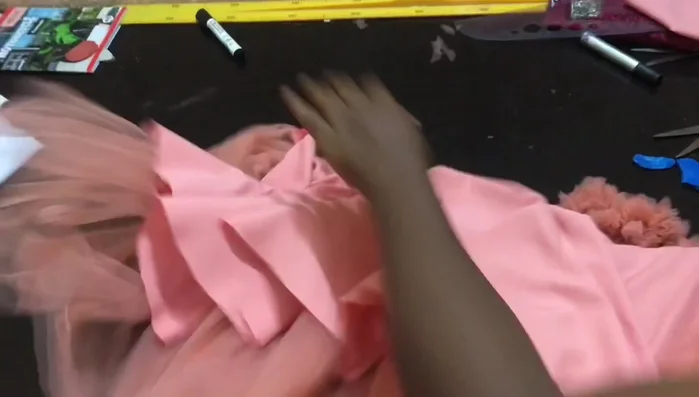
- Fold the net at the desired length. Place small plates under the presser foot to create fullness.

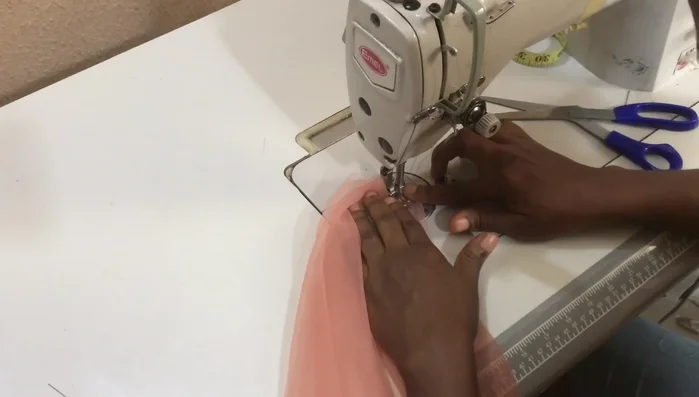
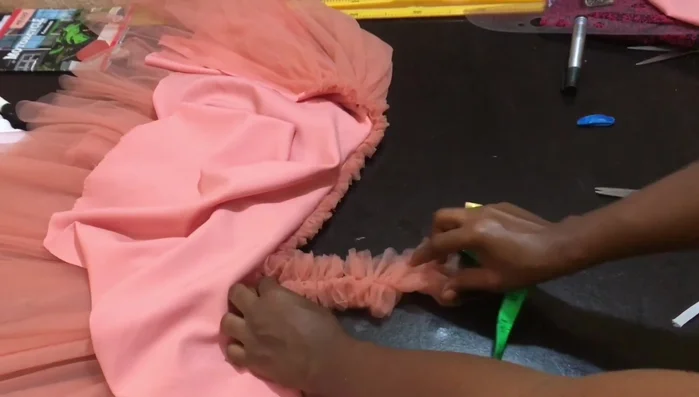
Prepare Net Fabric Gather Net Fabric
- Raise the presser foot, ensure the fabric is full under the foot, then lower the foot and stitch gently to gather the net.
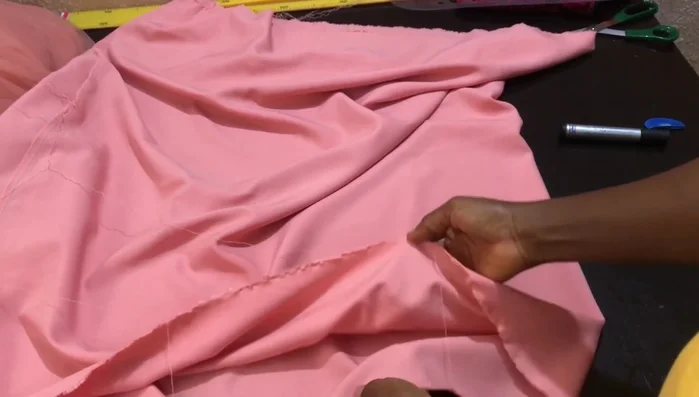
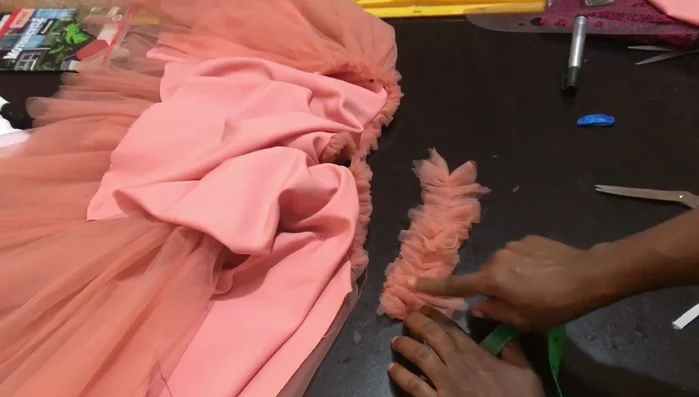
Gather Net Fabric Prepare Lining Fabric
- Cut the lining fabric to the desired length (4-5 inches shorter than the net). The video uses a full flare, but a half flare can work with less fabric.
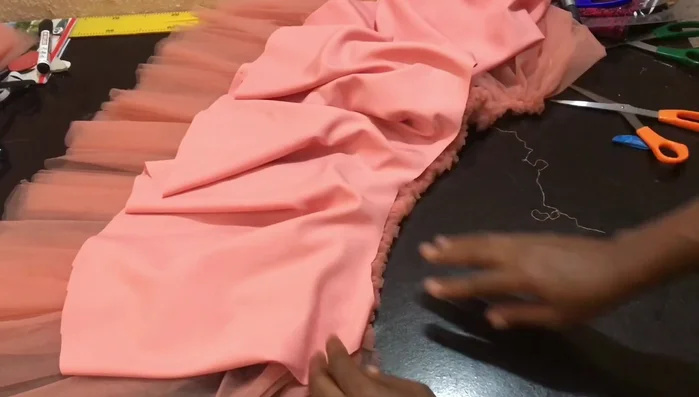
Prepare Lining Fabric Attach Lining
- Attach the lining to the gathered net, folding the edge of the lining (optional). Stitch along the existing gathers.
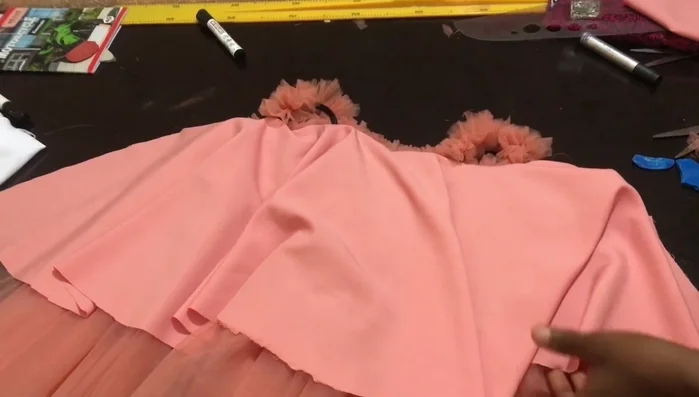
Attach Lining Prepare Sleeves
- Measure and mark the sleeve placement on the main fabric (7 inches from armhole to armhole, 3 inches from the center front on each side). The sleeve width is 2 inches, length is 7 inches.
Prepare Sleeves Gather Sleeves
- Gather the sleeves using the same gathering method as the main fabric.
Gather Sleeves Add Elastic to Sleeves
- Cut and sew an elastic band (2 inches shorter than the sleeve length) onto the sleeve for stretch.
Add Elastic to Sleeves Attach Sleeves to Dress
- Attach the gathered sleeves to the dress body, ensuring the raw edges are covered.
Attach Sleeves to Dress Finishing Touches
- Mark and attach a zipper to the upper part of the dress. Hem the bottom of the dress and lining (optional).
Finishing Touches
Read more: Raglan Sleeve Sewing Tutorial: A Step-by-Step Guide
Tips
- Double the net before gathering for extra fullness.
- Using plates under the presser foot makes gathering net fabric much easier than traditional loose stitch gathering, preventing thread breakage.
- Attach sleeves *before* attaching the lining to prevent exposed raw edges.