Are you ready to create the comfiest, most aesthetically pleasing pillow of your life? Forget flimsy, flat cushions; prepare to embark on a crafting journey to sew a luxuriously plump necro pillow, complete with professional-looking piping. This comprehensive guide will walk you through every stage of the process, from selecting the perfect fabrics and fillings to mastering the art of neat seam finishes. We’ll explore techniques for achieving that perfectly plump and satisfyingly squishy feel, ensuring your finished pillow is a triumph of comfort and style. The detailed instructions will even guide you through the often-tricky process of adding piped edges for a truly polished look.
This detailed tutorial will demystify the seemingly complex process of sewing a necro pillow with piping, equipping you with the knowledge and confidence to create a unique and beautiful addition to your home décor. Let’s dive into the step-by-step instructions and transform your fabric dreams into a reality.
Preparation and Safety Guidelines
- Pillow form (insert)
- Fabric (Sunbrella upholstery fabric recommended)
- Scissors or hot knife
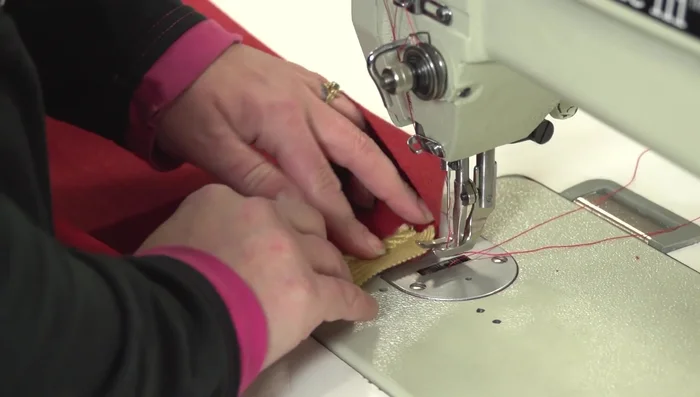
- Sewing machine (with 1/4 inch cording foot or zipper foot)
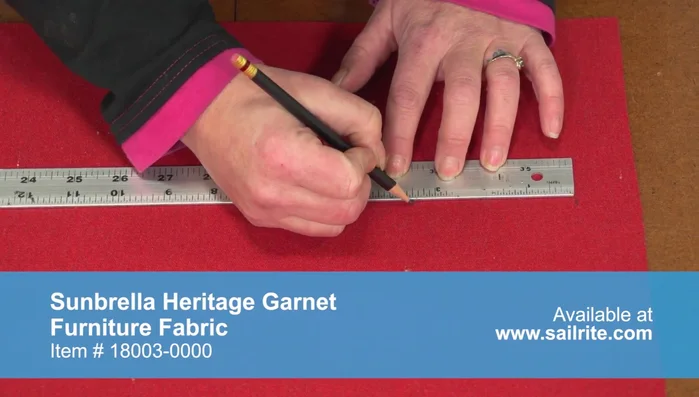
- Measuring tape
- Yardstick
- Pencil
- Pins
- Decorative piping
- Contrasting fabric
- Button forms
- Twine
- Long hand needle
- Always use clean, sanitized materials and tools to prevent infection. Thoroughly wash fabric before sewing.
- Handle the filling material carefully to avoid inhalation or skin irritation. Consider using a dust mask.
- Ensure the pillow's seams are securely stitched to prevent leakage of filling material. Use a durable thread and reinforce seams where necessary.
Step-by-Step Instructions
Measure and Prepare
- Measure length/width from seamline to seamline and circumference. Add 1 inch (or 1/2 inch for a plumper fit) seam allowance to each measurement.

Measure and Prepare Cut Fabric
- Cut two circles for the end caps (diameter = measurement + seam allowance) and one rectangle for the body (length = circumference + seam allowance, width = length + seam allowance).
Cut Fabric Sew Body Panel
- Fold the body panel in half lengthwise, sew a 4-6 inch seam 1/2 inch from the raw edge at both ends to create an opening for inserting the pillow form.
Sew Body Panel Attach Piping
- Sew decorative piping to the ends of the body panel, keeping the stitch 1/2 inch from the raw edges. Cross the ends of the piping and sew over them to create a neat join.
Attach Piping Attach End Caps
- Sew the round end caps to the ends of the main body panel, starting about an inch from the piping crossover. Keep the stitch 1/2 inch from the edges of the end caps. Make small slits in the end cap fabric if needed to reduce puckering.
Attach End Caps Insert Pillow Form
- Turn the cover right side out and insert the pillow form.
Insert Pillow Form Close Opening
- Fold the raw edges of the opening 1/4 inch, pin, and sew a seam close to the folded edge. Remove pins as you sew.
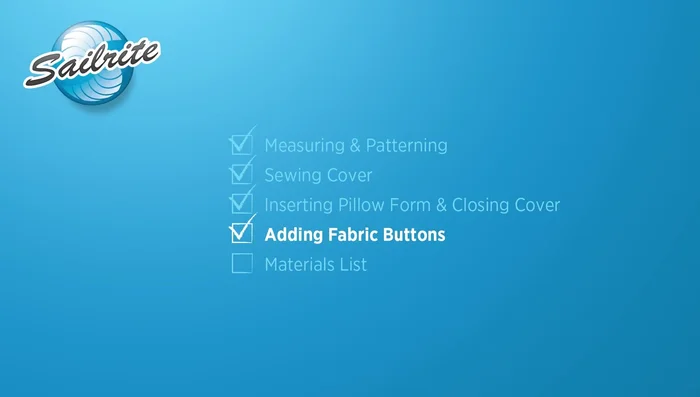
Close Opening Add Button Forms (Optional)
- Make fabric button forms using contrasting fabric and a button form. Secure them to the pillow using pre-waxed twine and a long hand needle.
Add Button Forms (Optional)


Read more: King Size Quilt Tutorial: Efficient Chain Piecing Method
Tips
- For a plumper pillow, use a 1/2-inch seam allowance instead of 1 inch.
- Use a hot knife to cut synthetic fabrics to prevent unraveling.
- Staple the end caps to the body temporarily if you find sewing them on difficult.
- Use a heavy-duty sewing machine for best results when sewing over piping.
- Make small slits in the end cap edges to help reduce puckering when sewing.