Step into a world of enchantment and craft your own whimsical mushroom doll! This charming project is perfect for beginners, requiring minimal crafting experience and readily accessible materials. Imagine the delightful possibilities: tiny toadstools peeking from mossy gardens, friendly fungi guarding miniature fairy houses – the creative potential is as boundless as your imagination. You'll be surprised how easily you can transform simple materials into these adorable, characterful creations. These little mushroom friends make wonderful gifts, unique home décor, or delightful additions to any miniature scene.
Forget complicated patterns and frustrating techniques; this tutorial focuses on simple, easy-to-follow instructions, guiding you every step of the way. Prepare to be captivated by the magic of creating your own miniature mushroom world, and let's dive into the step-by-step process of crafting your very own whimsical mushroom doll!
Preparation and Safety Guidelines
- Sculpted face
- Two scooped hands
- Air-dry or polymer clay
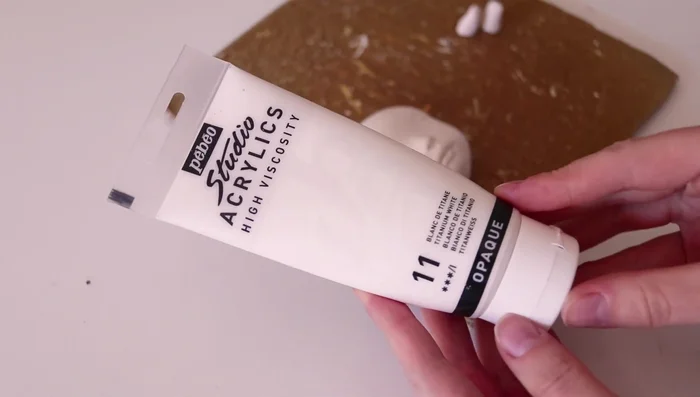
- White acrylic paint
- Matte water-based acrylic varnish
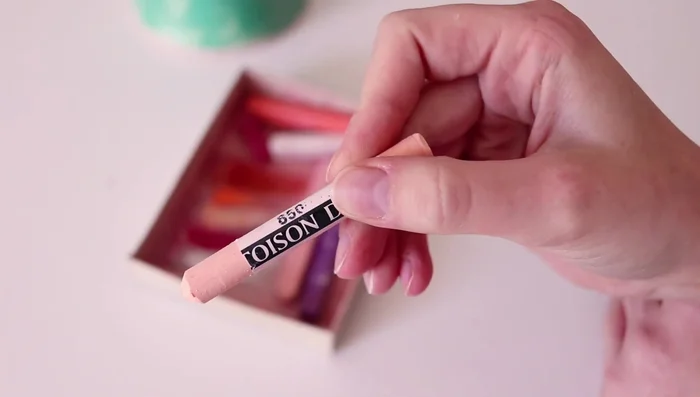
- Soft pastels (white, peach, dark pink)
- Watercolors
- White gouache
- Thin watercolor brush
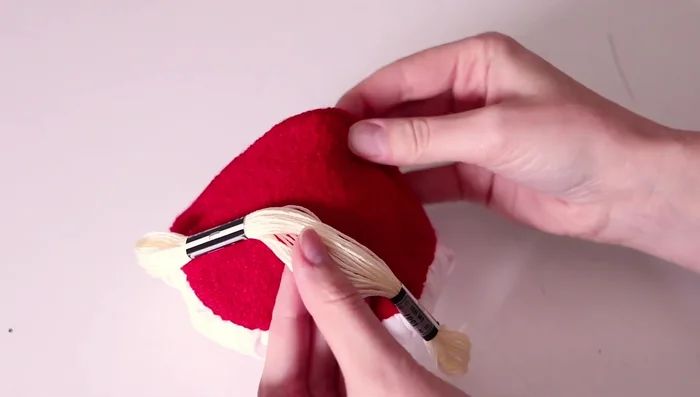
- Embroidery thread (white or off-white)
- White beads
- Watered-down coffee
- Fabric (thicker wool, thin white cotton, off-white felt), Sewing machine or needle and thread
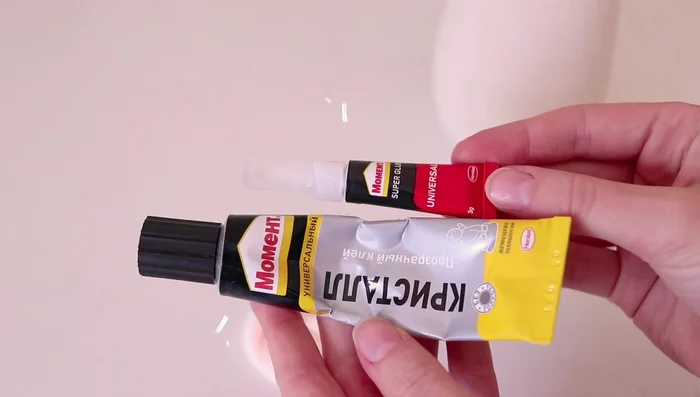
- Rubber glue
- Super glue
- Cardboard
- Stuffing
- Creamy ribbon
- Always supervise children when working with crafting materials like needles, scissors, and hot glue. Small parts pose a choking hazard.
- Ensure adequate ventilation when using paints, varnishes, or other potentially strong-smelling materials. Work in a well-ventilated area or wear a respirator.
- Only use non-toxic paints, sealants, and fillers suitable for use in creating toys or items that may come into contact with skin.
Step-by-Step Instructions
Face Preparation
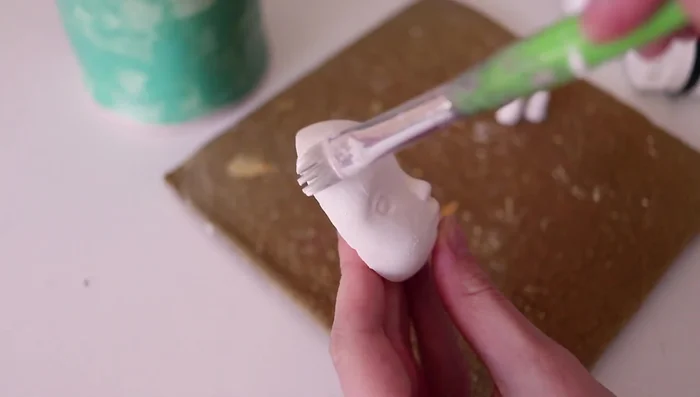
- Painting the face with white acrylic paint for a base.
- Applying two layers of white paint, minimizing brush strokes for a smooth finish.
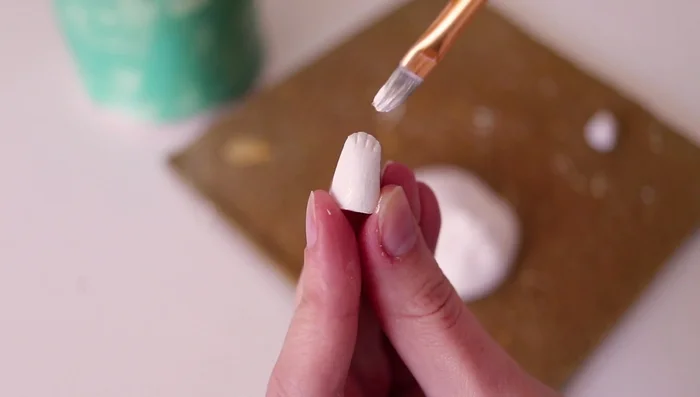
- Spraying with varnish to create a smoother surface.

Face Preparation Face Painting
- Adding color and blush using soft pastels (white, peach, dark pink).
- Refining features with watercolors for a translucent finish.
- Adding accents and lightening colors with white gouache.
Face Painting Mushroom Hat Construction
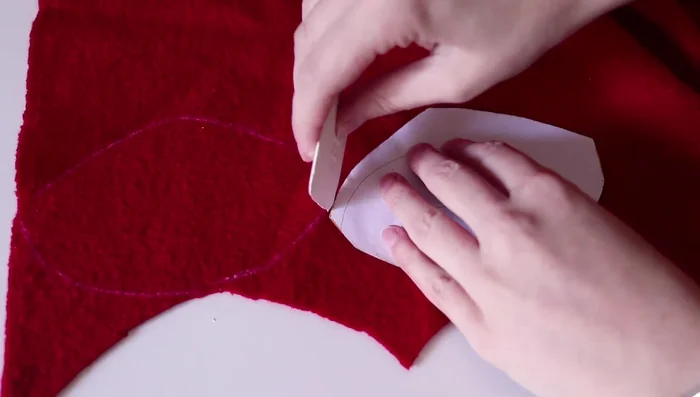
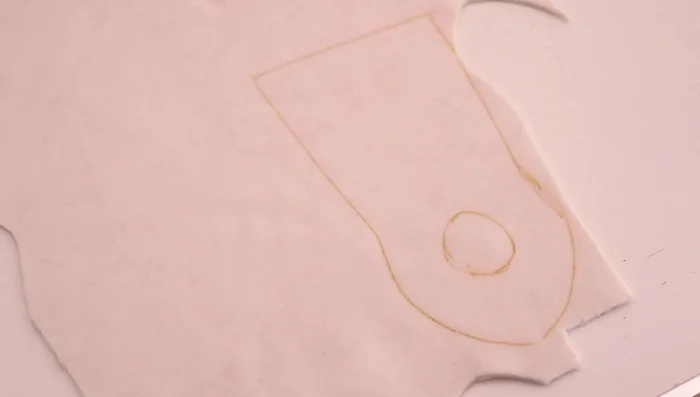
- Cutting and sewing fabric pieces together.
- Attaching the hat lining with a ladder stitch.
- Creating pleats in the lining to form the mushroom cap shape.
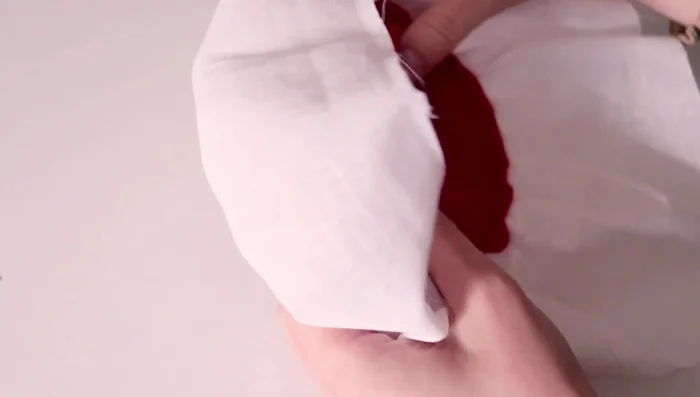
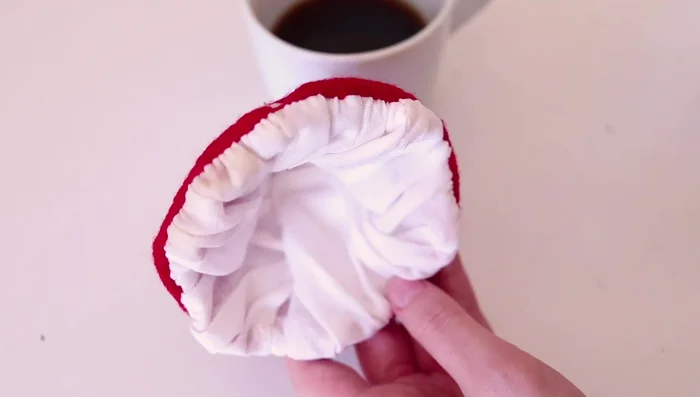
- Gathering and sewing the white fabric to create the inner lining of the hat.
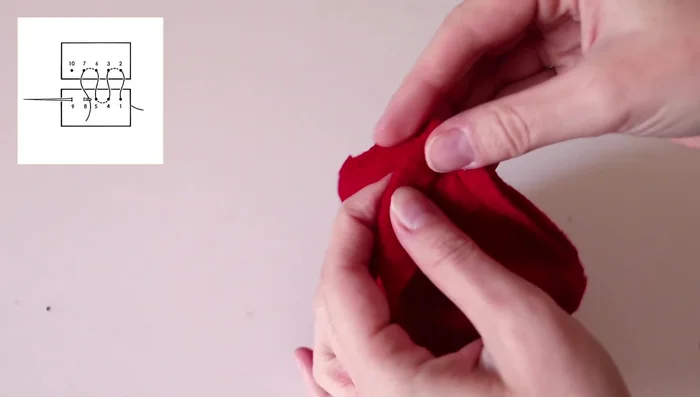
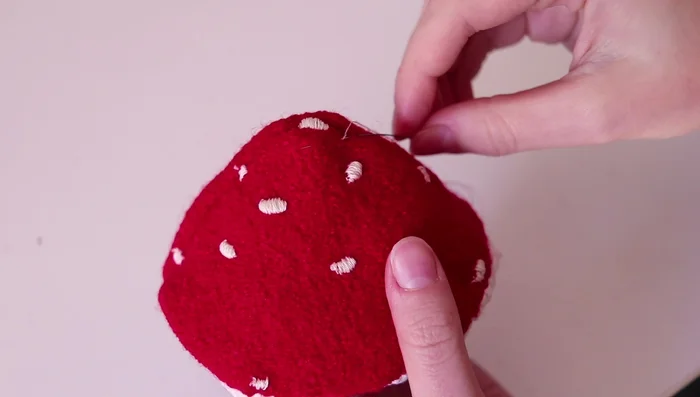
Mushroom Hat Construction - Embroidering white dots onto the hat using back stitch and satin stitch.
- Adding white beads to the hat for texture and detail.
- Aging the hat edges with watered-down coffee.
Mushroom Hat Construction Doll Body Construction
- Cutting and sewing fabric pieces together.
- Adding cardboard to the bottom of the body for stability.
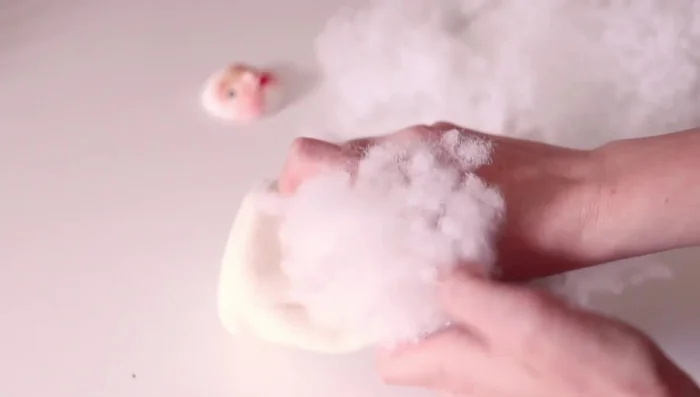
- Stuffing the doll body.
Doll Body Construction Assembling the Doll
- Gluing the face to the doll body using rubber glue and super glue.
- Attaching the mushroom cap to the doll’s head.
- Creating and attaching the skirt using white fabric.
- Attaching the hands to the doll body with super glue.
Assembling the Doll - Attaching ribbon.


Read more: DIY Fluffy Duck Plushie Tutorial: A Step-by-Step Guide
Tips
- Wait for paint layers to dry completely to avoid smudging.
- Use pastels from light to dark colors for better blending.
- Spray with varnish after each pastel layer to lock in the color.
- Don't be afraid to experiment with colors and textures.
- Use a wet brush to blend highlights.