Transform your dining space with the elegance of a handcrafted lace tablecloth, featuring perfectly mitered corners – a detail that elevates the piece from simple to stunning. Forget the daunting image of intricate lacework; this project simplifies the process, allowing you to achieve professional results with surprising ease. This DIY guide demystifies the art of creating mitered corners, a detail that often feels intimidating but is surprisingly achievable with clear instructions and a few simple techniques. The beauty of this project lies in its deceptively simple execution, providing a satisfying and rewarding crafting experience.
Forget complex patterns and frustrating techniques; this effortlessly chic tablecloth is designed for even beginner crafters. We'll break down the steps into manageable chunks, guiding you through each stage with clear illustrations and helpful tips. Ready to add a touch of handmade charm to your home? Let's dive into the step-by-step process for creating your own effortlessly beautiful mitered corner lace tablecloth.
Preparation and Safety Guidelines
- Cream-colored lace
- Sewing machine
- Ruler with a 45-degree line
- Pins
- Better Homes and Gardens Tablecloth (from Walmart)
- Always use sharp scissors or rotary cutter for clean cuts, preventing fraying and ensuring accurate mitered corners.
- Pre-wash your fabric to avoid shrinkage after the tablecloth is completed.
- Pinning and pressing seams at each stage is crucial for achieving a neat and professional finish. Take your time and pay attention to detail.
Step-by-Step Instructions
Prepare and Attach Lace
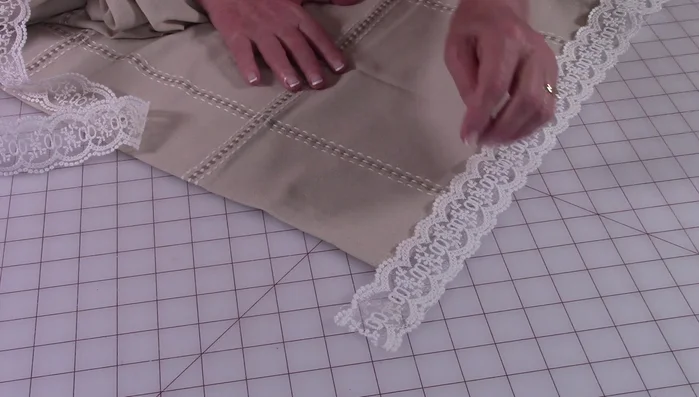
- Prepare your tablecloth and lace. Overlap the lace by a quarter of an inch.
- Stitch the lace to the tablecloth along each side, stopping three inches from each corner.
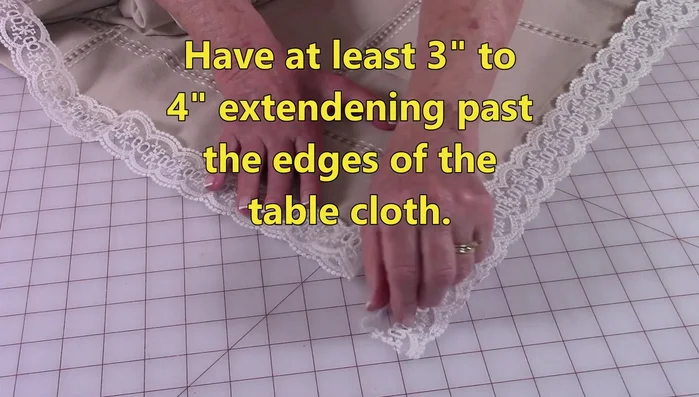
- Extend the lace at least three inches beyond the edge on each side for mitered corners.

Prepare and Attach Lace Create Mitered Corners
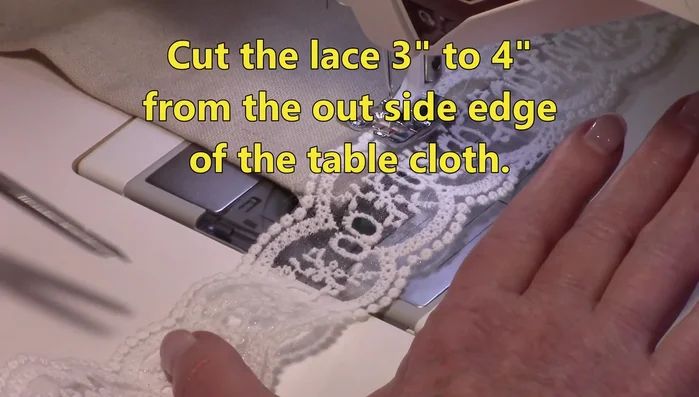
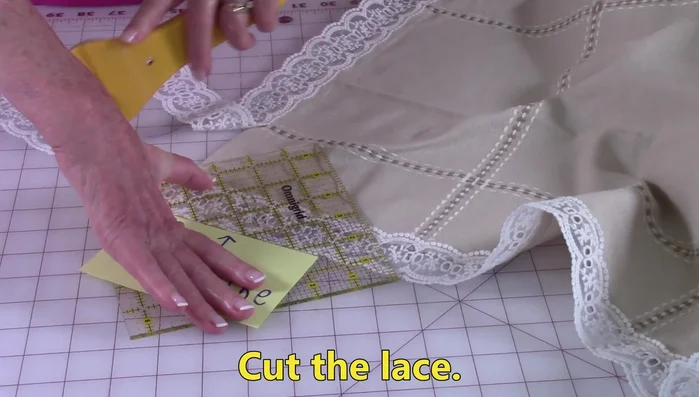
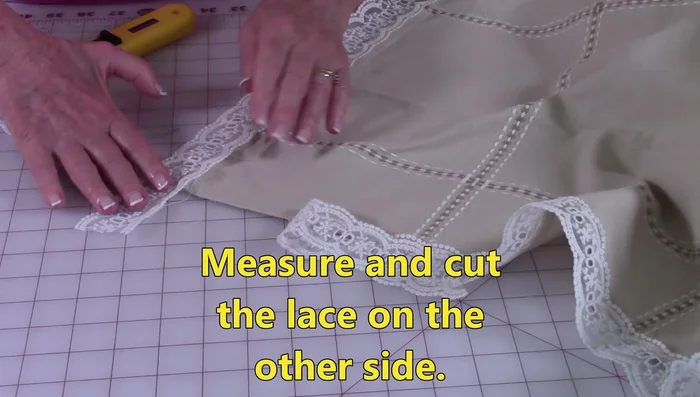
- Cut the lace three inches from the corner.
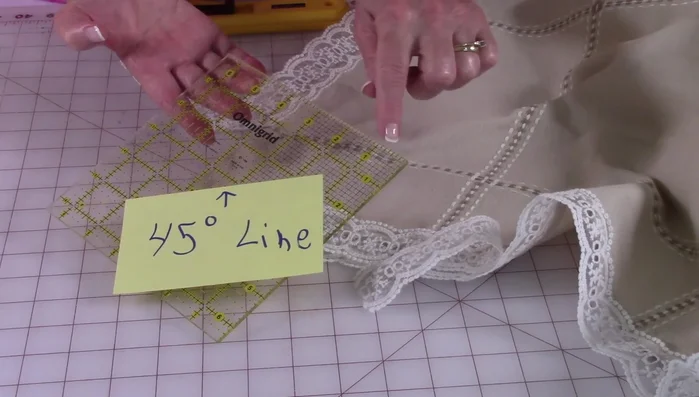
- To create the mitered corner, use a ruler with a 45-degree line. Align the 45-degree line with the edge of the tablecloth and the quarter-inch overlap of the lace.
- Cut the lace along the 45-degree line.
- Repeat steps 5 and 6 for the other side of the corner.
Create Mitered Corners Stitch and Finish Corners
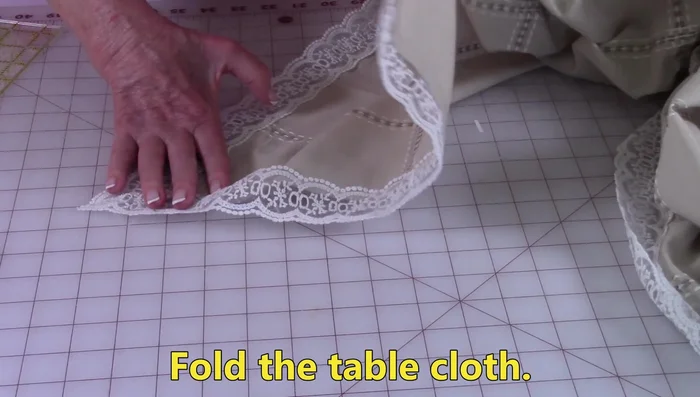
- Fold the tablecloth so the front sides of the lace are together, pin, and stitch a quarter-inch seam.
- Before final stitching, open the corner and check for fit. Adjust if necessary.
- Trim the seam to 1/4 inch, zig-zag stitch the raw edge, and pin before final stitching.
Stitch and Finish Corners

Read more: DIY Super Cute Whale Shower Curtain: A Step-by-Step Tutorial
Tips
- Use a ruler with a 45-degree line for precise mitered corners.
- Check and recheck the alignment of your 45-degree line and quarter-inch mark before cutting.
- Always check the fit of your mitered corners before final stitching to prevent issues.
- If using multiple lace rolls, keep seams less than a quarter of an inch and zig-zag stitch over the raw edges to prevent unraveling.