Are you ready to craft a stylish and practical crossbody bag without spending hours hunched over a sewing machine? This tutorial will guide you through creating a stunning misti patchwork crossbody bag using the easiest and fastest method available. Forget complicated patterns and intricate stitching; this project is perfect for beginners and seasoned sewists alike, offering a satisfyingly quick craft experience with impressive results. The unique patchwork design allows you to unleash your creativity and personalize your bag with your favourite fabrics, transforming scraps into a treasured accessory.
This simple yet effective method utilizes readily available materials and straightforward techniques, ensuring a beautiful finished product even for those with limited sewing experience. Prepare to be amazed by how quickly you can stitch together this charming bag, from selecting your fabrics to proudly carrying your finished creation. Let's dive into the step-by-step instructions and start creating your own unique misti patchwork crossbody bag!
Preparation and Safety Guidelines
- Fabric (including faux leather/vinyl)
- 5-inch squares
- Ruler
- Sewing machine
- Quarter-inch foot (optional)
- Rotary cutter or scissors
- Iron
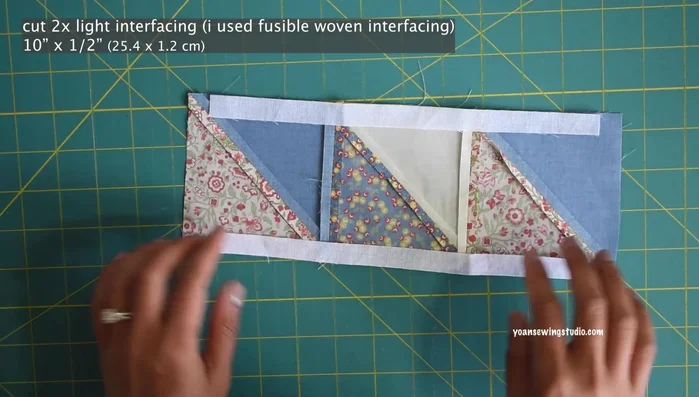
- Interfacing (fusible woven, heavier stabilizer)
- 9-inch zipper
- Basting tape
- Fabric marker
- Pins or clips
- D-rings
- Swivel hooks
- Adjuster slider
- Rivets
- Hole puncher
- Hammer
- Sewing clips
- Always use sharp, high-quality sewing machine needles appropriate for your fabric weight to prevent skipped stitches and broken needles.
- Handle your rotary cutter and cutting mat with care to avoid accidental cuts. Keep them out of reach of children.
- Pre-wash your fabrics before sewing to prevent shrinkage and color bleeding after the bag is completed.
Step-by-Step Instructions
Prepare Patchwork Panels
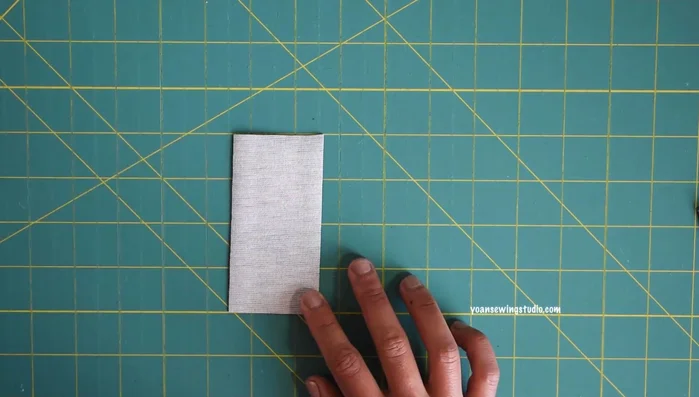
- Create Half-Square Triangles:
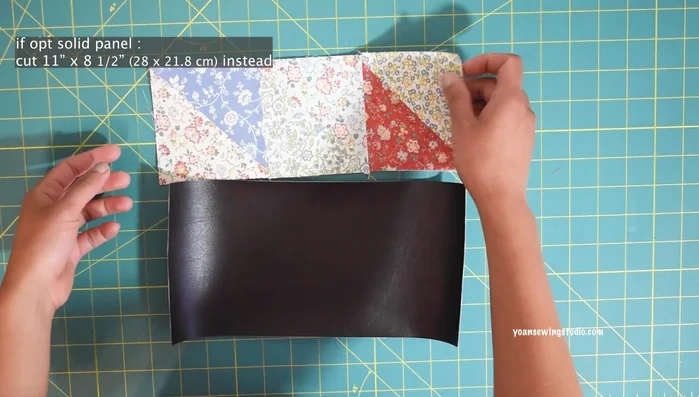
- Assemble Patchwork Panels (Front):
- Apply Interfacing to Patchwork Panels:

Prepare Patchwork Panels Assemble Front Exterior
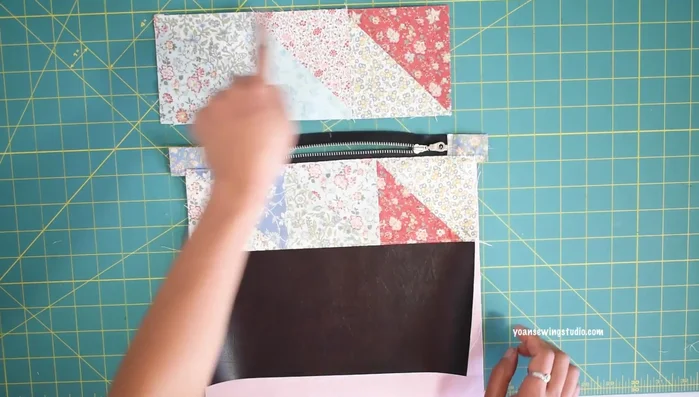
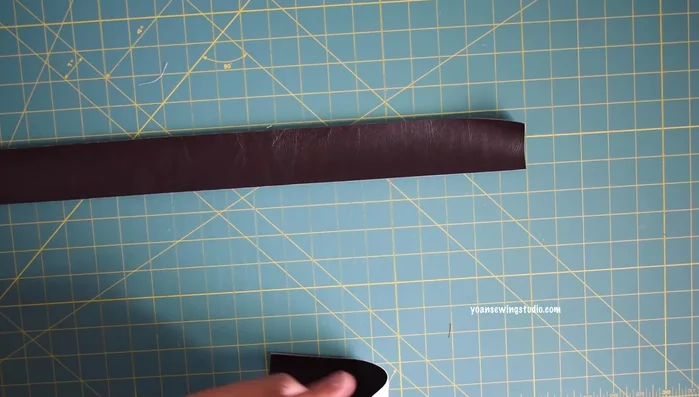
- Sew Patchwork and Faux Leather Panels:
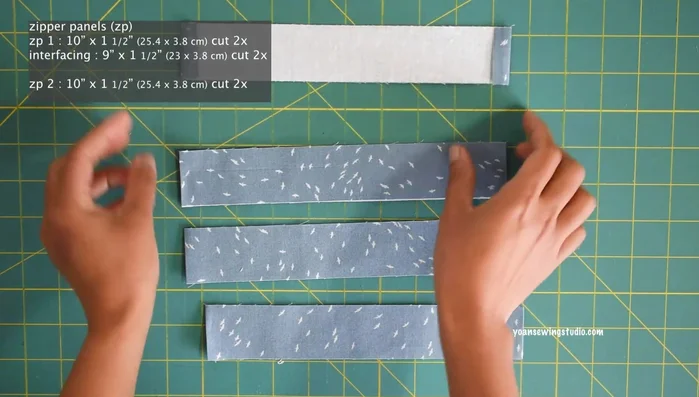
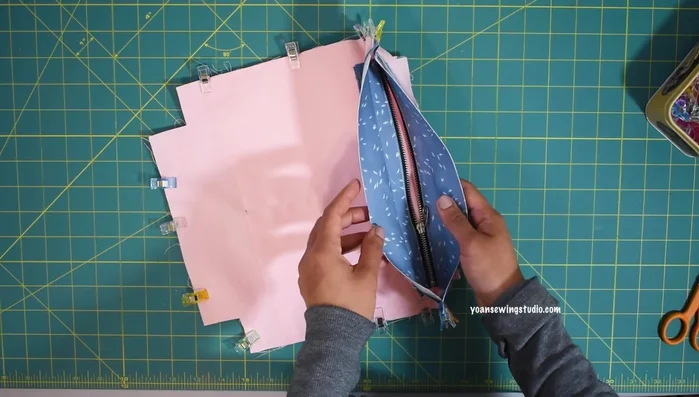
- Prepare and Attach Zipper Pocket:
- Sew Panel 1 to Zipper:
Assemble Front Exterior Assemble Back Exterior
- Assemble Back Exterior:
- Join Front and Back Exterior Panels:
- Box Corners:
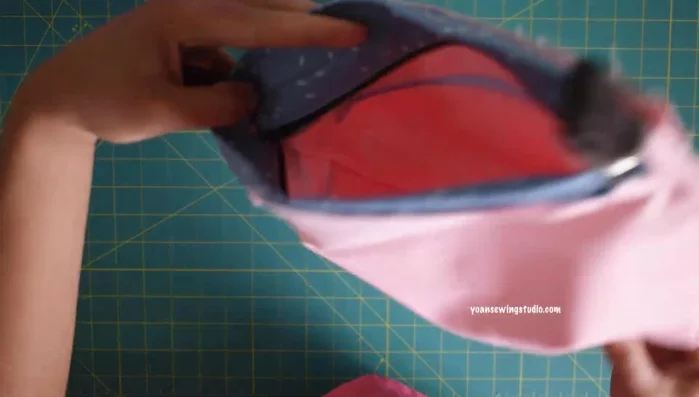
Assemble Back Exterior Attach Zipper Closure
- Prepare Zipper Closure:
- Attach Zipper Closure to Panels:
Attach Zipper Closure Prepare and Assemble Back Interior
- Prepare and Attach Back Interior Pockets:
- Assemble Back Interior:
- Prepare D-ring Tabs:
- Attach D-ring Tabs to Back Interior:
Prepare and Assemble Back Interior Create and Attach Strap
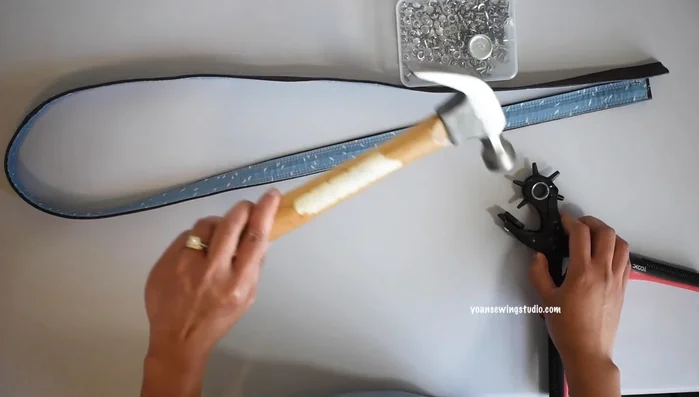
- Create Adjustable Strap:
- Attach Strap Hardware:
Create and Attach Strap Final Assembly
- Assemble Bag (Drop-in Method):
Final Assembly


Read more: DIY Quilted Makeup Pouch Tutorial: The Easiest and Fastest Method
Tips
- Use a quarter-inch foot for more accurate seam allowances.
- Use basting tape for easier zipper sandwiching.
- Use a walking foot or Teflon foot when sewing faux leather.
- Knot threads instead of backstitching faux leather seams.
- Take your time and ensure neat stitching during assembly.