Dive into the enchanting world of crafting with this DIY mermaid doll tutorial! Transform a plain doll into a shimmering underwater princess with a breathtaking sequin tail, perfect for imaginative play or a unique handmade gift. Forget expensive store-bought mermaids – this project allows you to customize your creation entirely, choosing colours and embellishments to match your personal style. Imagine the glittering scales catching the light as your handmade mermaid twirls and dances. You can even involve children in the process, making it a fun and memorable crafting experience.
This tutorial will guide you through each step, from gathering materials to expertly attaching the sequins, ensuring a professional-looking finish. Prepare to be amazed as you witness your ordinary doll blossom into a radiant, sequin-clad mermaid masterpiece. Ready to begin creating your stunning mermaid's tail? Let's dive into the step-by-step instructions!
Preparation and Safety Guidelines
- Sequin fabric
- Iridescent fabric
- Stiff interfacing
- Sewing machine (optional)
- Needle and thread
- Iron
- Stuffing
- Doll pattern
- Watercolor pencils
- Mod Podge
- Adult supervision is required at all times, especially when using sharp objects like scissors or hot glue guns.
- Small parts, such as sequins and beads, pose a choking hazard. Keep these away from young children.
- Always test hot glue on a scrap piece of fabric before applying it to your doll's tail to avoid damaging the material.
Step-by-Step Instructions
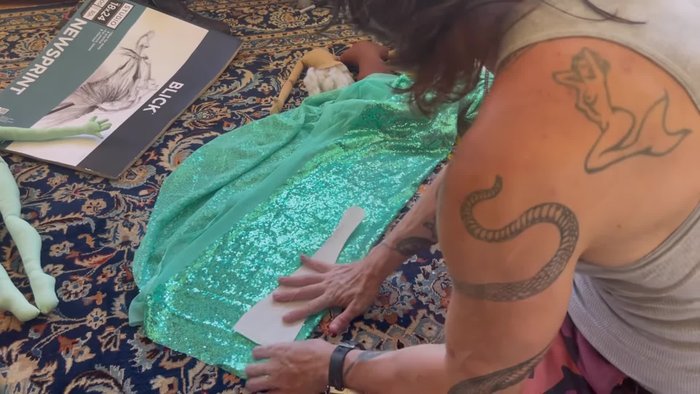
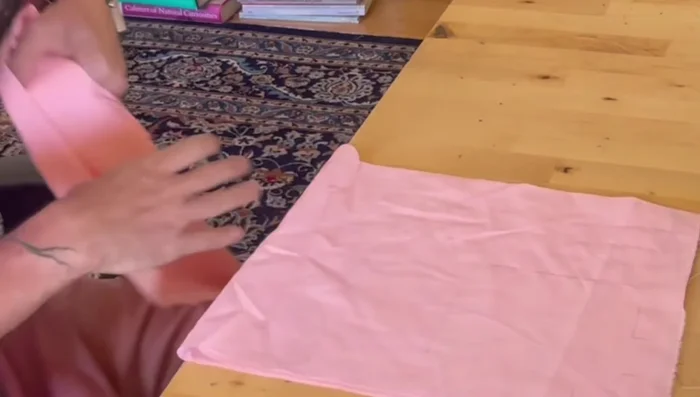
Prepare Tail Fabrics
- Layer sequin and iridescent fabrics. Cut iridescent fabric on the bias and add a layer of stiff interfacing for body.

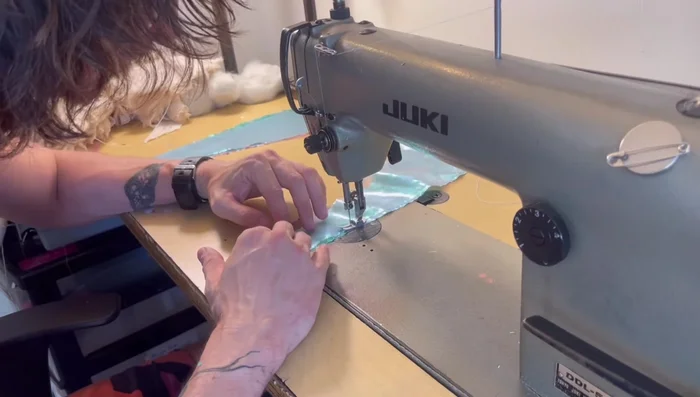
Prepare Tail Fabrics Construct Tail Base
- Iron and sew fabric layers together to prevent slippage.
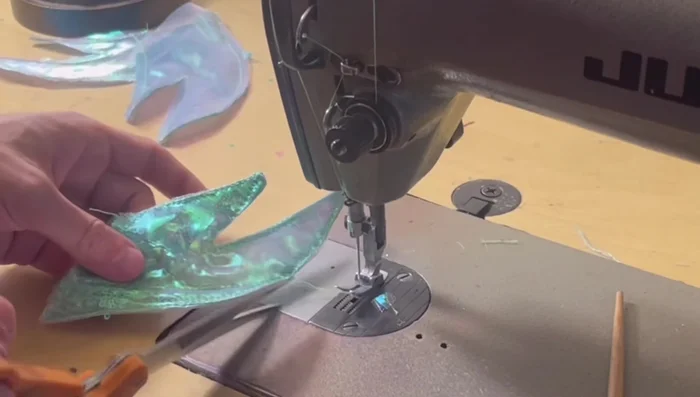
Construct Tail Base Assemble the Tail Fins
- Sew outside fins to the top of the main tail piece. Attach front and back bottom fins separately.
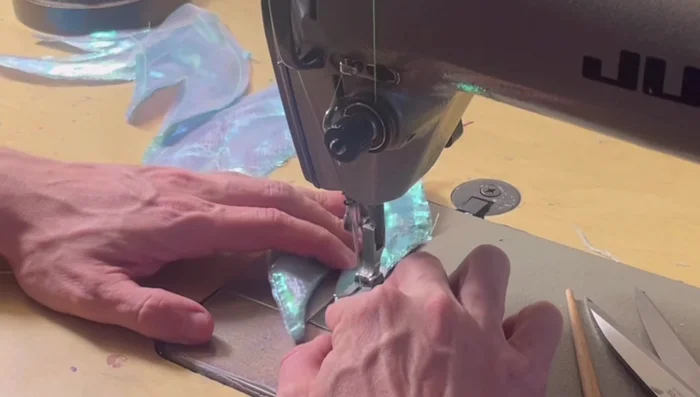
Assemble the Tail Fins Finish Tail Construction
- Turn the tail inside out, topstitch the edges of fins and the main tail.
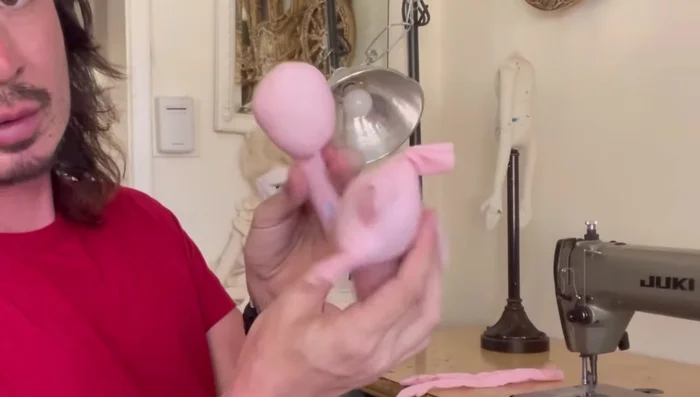
Finish Tail Construction Create Doll Body
- Create the doll body using a downloadable pattern. Trace pattern pieces without seam allowance, add darts, and sew together.
- Stuff the head and body.
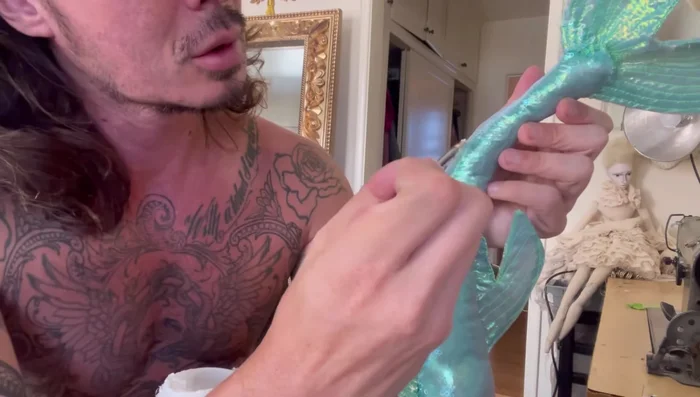
Create Doll Body Attach Tail to Body
- Topstitch the tail to the body. Consider adding a decorative element (sequin fabric, ruffle) to conceal the seam.
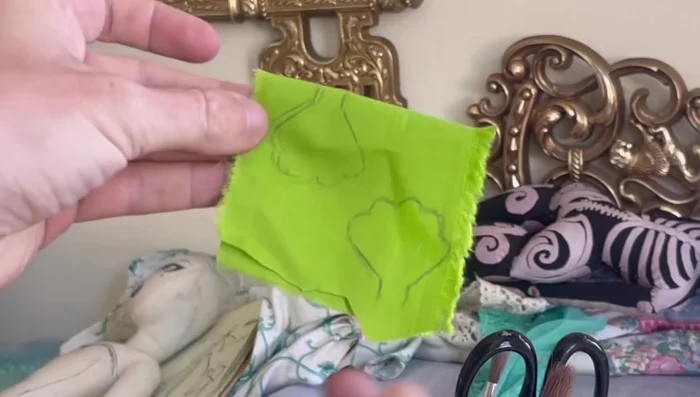
Attach Tail to Body Create and Attach Shell Bra
- Cut out shell shapes with seam allowance, sew, turn inside out, and attach to the doll.
Create and Attach Shell Bra Add Hair
- Attach the doll wig (or create your own).
Face and Finishing Details
- Use watercolor pencils to create a sunburnt expression.
- Stitch down fingertips, add final details.
Face and Finishing Details Repair and Touch-ups
- Repair any tears in the tail using Mod Podge.
Repair and Touch-ups


Read more: DIY Fluffy Duck Plushie Tutorial: A Step-by-Step Guide
Tips
- Take your time and be delicate, especially when working with iridescent fabric.
- Embrace imperfections – they add to the handmade charm.
- Use Mod Podge to reinforce seams and prevent tearing.
- Experiment with different ways to join the tail and torso – ruffles, embellishments, etc.
- Consider using watercolor pencils for a more detailed facial expression.