Need a sturdy, stylish tote bag for your next trip to the farmer's market or a quick grocery run? Forget expensive store-bought options! This guide shows you how to sew a fantastic market tote bag using the absolute fastest and easiest method possible. We're talking minimal sewing experience required, no complicated patterns, and a finished project in under an hour. Imagine carrying your goodies in a beautiful, handmade bag you crafted yourself – all without the hassle of intricate instructions or hours of labor. This project is perfect for beginners eager to dip their toes into the world of sewing or experienced crafters looking for a speedy and satisfying project.
Forget fussy seams and complex designs; we're focusing on simplicity and efficiency. This method relies on straightforward techniques and readily available materials, ensuring a quick and enjoyable crafting experience. Ready to get started creating your own custom market tote? Let's dive into the step-by-step instructions below and transform a piece of fabric into a practical and stylish accessory in minutes.
Preparation and Safety Guidelines
- Sewing machine
- Iron
- Heat press (optional)
- Fabric scissors
- Ruler
- Fabric marking pen (washable or heat-erasable)
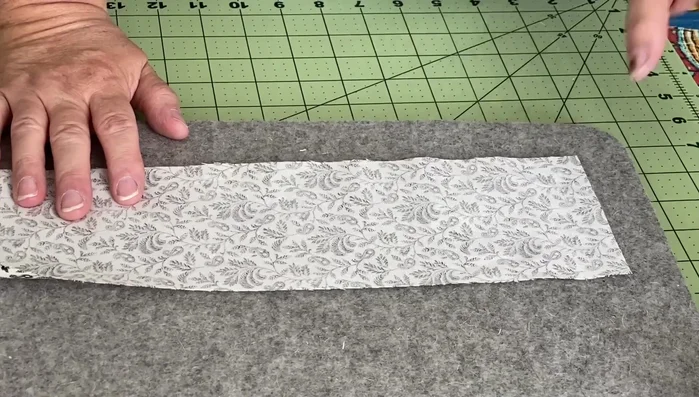
- Ironing mat (wool felt recommended)
- Pins or clips (optional)
- Always use sharp scissors or a rotary cutter to ensure clean cuts and prevent injury. Dull blades increase the risk of accidents.
- Before using your sewing machine, ensure the needle is correctly inserted and the machine is threaded properly. Incorrect threading can cause needle breakage or damage to the fabric.
- Use caution when working with pins and needles. Keep them away from children and store them safely when not in use to avoid accidental pricks.
Step-by-Step Instructions
Prepare Fabric
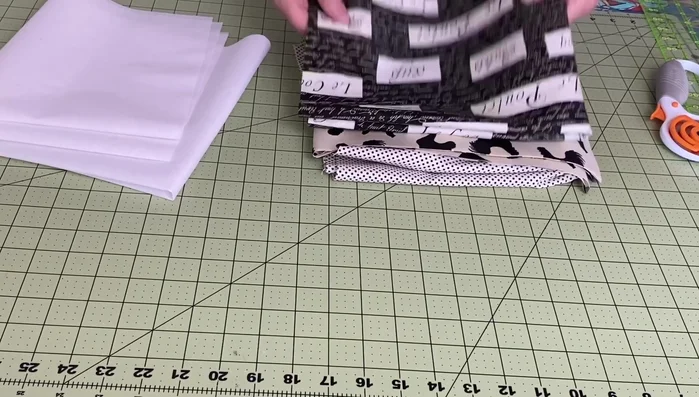
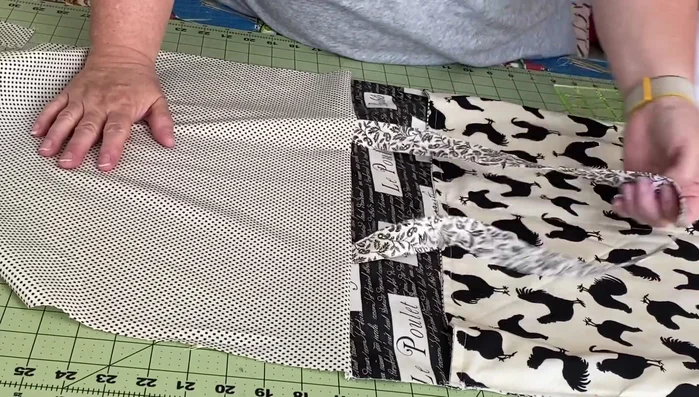
- Cut fabric pieces according to pattern instructions (Fresh Lemon Quilts pattern recommended). Pay attention to directional prints.
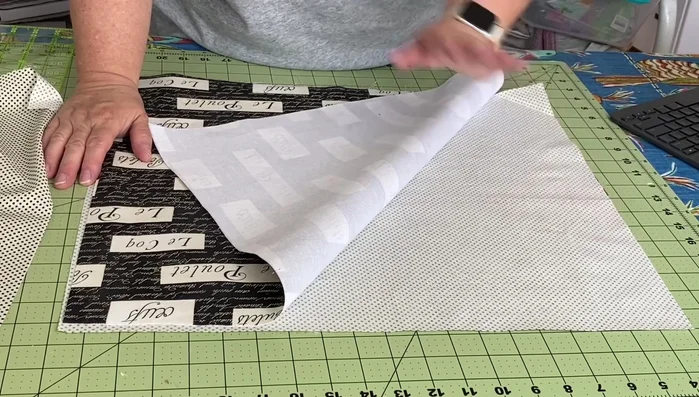
- Interface outer panels using fusible interfacing. Place interfacing bumpy side against the wrong side of the fabric and fuse using an iron or heat press.
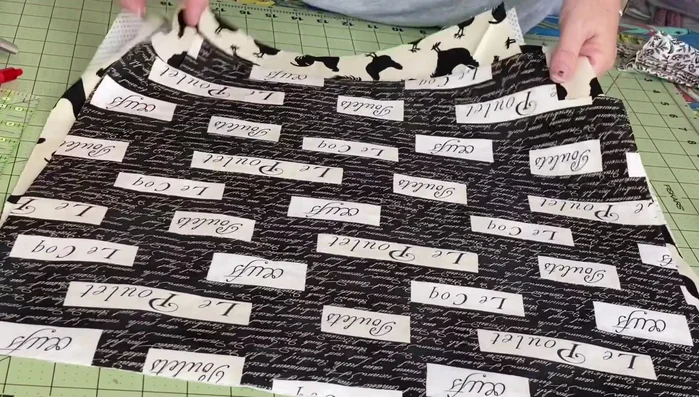
- Trim outer and inner fabric pieces to create trapezoids for the pockets. Cut a 2-inch square from the bottom corner of each pocket piece.
- Iron the handles. If attaching to the seams, no need for French hems. If attaching externally, create a French hem.

Prepare Fabric Attach Pockets
- Sew the pocket lining and outer pieces together, right sides facing. Press the seam to set the stitches and create a crisp edge. Topstitch.
- Baste the pockets to the outer fabric, leaving the corners free. Draw a line down the center of the fabric to help with alignment.
Attach Pockets Attach Handles
- Sew the handle into the seam allowance between the outer and inner fabric layers, securing it well with multiple stitches.
Sew Main Body
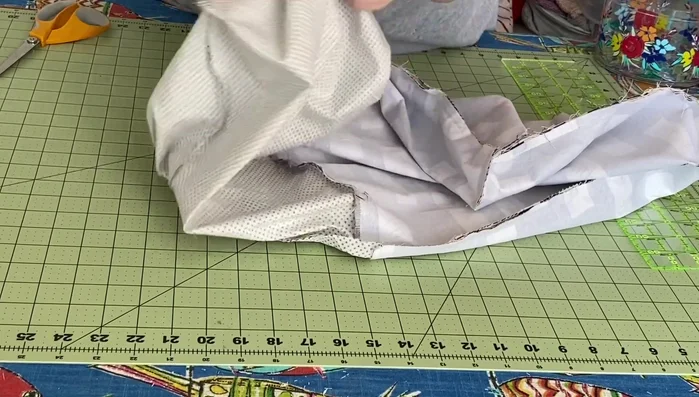
- Sew the two outer fabric layers together, aligning pockets and seams. Leave a gap for turning the bag right side out.
- Sew the corners together to create a nice point. Trim excess fabric.
Sew Main Body Finish Bag
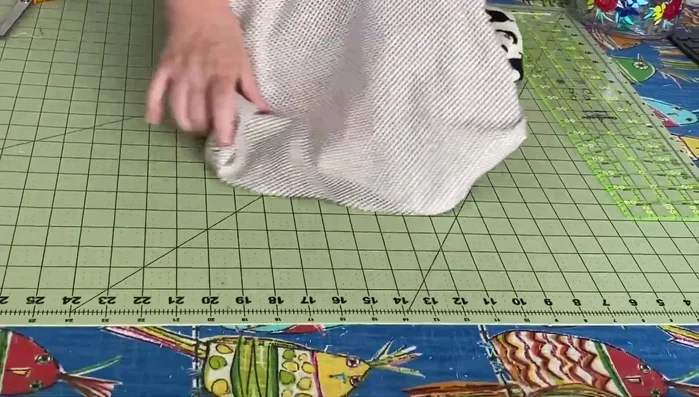
- Turn the bag right-side out through the opening, push out the corners, and press the seams.
- Close the opening left for turning. Topstitch around the top of the bag, about 3 inches down, for a clean finish.
Finish Bag
Read more: DIY Quilted Makeup Pouch Tutorial: The Easiest and Fastest Method
Tips
- Use washable or heat-erasable marking pens for fabric markings.
- Backstitch at the beginning and end of all seams for extra security.
- If you're a beginner, use pins or clips to hold fabric pieces together while sewing.
- A good iron is essential for neat seams and a professional finish.