Cathedral window quilts, with their stunning geometric designs and vibrant color play, are a captivating quilting project. Their intricate patterns often seem daunting, leading many quilters to shy away from this beautiful style. But fear not! While the visual complexity might initially intimidate, creating a machine-sewn cathedral window quilt is entirely achievable with the right techniques and a little patience. This timeless design, traditionally a time-consuming hand-piecing endeavor, becomes surprisingly manageable with the efficiency of a sewing machine. The striking effect of light and shadow through the layered fabrics is a reward in itself.
This guide provides a comprehensive, step-by-step approach to constructing your own breathtaking machine-sewn cathedral window quilt. We’ll break down the process into easily manageable stages, from selecting your fabrics and cutting your pieces to assembling the blocks and completing the final quilting. Let’s begin creating this stunning masterpiece!
Preparation and Safety Guidelines
- sewing machine
- sewing machine needles
- pins
- rotary cutter (optional)
- cutting mat (optional)
- ruler (optional)
- iron
- ironing board
- corner turner (optional)
- Always use a new, sharp needle appropriate for your fabric weight. Dull needles can break or cause skipped stitches, leading to injury or fabric damage.
- Be mindful of your fingers! Keep them away from the needle and presser foot while the machine is running. Use a seam ripper to remove stitches carefully, never your fingers.
- Before starting your project, test your stitch settings and tension on a scrap of fabric that matches your quilt's fabric. This ensures consistent stitching and prevents frustrating mistakes on your final piece.
Step-by-Step Instructions
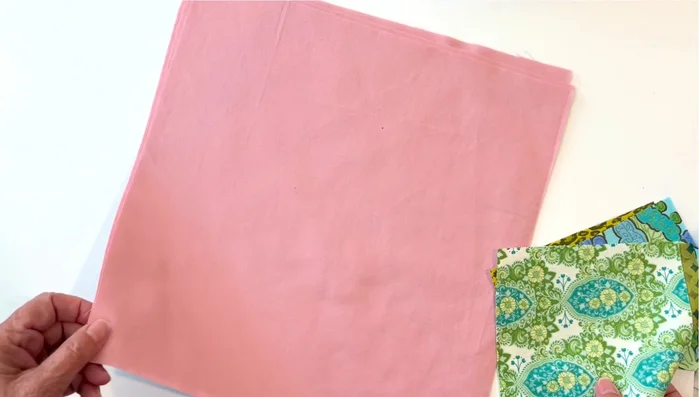
Prepare Fabric Squares
- Cut four 12 1/2-inch squares of your chosen fabric.

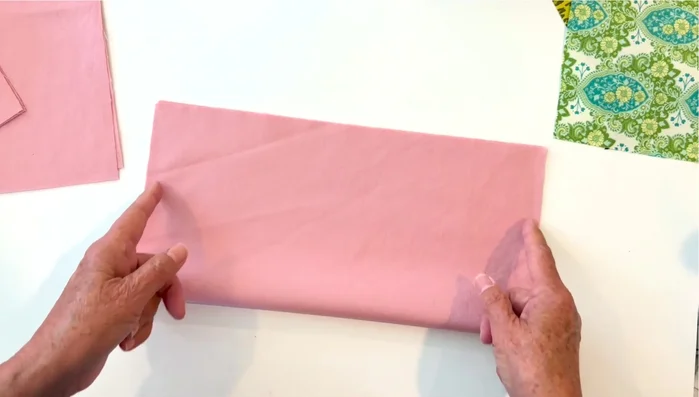
Prepare Fabric Squares Create Bias Squares
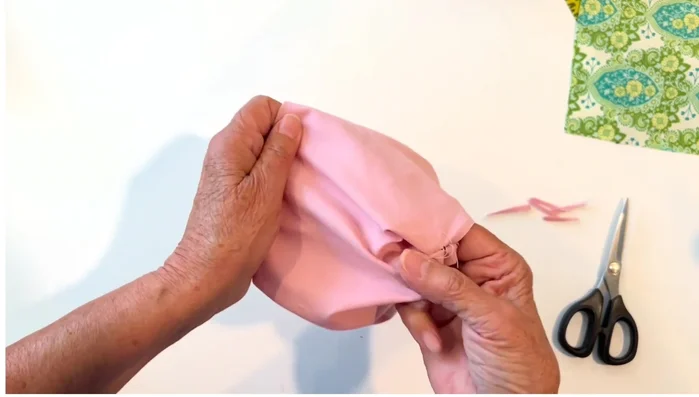
- Fold each square in half, sew a 1/4-inch seam on both sides, then fold it in half again and pin the middle. Sew a seam, leaving an opening for turning. Trim corners, turn right side out, and press.
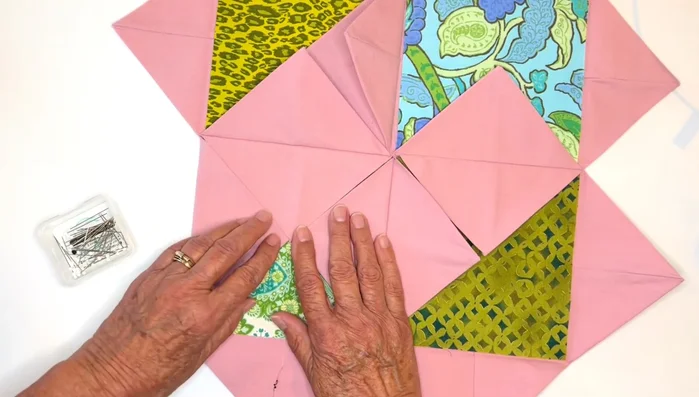
Create Bias Squares Assemble Inner Window Units
- Press each bias square, turning all four corners to the center and pressing again. Line up four pressed bias squares and sew the flaps together to create two rows, then sew the rows together.
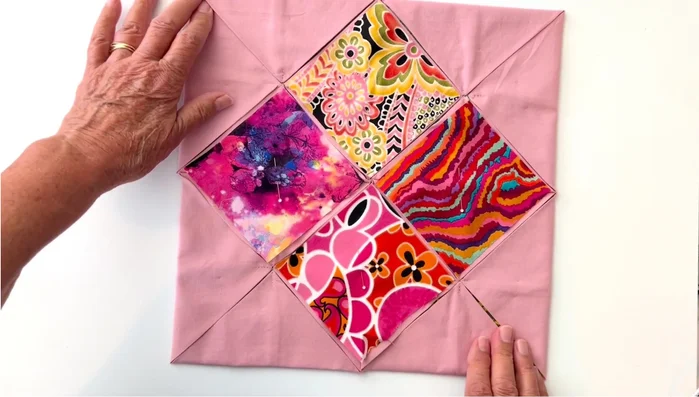
Assemble Inner Window Units Insert Inner Windows
- Open all flaps of the assembled unit and insert the inner window units (prepared bias squares), ensuring they fit snugly and match almost perfectly. Trim if necessary.
Insert Inner Windows Secure Inner Windows
- Pin the flaps down. Secure the middle points with vertical and horizontal stitches for stability.
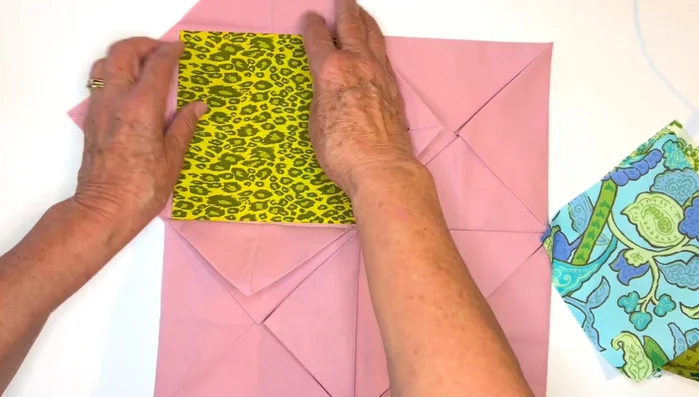
Secure Inner Windows Attach Outer Windows
- Place the outer window fabrics (prepared bias squares) into the spaces created by the inner windows, securing with a few pins.
Attach Outer Windows Machine Sew the Windows
- Using an edge stitch foot, top stitch along the diagonal lines, securing the points at the start and end of each seam. Needle down, lift the presser foot, remove pins, adjust fabric, and continue stitching along each line, revealing the inner windows as you go.
Machine Sew the Windows

Read more: King Size Quilt Tutorial: Efficient Chain Piecing Method
Tips
- Use a corner turner to help create sharp corners on the bias squares.
- Don't worry about completely closing the gap left in the bias squares – this will be hidden inside the quilt.
- When inserting inner windows, aim for a snug fit to avoid raw edges showing, but not too tight to avoid bulk.
- Using an edge stitch foot makes top stitching easier.
- Take your time and ensure the points are nice and sharp, covering any raw edges.