Creating a beautiful and cozy quilt for your little one is a labor of love, but finishing touches like the binding can sometimes feel overwhelming. Fear not, new quilters! Binding doesn't have to be a daunting task, especially when using a machine. This tutorial focuses on a simple, straightforward method for machine binding a baby quilt, perfect even for beginners. We’ll tackle the process in a way that minimizes frustration and maximizes adorable results, ensuring your handmade treasure is perfectly finished and ready to snuggle.
This machine binding technique is designed to be quick, efficient, and incredibly easy to follow, even if you're new to quilting or intimidated by binding. Forget wrestling with hand-sewing – get ready to discover how straightforward machine binding can be. Let's dive right into the step-by-step process to achieve a professional-looking finish on your precious baby quilt.
Preparation and Safety Guidelines
- Sewing Machine
- Darning Foot
- Iron
- Scissors
- Pins
- Measuring Tape
- Fusible Batting
- Always use a walking foot or even feed foot on your sewing machine to prevent fabric layers from shifting, especially when binding a bulky quilt.
- Keep your fingers well away from the needle at all times. Use a thimble if needed to help push the fabric through.
- Before starting, test your stitch length and tension on a scrap of fabric to ensure even stitching and avoid puckering.
Step-by-Step Instructions
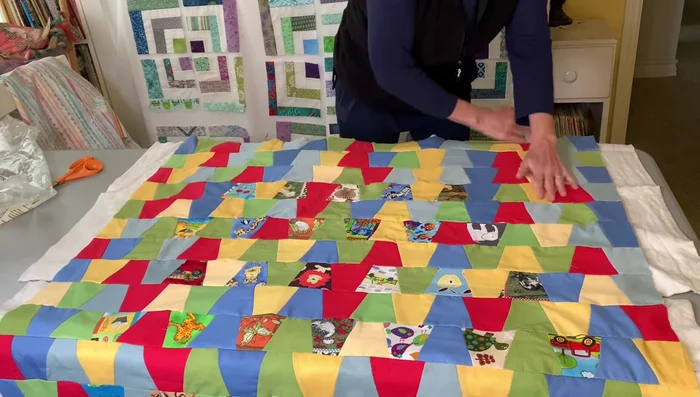
Create the Quilt Sandwich
- Place the quilt top on the batting, then add the backing fabric. Use a fusible batting for easier handling. Press the layers together, starting from the center and working outwards.

Create the Quilt Sandwich Quilt the Layers
- Use a darning foot and lower the feed dogs on your sewing machine. Free-motion quilt in a pattern of your choice (e.g., loops, waves). Ensure even tension and check for puckers as you go.
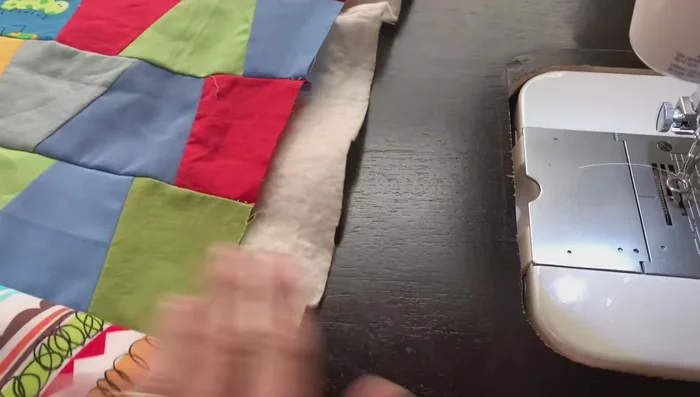
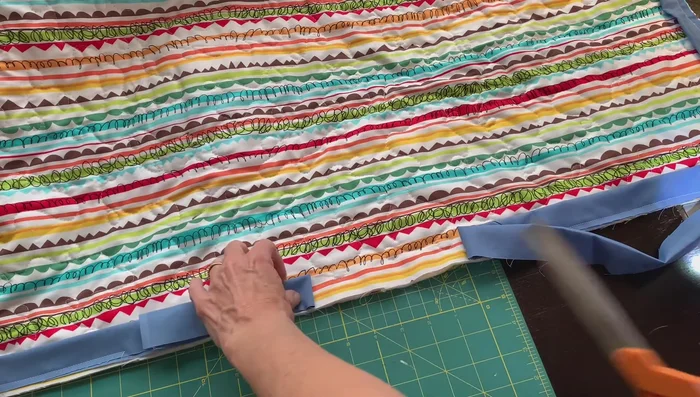
Quilt the Layers Trim the Quilt
- Once quilted, trim the edges of the quilt, following the quilt top's edge.
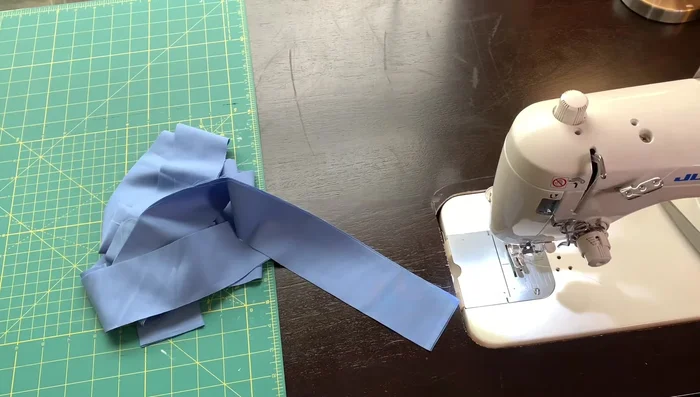
Trim the Quilt Prepare the Binding
- Cut 2.5-inch wide strips of fabric for the binding. Sew the strips together end-to-end to create one long strip. Press the seams open.
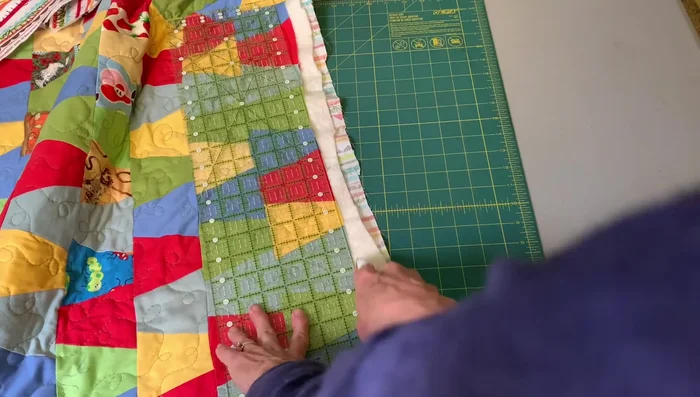
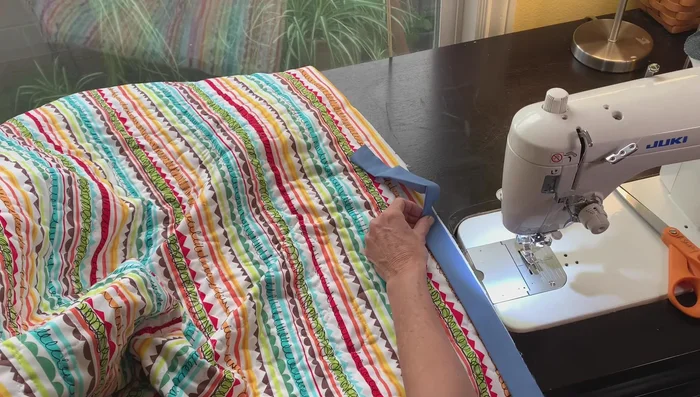
Prepare the Binding Attach Binding to the Back
- Press the long binding strip in half, wrong sides together. Attach the binding to the back of the quilt using your machine, leaving an opening.
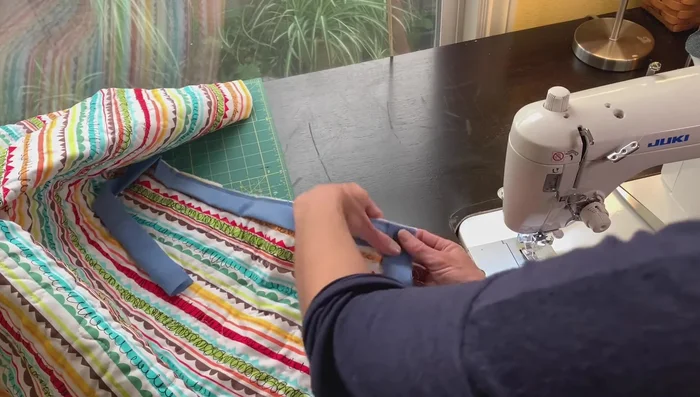
Attach Binding to the Back Join Binding Ends
- Trim the tails of the binding to 2.5 inches. Place right sides together, pin, and sew along the edges to join the ends neatly. Trim excess fabric, ensuring the layers are flat before stitching.
Join Binding Ends Finish the Binding
- Fold the binding over to the front, creating a clean edge. Top stitch around the quilt's perimeter, closing the opening. Mitre the corners neatly.
Finish the Binding
Read more: King Size Quilt Tutorial: Efficient Chain Piecing Method
Tips
- Use a fusible batting to simplify the layering process.
- Practice free-motion quilting on scrap fabric before quilting your actual project.
- Regularly check the back of the quilt while quilting to prevent puckers.
- Leaving a tail of binding simplifies joining the ends.
- Use a ruler or your trimmed piece to guide accurate binding cuts.