Long sleeves are a timeless addition to any garment, offering both warmth and style. But achieving a perfectly tailored long sleeve, especially one incorporating elegant pleats, can seem daunting for even experienced sewists. The precise placement and even distribution of pleats are crucial for a professional finish, demanding careful planning and execution. Often, small inconsistencies can dramatically affect the overall look, leading to frustration and potentially wasted fabric. This tutorial is designed to alleviate that frustration, offering a clear and concise guide to mastering this seemingly complex technique.
This detailed, step-by-step tutorial will walk you through every stage of creating perfectly pleated long sleeves, from choosing the right fabric and taking accurate measurements to pressing and finishing for a flawless result. We'll cover everything from marking and pressing pleats to attaching the sleeve to the bodice, ensuring you create beautiful, professional-quality garments with confidence. Let's begin!
Preparation and Safety Guidelines
- Fabric
- Sewing machine
- Scissors
- Ruler
- Iron
- Pinking shears (optional)
- Hemming gum
- Color gum
- Always use a sharp needle and appropriate thread weight for your fabric to prevent skipped stitches and broken needles. A dull needle can also damage your fabric.
- Pin pleats carefully and securely before stitching to ensure accurate placement and prevent shifting during sewing. Use plenty of pins, especially around curves.
- Test your stitch length and tension on a scrap of the same fabric before starting your project to avoid mistakes and ensure a professional finish.
Step-by-Step Instructions
Create Sleeve Pattern
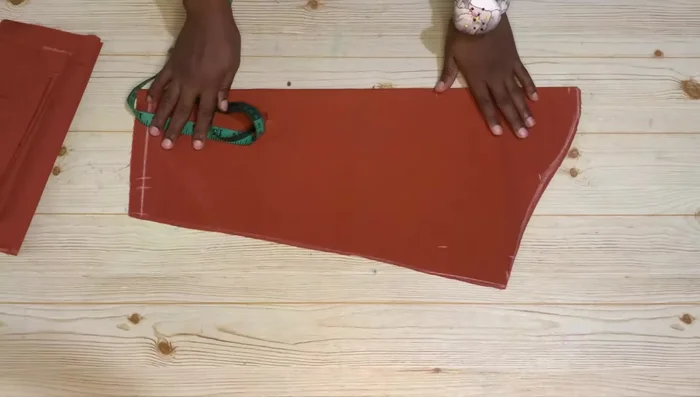
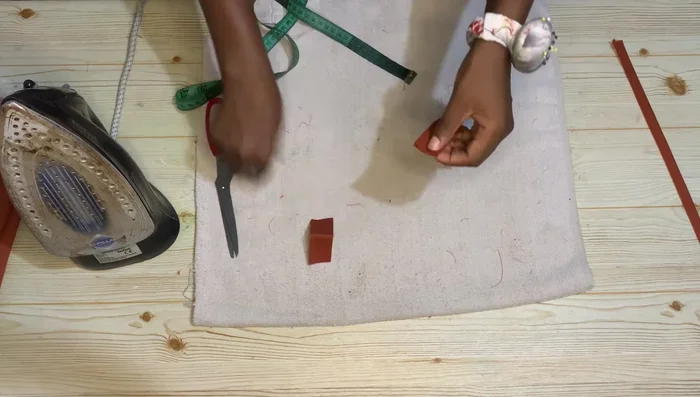
- Fold the fabric in half, then in half again to create four layers. This allows for cutting two sleeves simultaneously.
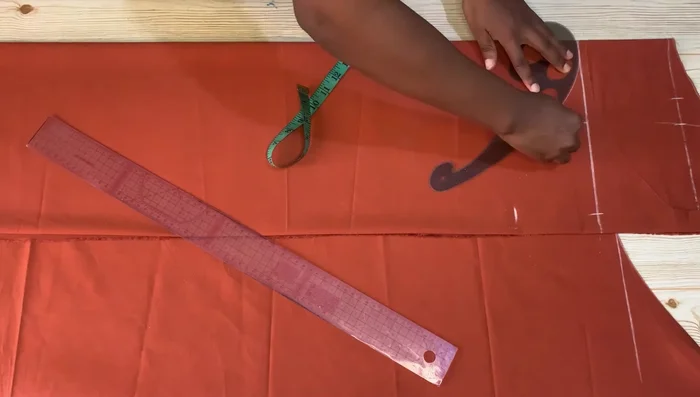
- Draw a line for the sleeve cap, dividing the armhole measurement by two and adding a slope (4 inches for smaller individuals, 5-5.5 inches for larger individuals).
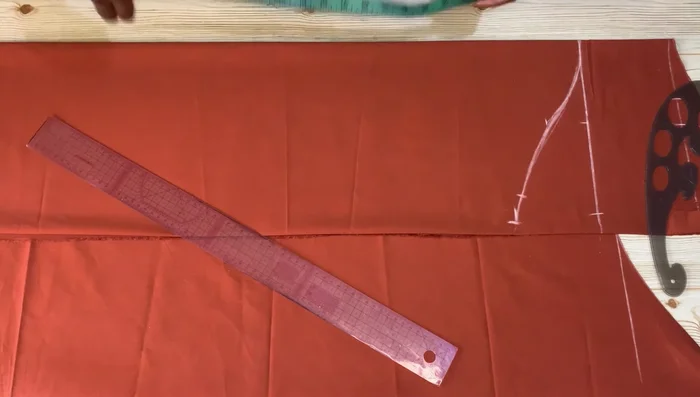
- Using a French curve, connect the sleeve cap points to create a smooth curve.
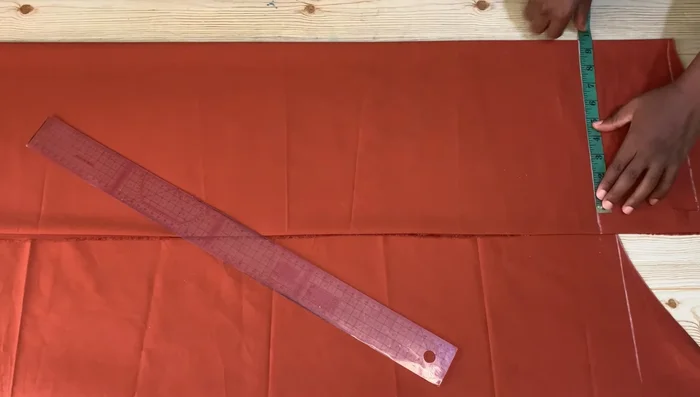
- Measure and mark the sleeve length (20 inches + 1-inch seam allowance), armhole depth (7 inches), and wrist circumference (divided by two, plus seam allowance). Connect these points to complete the sleeve pattern.

Create Sleeve Pattern - Cut out the sleeve pattern.
Create Sleeve Pattern Prepare Band and Pleat Pieces
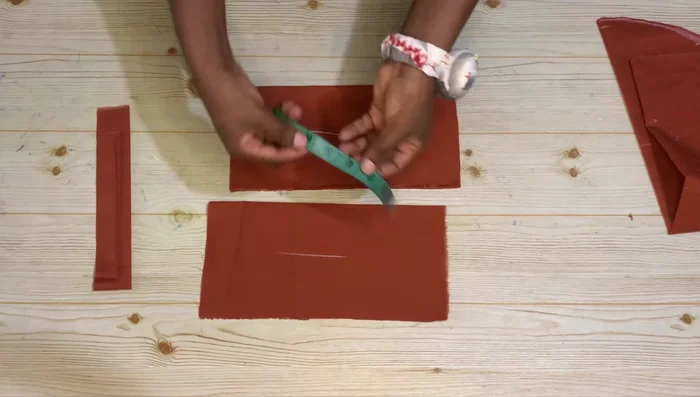
- Cut out the band pieces (5.5 inches long, 11 inches wide, 2 pieces) and pleat pieces (18 inches long, 3 inches wide when unfolded; 14 inches long, 1.5 inches wide when unfolded).
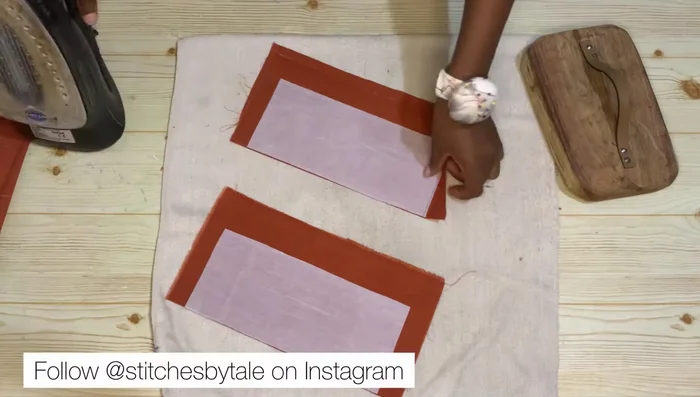
- Apply soft interfacing (color gum) to the band pieces, ensuring the gum side is against the fabric. Use a hot iron to adhere the interfacing.
- Fold and iron the interfaced band pieces.
Prepare Band and Pleat Pieces Attach Smaller Pleat
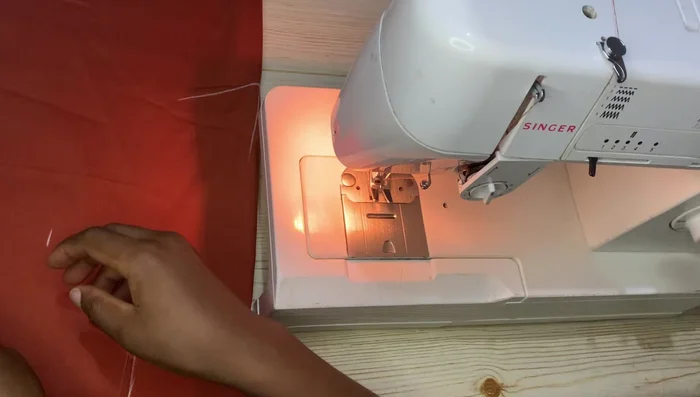
- Sew the smaller pleat piece to the sleeve hem, right sides together. Trim seam allowance and press the seam open.
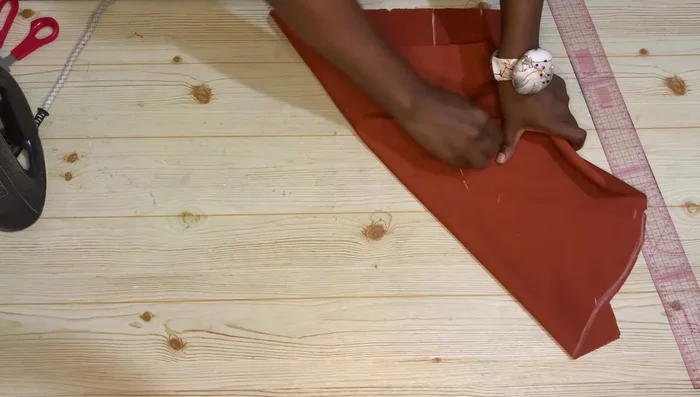
- Fold the smaller pleat piece in thirds and press. Fold the larger pleat piece in thirds and press.
- Cut the pleats to your desired length (6.5 inches for both).
Attach Smaller Pleat Attach Larger Pleat
- Sew the larger pleat piece to the sleeve hem, right sides together. Trim seam allowance, press seam open, and topstitch.
- Fold the smaller pleat piece in thirds and press. Fold the larger pleat piece in thirds and press.
- Cut the pleats to your desired length (6.5 inches for both).
Attach Larger Pleat Sew Sleeve and Attach Pleats
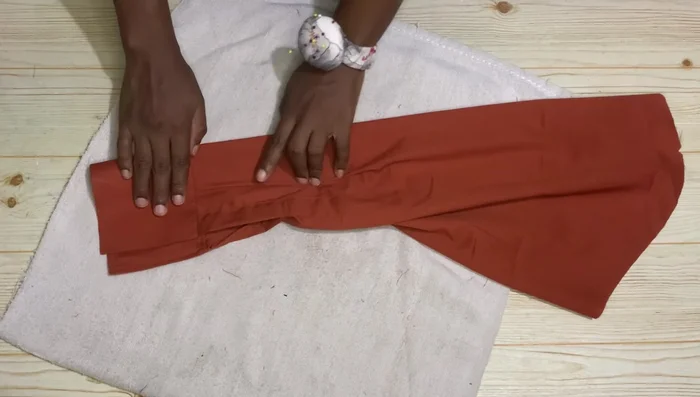
- Cut a slit on the sleeve body from the hem towards the middle to allow for the pleats. Sew the sleeve body seams, right sides together.
Sew Sleeve and Attach Pleats Attach and Finish Band
- Attach the sleeve band to the sleeve cuff, right sides together. Sew the band, leaving a small opening. Turn right side out and topstitch the band.
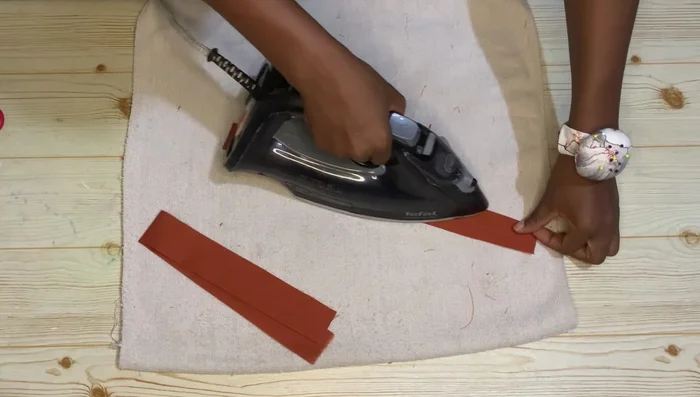
Final Pressing
- Iron the finished sleeve to remove wrinkles and create a clean finish.
Final Pressing

Read more: Raglan Sleeve Sewing Tutorial: A Step-by-Step Guide
Tips
- Use soft interfacing for easier handling and a smoother finish.
- Ensure accurate measurements and precise cutting for a well-fitting sleeve.
- Use a French curve for smooth sleeve cap curves.
- Press seams open after sewing to create a flatter, more professional finish.