Embrace your inner fashion designer and craft a stunning lilac tiered dress, perfect for spring or summer occasions! This delightful project is surprisingly achievable, even for beginner sewists. Forget expensive boutique prices and the frustration of searching for the perfect garment – with a little patience and this tutorial, you can create a unique, flattering dress that reflects your personal style. The delicate lilac hue is effortlessly chic and versatile, making it suitable for a range of events, from casual brunches to elegant garden parties.
This DIY tiered dress boasts a charming, romantic silhouette that's easily customizable to your preferences. Whether you choose to adjust the length, add sleeves, or experiment with different fabrics, the possibilities are endless. Ready to transform your fabric into a beautiful, wearable creation? Let's dive into the step-by-step process and bring your lilac tiered dress vision to life!
Preparation and Safety Guidelines
- Sewing machine
- Pinking shears (optional)
- Pins
- Scissors
- Iron
- Measuring tape
- Fabric
- McCall's M7948 pattern (or similar)
- Buttons
- Always use sharp sewing shears or scissors to prevent injury and ensure clean cuts. Dull blades increase the risk of accidents and may cause uneven fabric edges.
- When working with fabric, especially delicate fabrics like chiffon or silk, be mindful of using the correct needle and thread weight to avoid breakage or damage. Use pins carefully to secure fabric layers prior to stitching.
- If using a sewing machine, always ensure your fingers are kept away from the needle and presser foot during operation. Always unplug the machine before making any adjustments or cleaning.
Step-by-Step Instructions
Construct Bodice
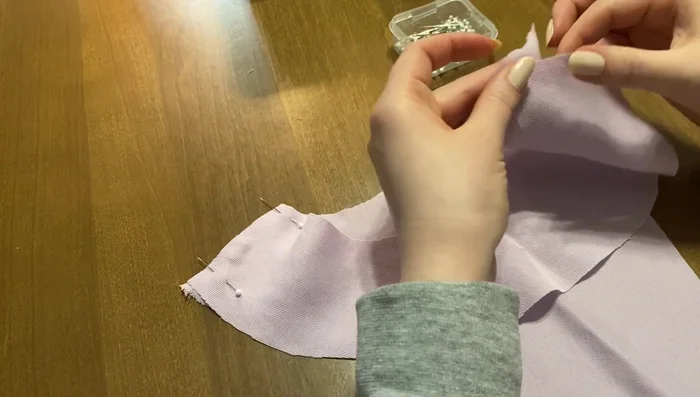
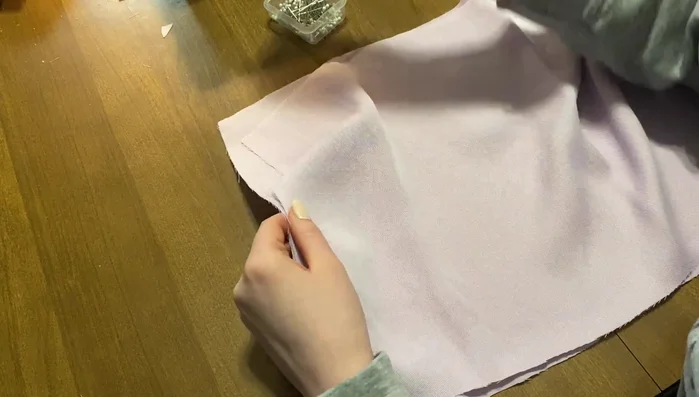
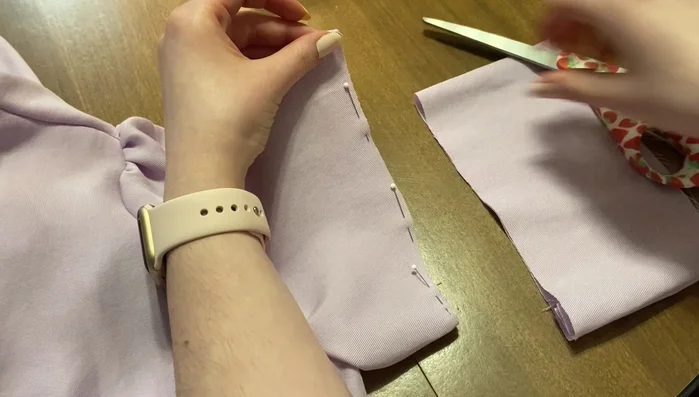
- Sew shoulder seams of front neck pieces.
- Sew shoulder and side seams of bodice pieces.
- Try on bodice and adjust fit as needed (waist taken in, length shortened).
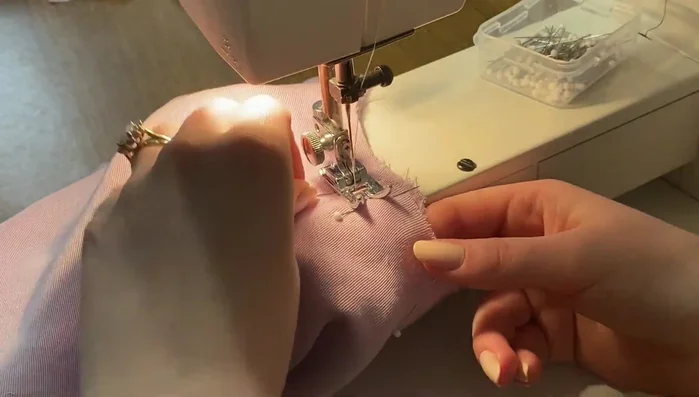
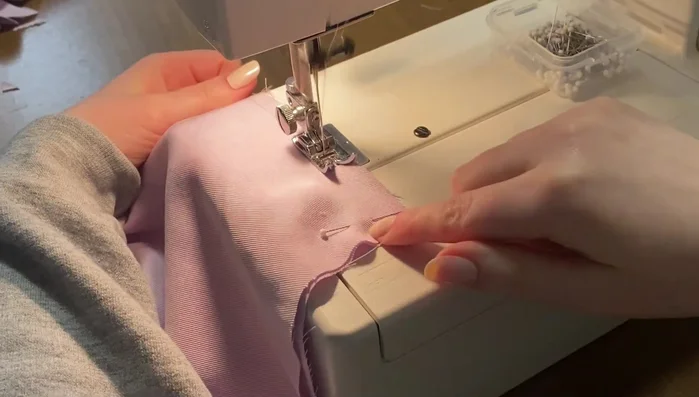
- Sew sleeves (underarm seam).

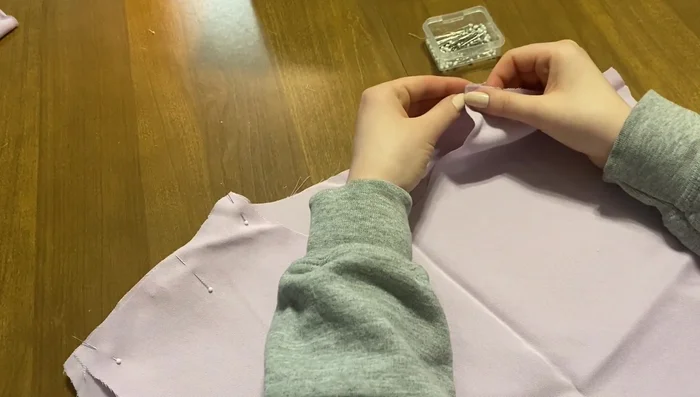
Construct Bodice - Baste stitch and gather the top of the sleeves at the shoulder.
- Finish raw edges of sleeves with pinking shears (optional).
- Attach sleeves to the bodice, nesting seams and pinning carefully.
- Sew sleeve seams.
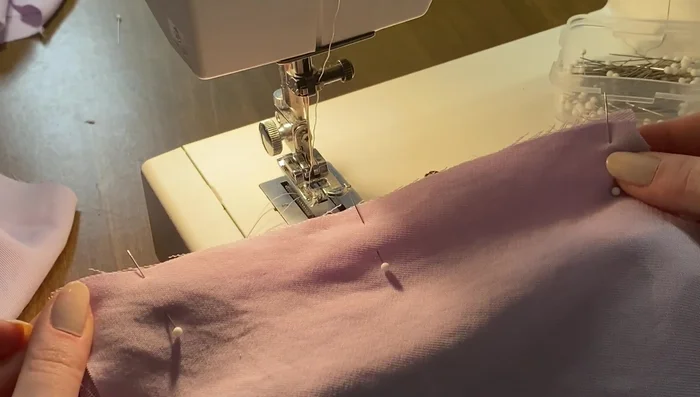
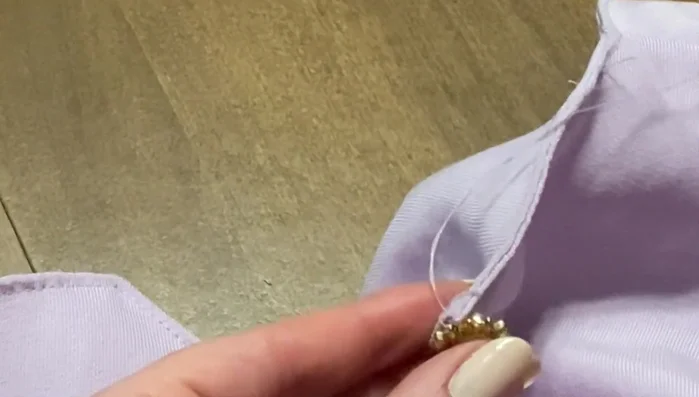
Construct Bodice - Attach neck facing to bodice, leaving a keyhole opening in the back.
- Trim and clip curves of the neck facing for a smooth finish.
- Turn facing to the inside, iron, pin, and topstitch.
- Topstitch neck facing.
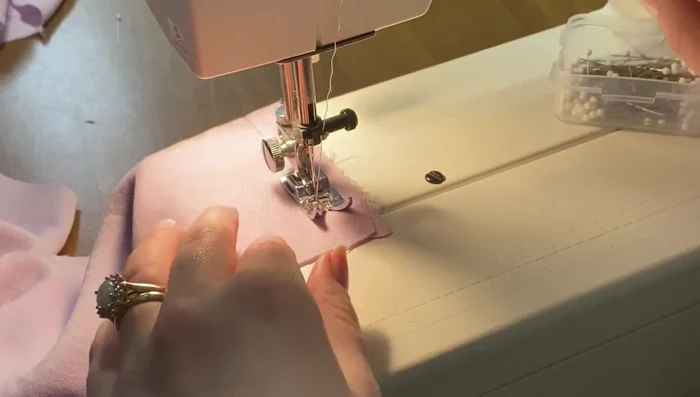
Construct Bodice Create Skirt Tiers
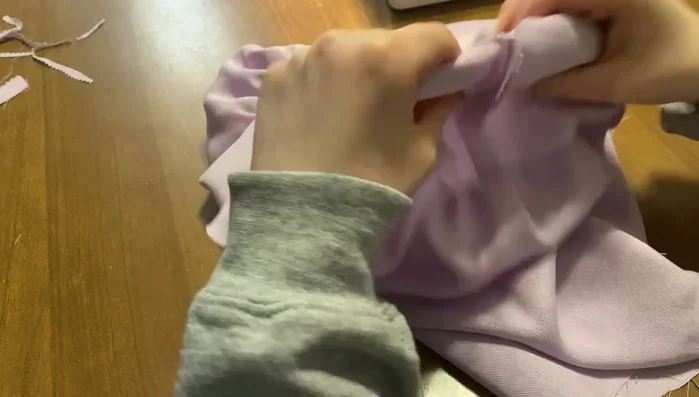
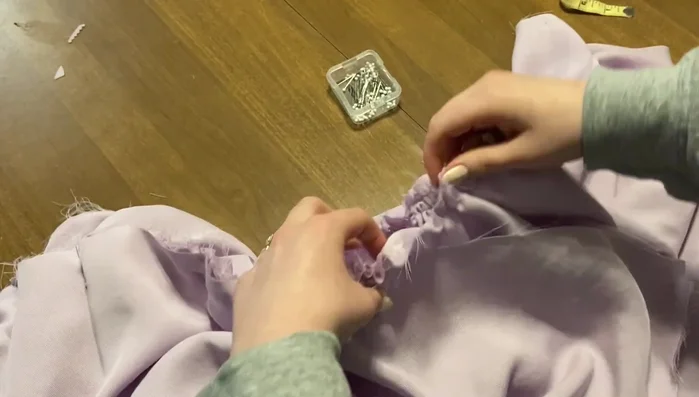
- Sew side seams of top tier skirt panels.
- Baste stitch and gather the top of the top tier skirt.
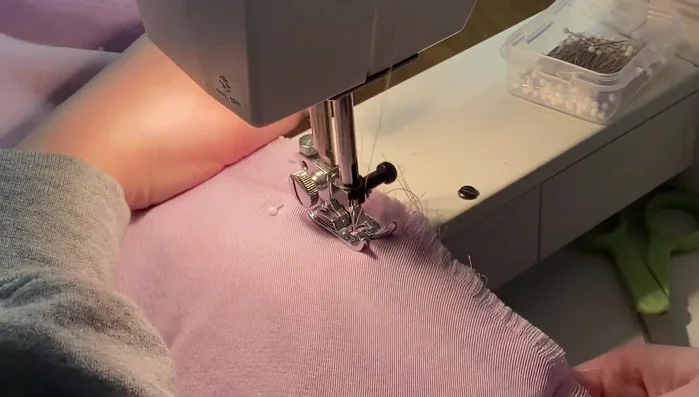
- Repeat steps 12 & 13 for bottom tier skirt panels (using three panels for an A-line shape).
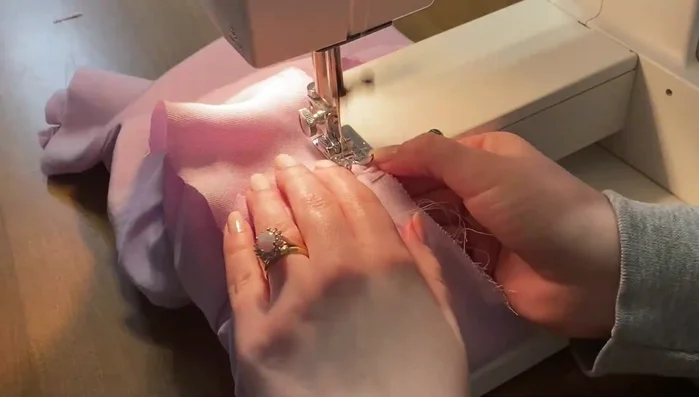
Create Skirt Tiers Assemble Dress
- Attach gathered skirts to the bodice, ensuring even distribution and straight alignment.
Assemble Dress Finish Dress
- Trim and hem sleeves (double folded hem).
- Hem skirt (double folded hem).
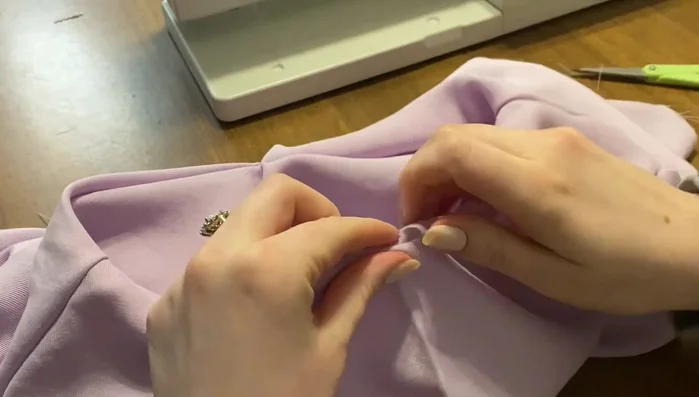
- Attach button and make a button thread loop.
Finish Dress


Read more: Raglan Sleeve Sewing Tutorial: A Step-by-Step Guide
Tips
- Check the fit of the bodice before moving to sleeves.
- Use pinking shears to finish raw edges for a professional look.
- Carefully nest seams when attaching sleeves and neck facing.
- Ensure even gathering on skirts to match bodice width.
- Check skirt alignment before attaching to bodice.