Tired of flimsy grocery bags ripping under the weight of your library books? Wish you had a reusable, stylish, and durable alternative that also showed off your personal flair? Then you're in the right place! This tutorial will guide you through the surprisingly simple process of crafting your own sew-easy library bags. Forget expensive, mass-produced totes; learn to create a personalized, high-quality bag perfect for carrying your favorite reads. You'll discover how easy it is to transform inexpensive fabric into a practical and attractive accessory that reflects your individual style.
We'll be focusing on a straightforward design, perfect for beginners and seasoned sewers alike. From choosing your fabric and cutting the pieces to the final stitching, we'll break down each step with clear instructions and helpful images. So gather your materials, let's get started, and prepare to dive into the detailed step-by-step process below.
Preparation and Safety Guidelines
- Sewing machine
- Overlocker
- Iron
- Fabric (main & lining)
- Interfacing
- Pins
- Scissors
- Always use sharp, well-maintained sewing machine needles and scissors to prevent injury and ensure clean cuts.
- Exercise caution when using pins and needles. Keep them away from children and store them safely when not in use.
- Be mindful of your fabric choice. Choose a sturdy, durable fabric that can withstand the weight of books and regular use. Avoid fabrics that fray easily.
Step-by-Step Instructions
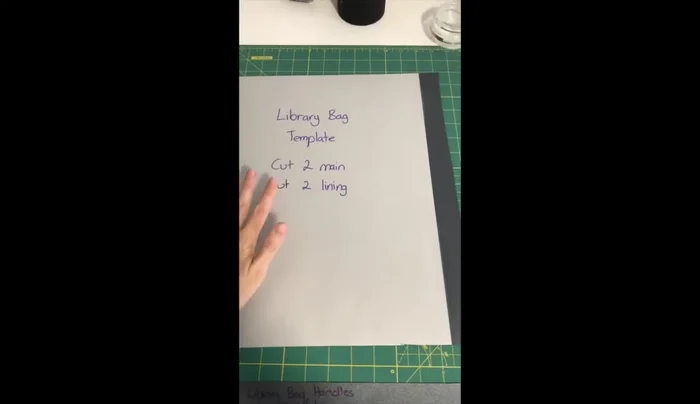
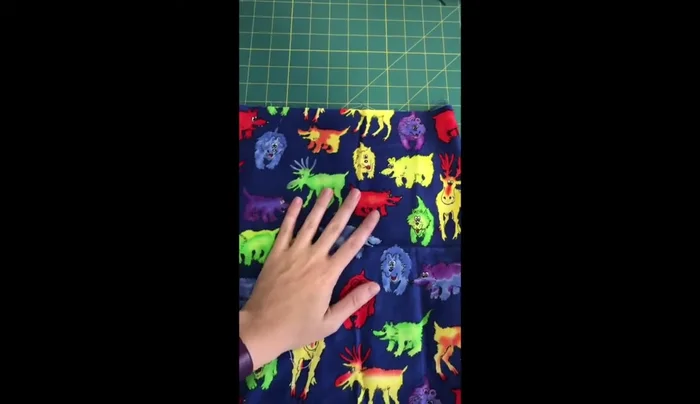
Prepare Fabric
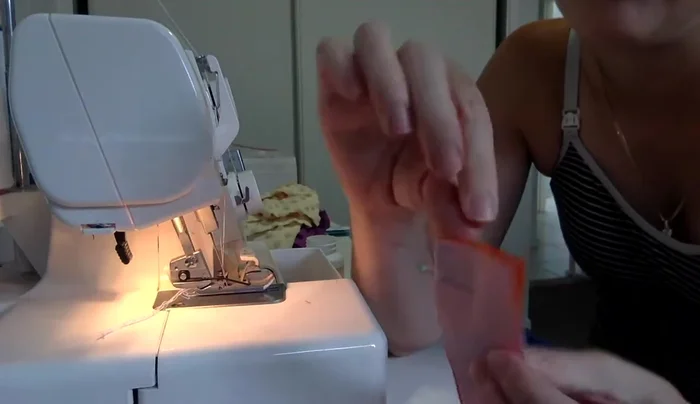
- Cut out two main fabric pieces, two lining pieces, and two handle pieces. Iron interfacing onto handle pieces and pin pairs together.

Prepare Fabric Sew Lining
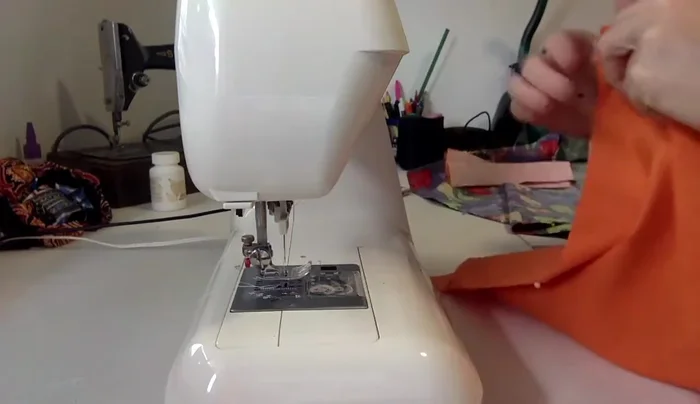
- Sew the side seams of the lining fabric (1cm/3/8 inch seam allowance).
- Sew the bottom seam of the lining, leaving a 4-inch/10cm gap for turning.
- Overlock the side seams of the lining.
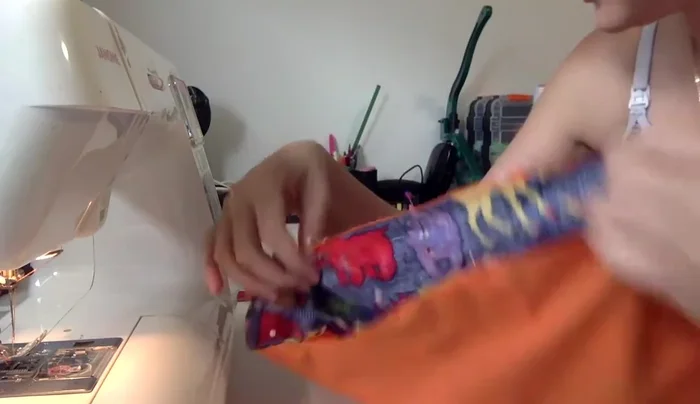
Sew Lining Sew Main Fabric
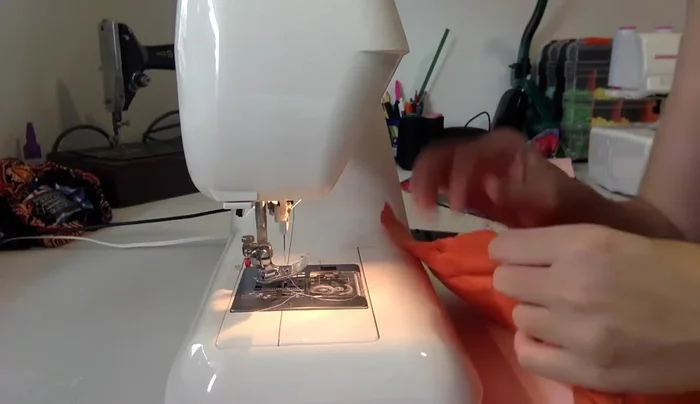
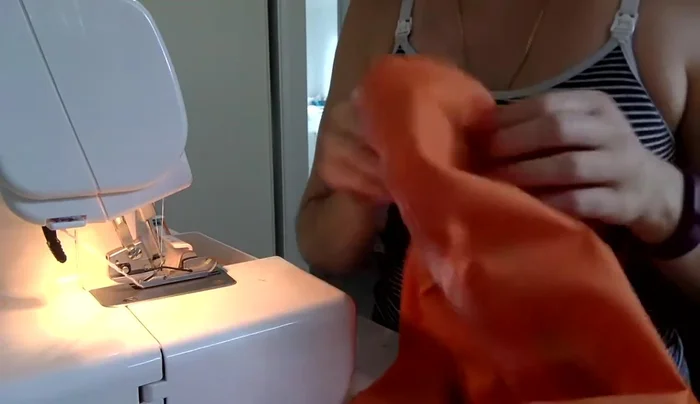
- Sew the side seams of the main fabric pieces (1cm/3/8 inch seam allowance) and overlock the seams immediately.
Sew Main Fabric Make Handles
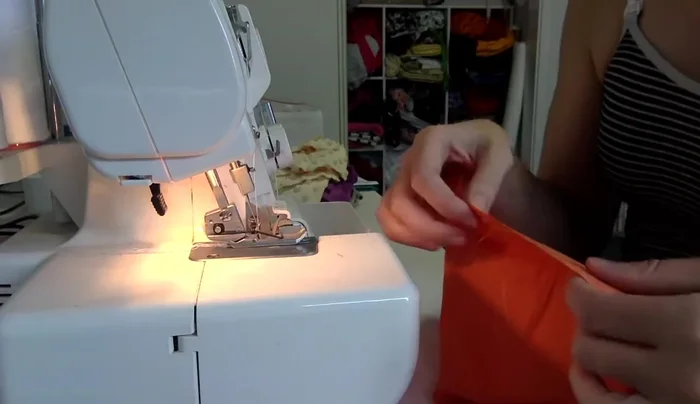
- Sew the handle pieces right sides together, then turn right side out and press.
- Top stitch the handles (longer stitch length).
Make Handles Attach Handles
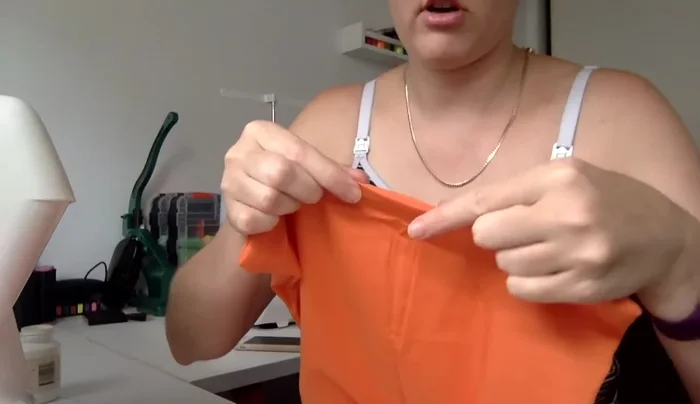
- Baste the handles onto the main fabric (9cm from the top).
Attach Handles Attach Lining to Main Fabric
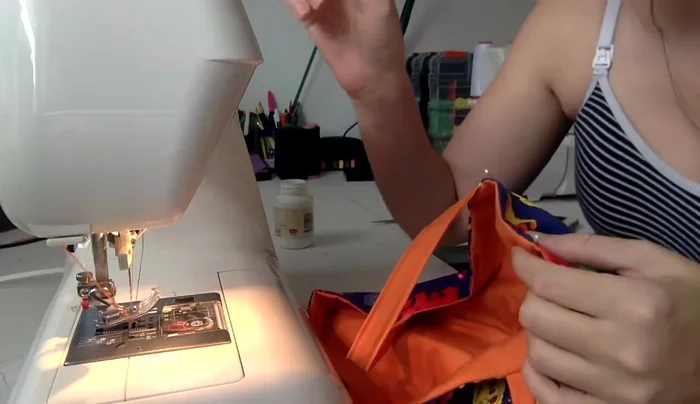
- Place the main fabric inside the lining (right sides together), aligning side seams and pinning around the top edge, tucking handles inside.
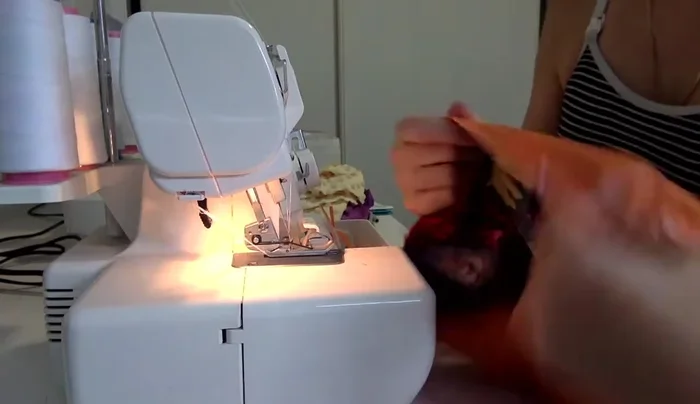
Attach Lining to Main Fabric Sew and Finish Top Seam
- Sew around the top edge (5/8 inch/1.5cm seam allowance), reinforcing the handle attachments.
- Overlock the top edge.
Sew and Finish Top Seam Turn and Close
- Turn the bag right side out through the gap left in the lining.
- Sew the gap in the bottom of the lining closed.
Turn and Close Final Top Stitch
- Top stitch around the top edge of the bag to finish.
Final Top Stitch


Read more: DIY Quilted Makeup Pouch Tutorial: The Easiest and Fastest Method
Tips
- Use a template to make cutting fabric easier.
- Leave a gap in the bottom seam of the lining for turning.
- Use longer stitches when basting.
- Reinforce handle attachments with extra stitching.
- Align the edge of the fabric with your sewing machine's guide when top stitching to keep the stitches straight.