The Lauren Hoodie: a garment synonymous with effortless style and comfortable warmth. This versatile piece, perfect for layering or wearing solo, is surprisingly simple to create with a little know-how and the right instructions. Whether you're a seasoned sewer looking for a new project or a beginner eager to tackle a rewarding challenge, this guide will equip you with the knowledge to sew your own stunning Lauren Hoodie. Imagine the satisfaction of wearing a garment you've made yourself, perfectly tailored to your fit and style preferences.
This step-by-step guide will walk you through each stage of the process, from selecting your fabric and cutting out the pattern pieces to finishing the seams and adding the hood. We'll cover essential techniques clearly and concisely, ensuring a smooth and enjoyable sewing experience from start to finish. Let's get started on your journey to crafting the perfect Lauren Hoodie!
Preparation and Safety Guidelines
- sewing machine
- serger (optional)
- scissors
- pins
- iron
- measuring tape
- Always use sharp sewing machine needles and pins appropriate for your fabric type. Dull needles can cause skipped stitches and fabric damage, increasing the risk of injury.
- Before operating your sewing machine, ensure your fingers are clear of the needle and presser foot. Use a seam ripper carefully to avoid accidental needle pricks.
- Handle your fabric carefully to avoid snags or tears. Pre-wash your fabric to prevent shrinkage after the hoodie is completed.
Step-by-Step Instructions
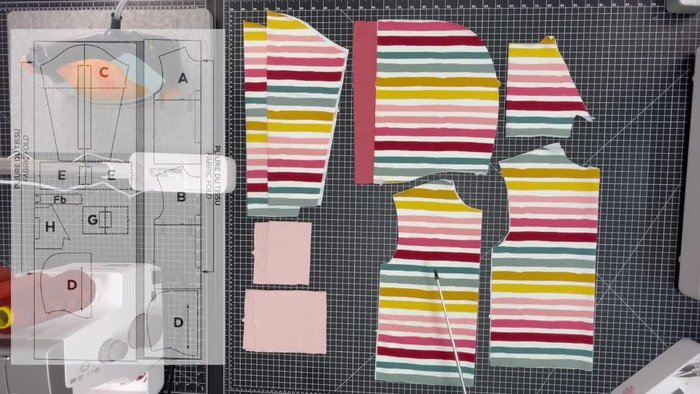
Prepare the Pattern Pieces
- You'll need one front, one back, two sleeves, four hood pieces (two main fabric, two lining), band pieces, cuffs, ribbing, and one pocket.

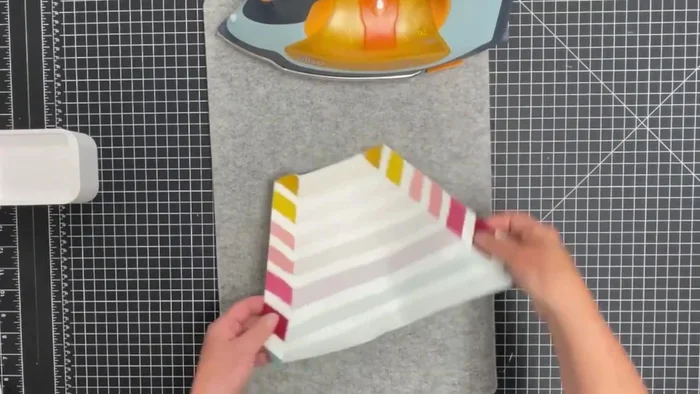
Prepare the Pattern Pieces Prepare the Kangaroo Pocket
- Fold the long angled edges to the wrong side, press, and finish the raw edges. Fold back into position and top stitch.
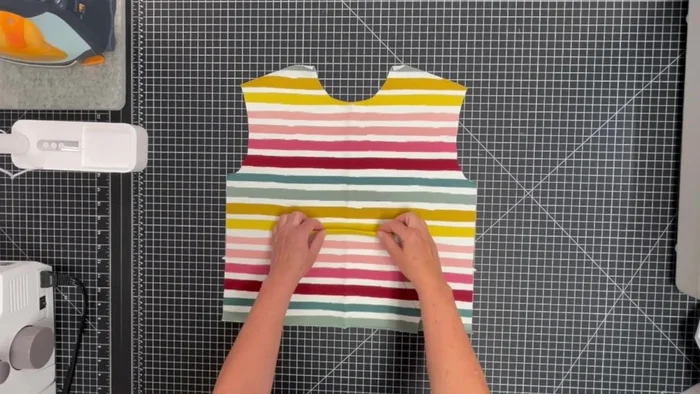
Prepare the Kangaroo Pocket Attach the Kangaroo Pocket
- Pin the wrong side of the pocket to the right side of the front, matching centers. Edge stitch along the top, sides, and bottom.
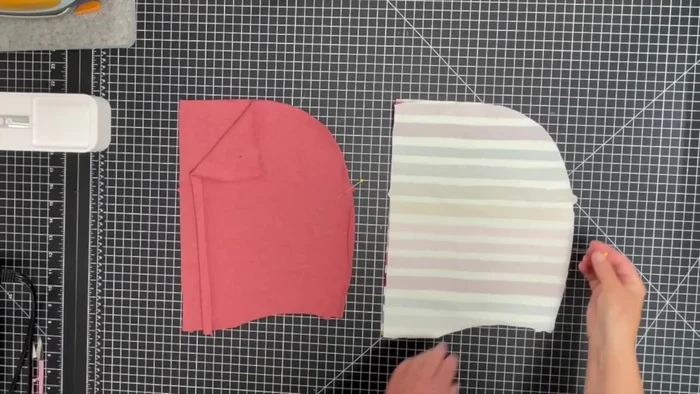
Attach the Kangaroo Pocket Sew the Lined Hood
- Pin and stitch the main fabric pieces together, then sew the lining pieces together. Pin the main fabric to its lining (right sides together), matching seams, and stitch along the long straight edge.
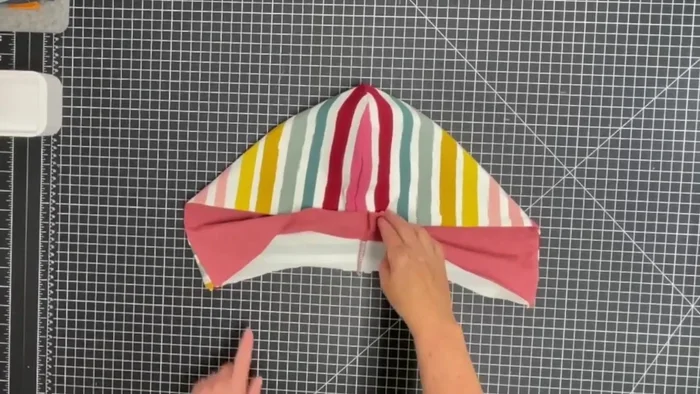
Sew the Lined Hood Assemble the Hood
- Bring the hood pieces wrong sides together, pin bottom edges, and baste with a zigzag stitch, matching notches, seams, and shoulder marks. Mark a top stitch line 2.5 cm (1 inch) from the edge and top stitch.
Assemble the Hood Attach the Hood to the Neckline
- Pin front to back at shoulder seams and stitch. With the garment wrong side out, pin the outside of the hood to the right side of the neckline, matching centers and notches. Align shoulder marks and stitch.
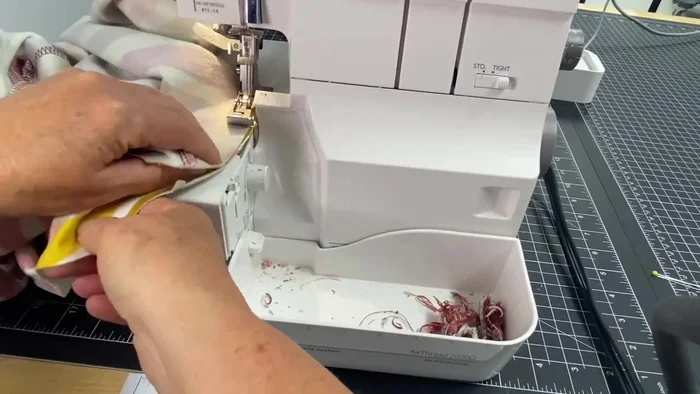
Attach the Sleeves
- Sew each sleeve to its armhole, matching notches. Put the sleeve on the feed dogs with the armhole on top for easier sewing.
Attach the Sleeves Attach the Cuffs
- Fold the cuff right sides together and stitch using a straight stitch. Open the seam allowance and fold wrong sides together to minimize bulk. Insert the cuff into the sleeve opening, raw edges together, and stretch the cuff to fit as you sew.
Attach the Cuffs Attach the Hem Band
- Pin hem band pieces right sides together and stitch using a straight stitch. Open the seam allowance and fold wrong sides together. Baste the raw edges with a zigzag stitch. Bend the hem band to the right side of the garment, matching centers and seams. Stretch the band to fit the opening as you sew, stretching the band only, not the main fabric.

Read more: Raglan Sleeve Sewing Tutorial: A Step-by-Step Guide
Tips
- When sewing a sleeve, always put the sleeve on the feed dogs with your armhole on top. It is much easier to sew and handle pieces that way.
- Take the time to make a few back stitches at the end to secure the stitch.
- Use a straight stitch without stretching the fabric (for pocket and hood).
- Because the hem band is quite big, we recommend basting the raw edges together with a zigzag before moving on to the next step.