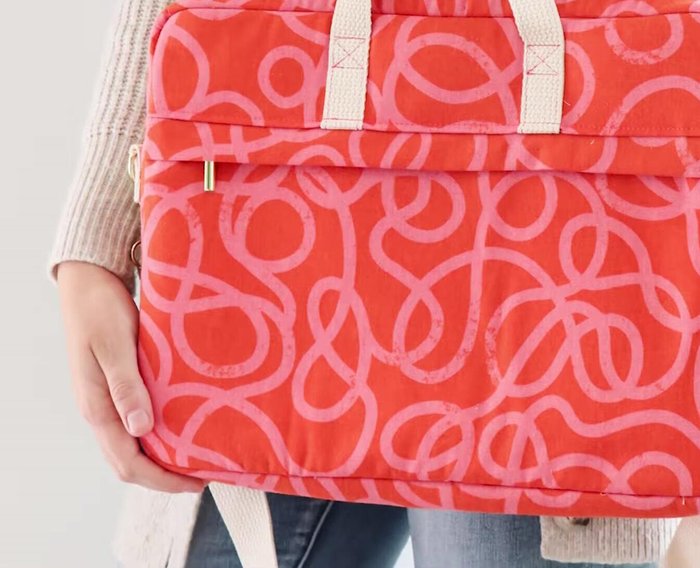
Are you tired of your laptop jostling around in a flimsy bag, risking scratches and damage? Do you crave a stylish and protective carrier that reflects your personal style? Then look no further! This tutorial from The Morning Post will guide you through creating a sturdy, padded laptop bag that’s as durable as it is attractive. We'll walk you through choosing the perfect materials, mastering essential sewing techniques, and adding those crucial padding layers for ultimate protection. Forget overpriced, mass-produced bags; you'll be surprised how easy it is to craft a custom-made solution that's both practical and beautiful.
This comprehensive guide provides a step-by-step approach to sewing your own bespoke laptop bag, perfect for beginners and seasoned sewists alike. From cutting the fabric to adding the finishing touches, we'll cover every detail to ensure you end up with a bag you'll be proud to carry. Ready to get started and create the perfect padded protector for your valuable tech? Let's dive into the detailed instructions!
Preparation and Safety Guidelines
- sewing machine
- zipper foot (or narrow foot)
- sewing clips or pins
- basting spray (optional)
- iron
- ironing board
- scissors
- rotary cutter (optional)
- cutting mat (optional)
- ruler
- removable pen or chalk
- webbing
- D-rings or triangle rings
- swivel hook
- zippers (14-inch single slide zippers recommended)
- foam interfacing
- lightweight woven fusible interfacing
- fabric (canvas, cotton, minky, or sherpa fleece)
- bias binding
- Always use sharp, well-maintained sewing machine needles and pins appropriate for your fabric types to prevent breakage and injury.
- Ensure your chosen interfacing and padding materials are adequately heat-resistant if using an iron for pressing seams. High heat can damage or melt some fabrics.
- Double-check all measurements and cut precisely before sewing to guarantee a well-fitting bag that securely protects your laptop.
Step-by-Step Instructions
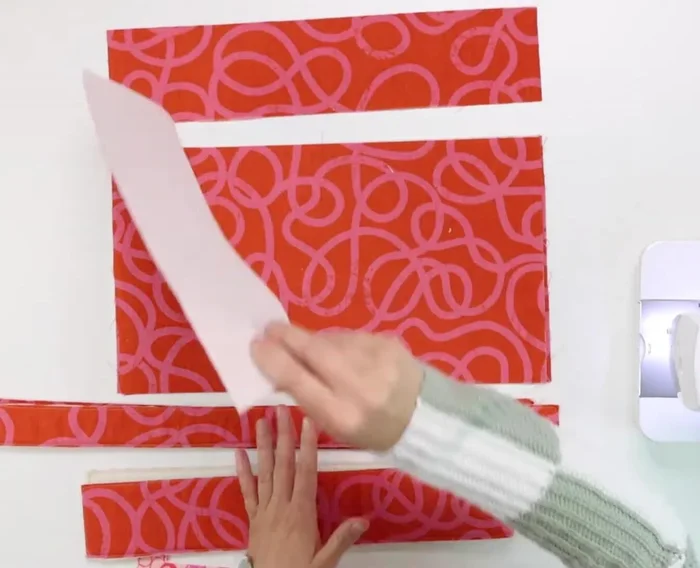
Cut and Prepare Fabrics
- Cut out all fabric pieces according to the Morning Post pattern.
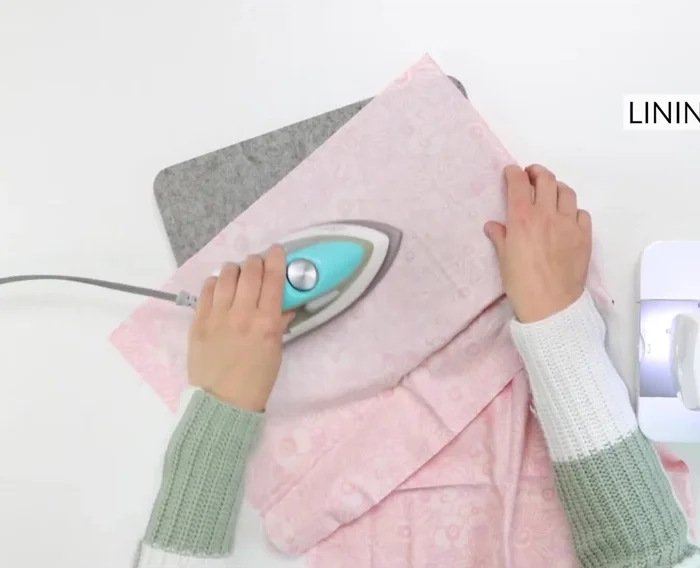
- Fuse interfacing to the exterior and lining pieces.
- Attach foam interfacing to exterior panels.
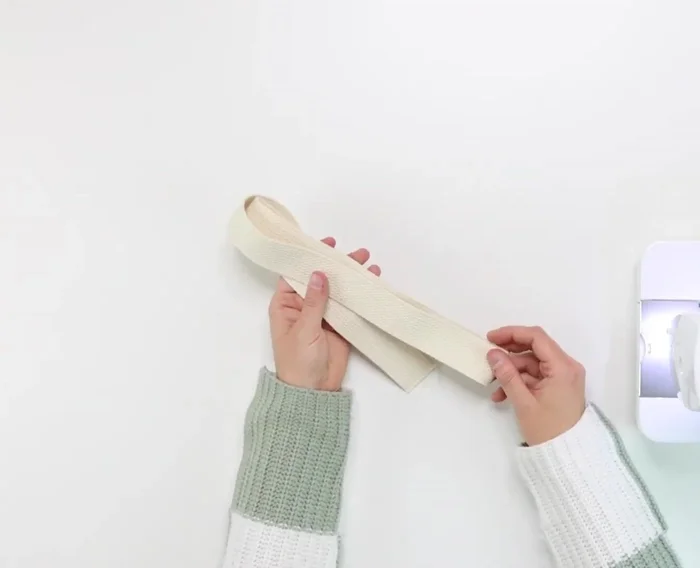
- Prepare bias binding.

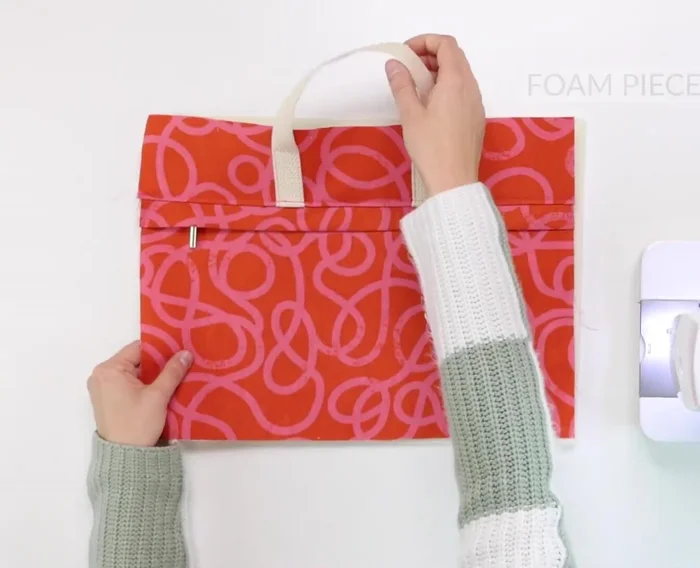
Cut and Prepare Fabrics Create Exterior Pockets and Features
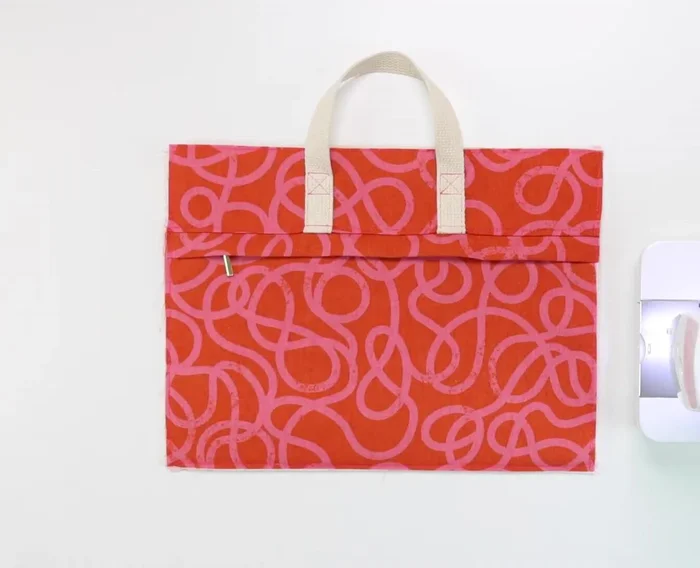
- Attach handles to exterior top pieces.
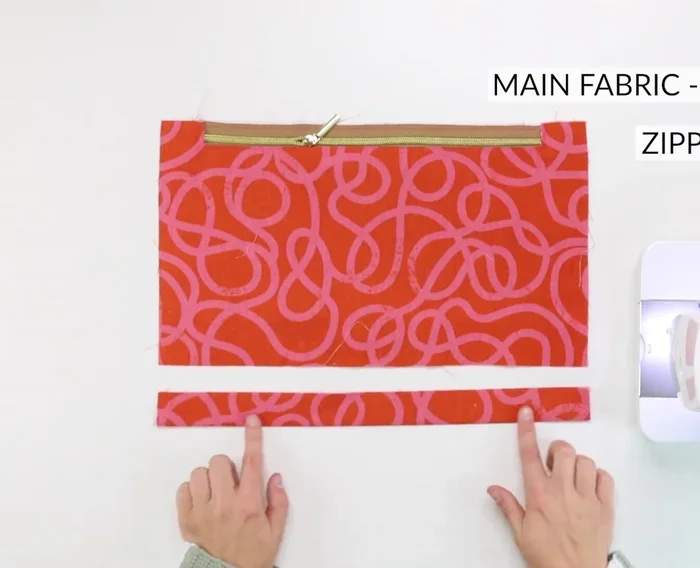
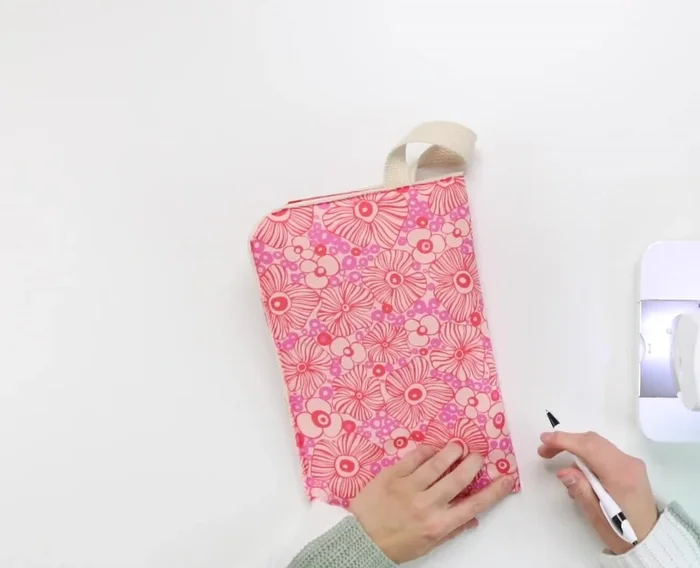
- sew pocket facing to exterior bottom, attach zipper, topstitch.
- Attach zipper covers to exterior bottom panels.
- Topstitch boxes around handles for reinforcement.
Create Exterior Pockets and Features Assemble Exterior
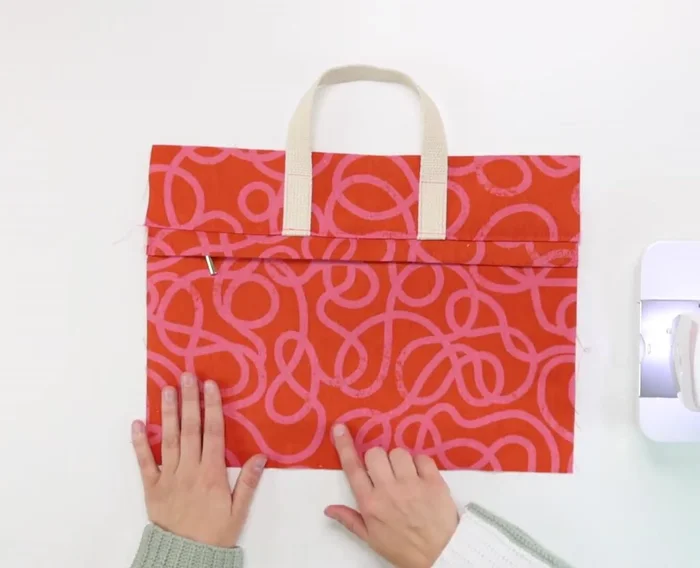
- Sew exterior top to exterior bottom.
Create and Attach Zipper Gussets
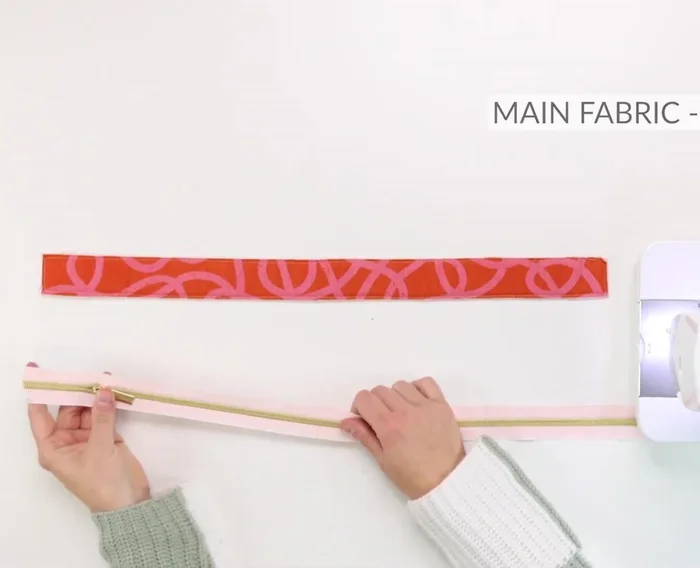
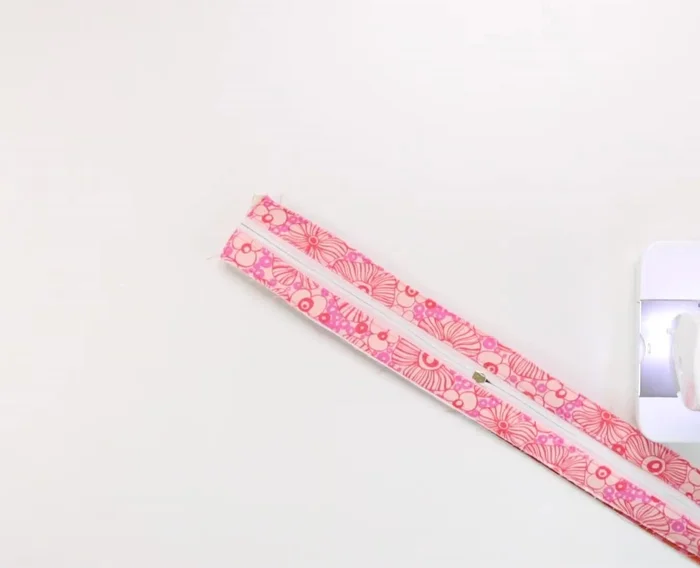
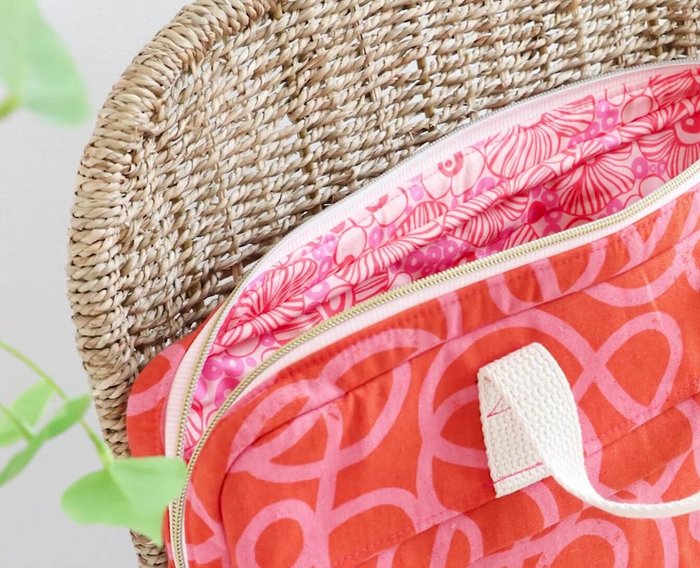
- Attach zipper to main and lining fabric, topstitch.
- Attach zipper gussets to lower gussets.
Create and Attach Zipper Gussets Prepare Lining and Attach Straps
- Attach strap connectors to lower gusset.
Assemble Main Bag
- Attach lining to foam-interfaced exterior.
- Shape exterior and interior corners using a template.
- Attach exterior and interior pieces to the gussets.
Assemble Main Bag Finishing Touches
- Add optional handmade label.
- Attach bias binding to the raw edges.
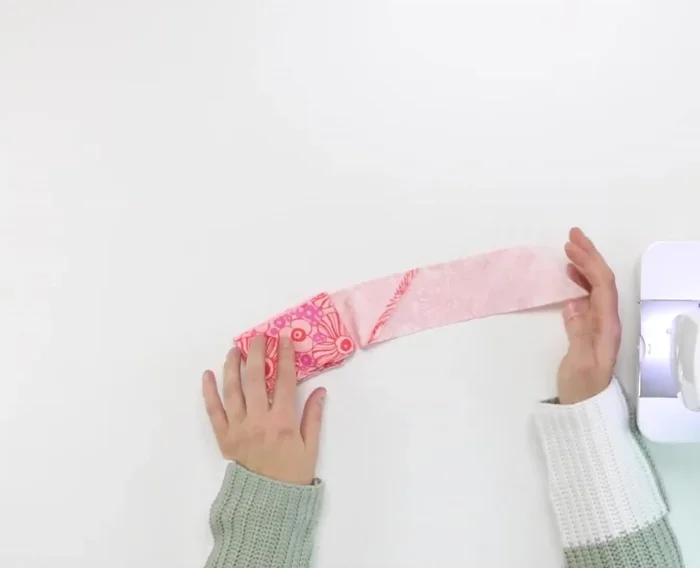
- Make an adjustable strap.
Finishing Touches
Read more: DIY Quilted Makeup Pouch Tutorial: The Easiest and Fastest Method
Tips
- Review recommended fabrics on the pattern cover.
- Label fabric pieces to avoid confusion.
- Reduce stitch length to 1.5-2 mm for secure seams.
- Use a zipper foot for attaching zippers.
- Use triangle rings or D-rings for strap connectors to prevent bunching.