The humble lampshade, a seemingly simple object, holds a surprising amount of technical skill in its construction. Successfully attaching fabric to a lampshade frame requires precision and the mastery of a key technique: the lampshade stitch. This seemingly insignificant stitch is the backbone of a beautifully finished lampshade, ensuring a taut, wrinkle-free, and professionally looking result. Poor stitching can lead to sagging fabric, a lopsided appearance, and even damage to your delicate lampshade material.
This definitive guide will demystify the lampshade stitch, providing a clear and comprehensive understanding of this crucial skill. From choosing the right needle and thread to understanding the nuances of working with different fabrics, we’ll cover everything you need to know. Ready to transform your lampshade-making skills? Let's dive into the step-by-step process outlined below.
Preparation and Safety Guidelines
- Needle
- Thread
- Always use sharp scissors to cut fabric and avoid pulling or stretching the fabric while attaching it to the frame, as this can cause wrinkles and uneven tension.
- Ensure your fabric is pre-washed and ironed to prevent shrinkage and ensure a smooth finish. This is crucial for a professional look and prevents future issues.
- If working with delicate fabrics or intricate designs, use a slip stitch or other inconspicuous method to attach the fabric to the frame instead of the lampshade stitch for a cleaner finish and to avoid damaging the fabric.
Step-by-Step Instructions
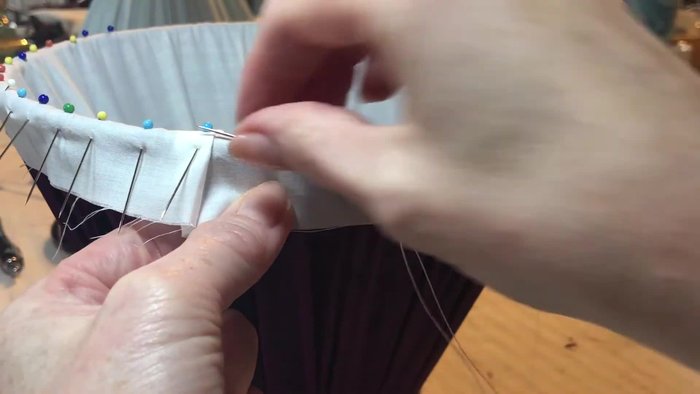
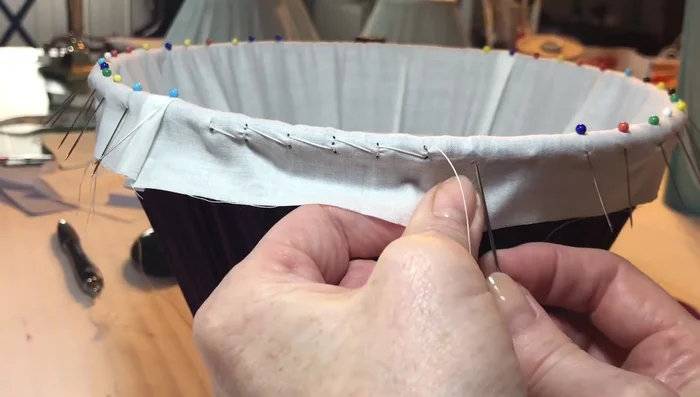
Initial Stitch
- Feed the needle through the fabric, coming out to the front. Stitch into the fabric with a couple of back stitches, working from bottom to top and loop through to secure.

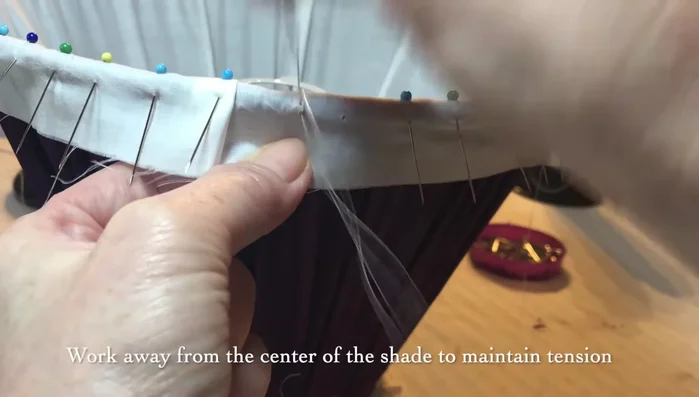
Initial Stitch Tension Control
- Work away from the center of the shade to secure the tension you have created in your pleats, gathers, or tailoring.
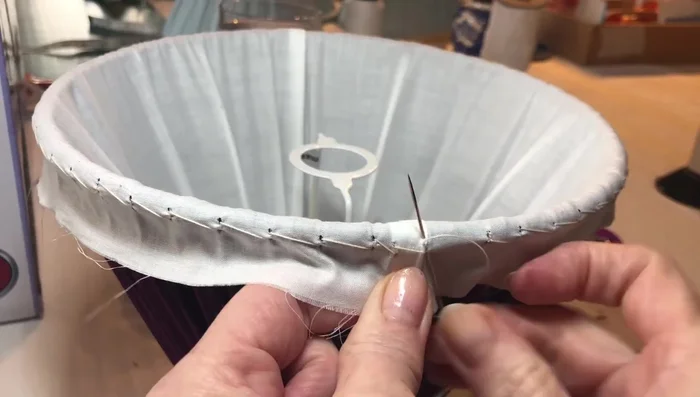
Tension Control Zigzag Running Stitch
- Take the zigzag running stitch down and across, going up into the fabric from bottom to top, making a small back stitch.
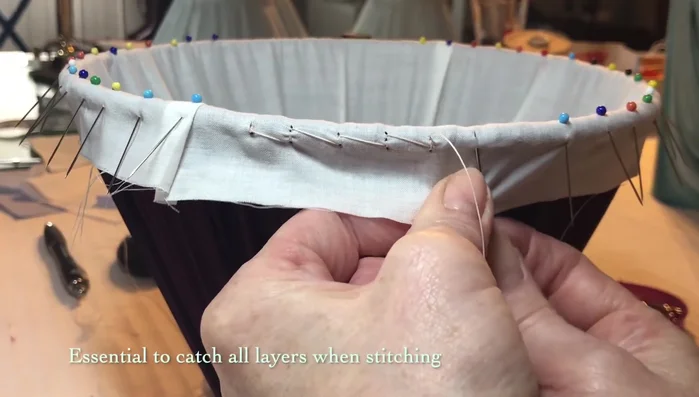
Securing Stitch
- Repeat the back stitch snugly from bottom to top, catching all layers to secure and lock.
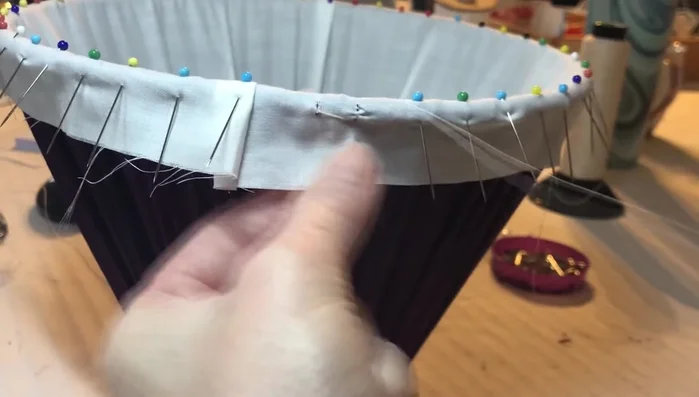
Completing the Round
- Continue working with a running zigzag and double securing back stitch, working a round of the frame. (Right-handed individuals might find it easier to work from left to right; left-handed individuals may prefer the opposite.)
Completing the Round Thread and Stitch Technique
- Ensure you catch the fabric and/or binding below; floating stitches will not secure your fabric to the frame.
- Use a strong thread, as close in color to your fabric as possible (unless the stitches are a design feature).
- Keep stitches consistently neat and at the same height. Work across the ring with a diagonal zigzag running stitch, followed by a locking back stitch.
- Avoid stitching into the top of the ring if stitches are to be hidden. Place stitches to the front of the frame.
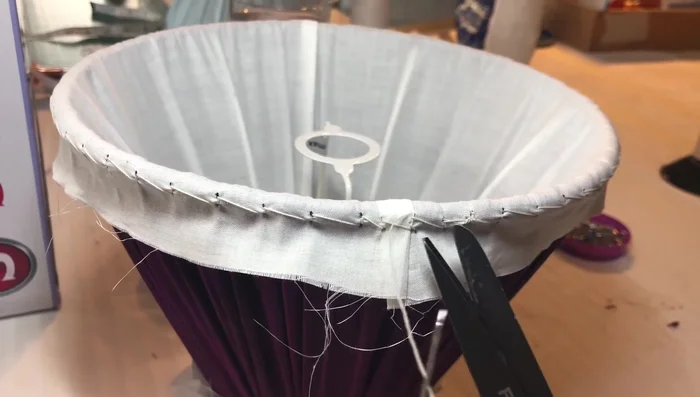
Thread and Stitch Technique Finishing the Stitch
- Add an extra back stitch and loop through to secure. Tidy your thread under your work before cutting.
Finishing the Stitch

Read more: DIY Super Cute Whale Shower Curtain: A Step-by-Step Tutorial
Tips
- Use a strong thread that matches your fabric for invisible stitches.
- Keep stitches consistent for a neat finish.
- Avoid stitching into areas where stitches will be visible.