Dive into the delightful world of crafting with this adorable Kawaii Starfish plushie tutorial! Learn how to create your own charming, huggable starfish friend, perfect for adding a touch of whimsy to your home or as a delightful gift for a loved one. This project is designed for beginners, requiring only basic sewing skills and readily available materials. Forget complicated patterns and frustrating techniques – our step-by-step guide makes crafting this cute creature surprisingly simple and enjoyable. We'll cover everything from choosing the right fabrics and cutting out the shapes, to the fun part of adding those extra Kawaii details that bring your starfish to life.
Prepare to unleash your inner crafter and discover the joy of creating something truly special! This easy-to-follow tutorial will walk you through each step of the process, from initial design to the final embellishments. Let's get started on transforming simple fabric into a heartwarming, huggable starfish plushie!
Preparation and Safety Guidelines
- Felt (darker blue, lighter blue, small red piece for flower)
- Threads (matching colors)
- Pen
- Sewing needle
- Fabric scissors
- Embellishments (optional)
- Fabric glue (optional)
- Tweezers (optional)
- Ribbon (optional)
- Adult supervision is required, especially when using needles and scissors. Keep these tools out of reach of young children.
- Always use a sharp needle to prevent accidental pokes and ensure clean stitches. Dull needles can cause more strain and injury.
- If using fabric glue, ensure good ventilation and follow the manufacturer's instructions carefully, as some glues can be harmful if inhaled or ingested.
Step-by-Step Instructions
Prepare the Felt Pieces
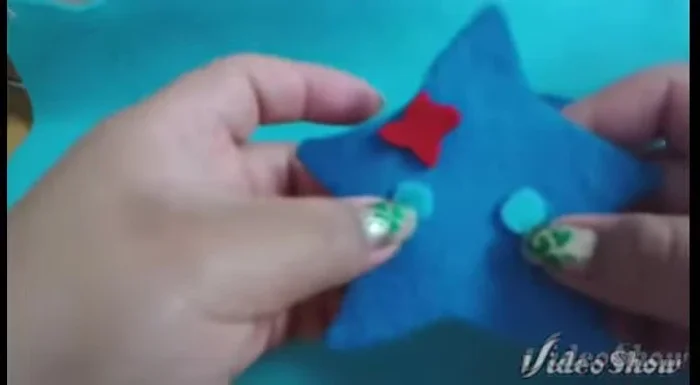
- Trace and cut out your starfish template onto felt. Cut two star shapes for the body, two circles for the eyes, and one red flower.

Prepare the Felt Pieces Add Facial Features
- Embroider or sew on facial features (eyes, mouth).
Add Facial Features Sew the Starfish Body
- Thread your needle with blue thread and align the two star shapes. Sew using a blanket stitch, leaving a gap for stuffing. If making a keychain, add a ribbon loop before closing the gap.
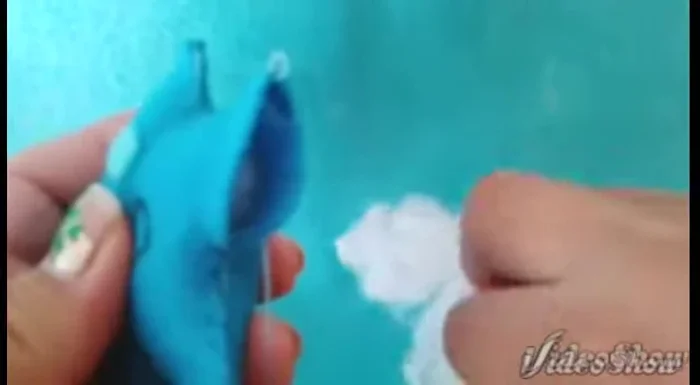
Sew the Starfish Body Stuff the Starfish
- Stuff the starfish firmly.
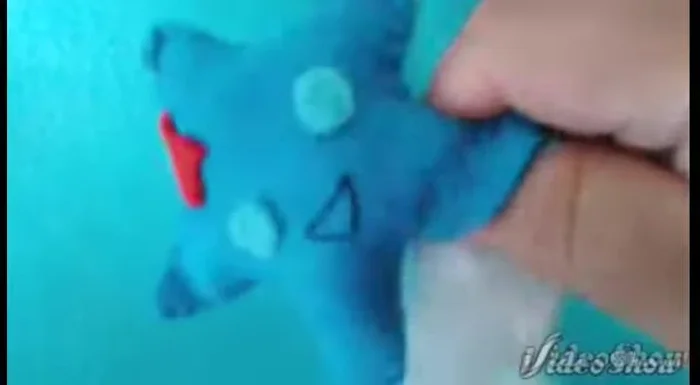
Stuff the Starfish Close the Seam
- Close the gap in the stitching.
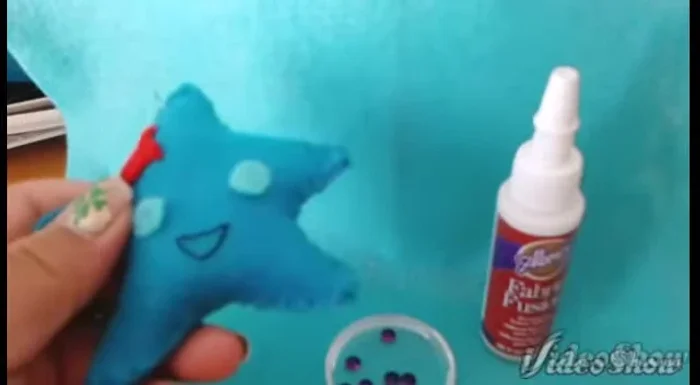
Close the Seam Add Embellishments
- Add embellishments using fabric glue and tweezers (optional). Alternatively, you can sew them on.
Add Embellishments


Read more: DIY Fluffy Duck Plushie Tutorial: A Step-by-Step Guide
Tips
- Leave a gap for stuffing when sewing the starfish together.
- Add a ribbon loop before closing the gap if you want a keychain.
- Fabric glue is an option for embellishments; sewing is another.