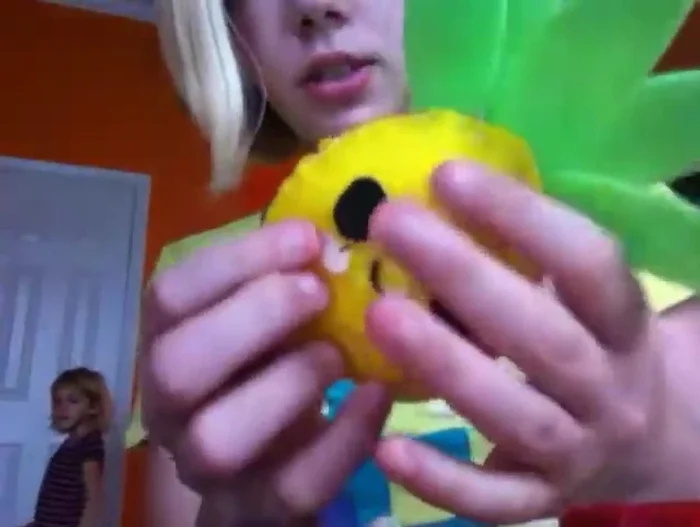
Dive into the delightful world of crafting and create your very own adorable kawaii pineapple plushie! This easy-to-follow felt craft tutorial will guide you through the process of making this cheerful, sunny fruit friend, perfect for adding a touch of whimsy to your home, bag, or even as a gift for a loved one. No prior crafting experience is necessary; this project is designed to be accessible and fun for beginners, requiring only basic materials and a little bit of patience.
The charming design of this pineapple plushie boasts a classic kawaii aesthetic – big, expressive eyes, a sweet smile, and a delightfully textured felt body. You'll learn simple techniques for shaping and stitching, creating a finished product that's both cute and satisfying to make. Ready to get started and bring a little sunshine into your life? Let's jump into the step-by-step instructions!
Preparation and Safety Guidelines
- Felt (black, pink, yellow, green)
- Needle
- Thread (black, yellow)
- Template (optional)
- Polyfill stuffing
- Adult supervision is required, especially for younger crafters using needles and scissors.
- Always use sharp scissors to prevent accidental cuts. Keep them away from children when not in use.
- Handle the needle with care to avoid pricking yourself. If you do get pricked, clean and disinfect the area immediately.
Step-by-Step Instructions
Prepare Materials
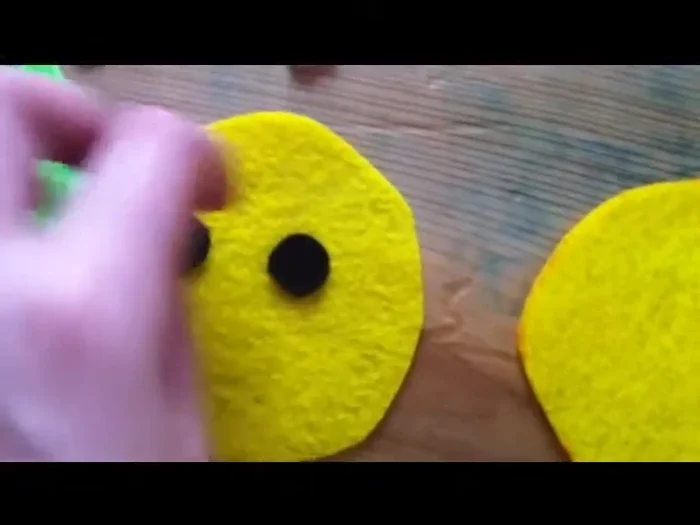
- Prepare your template and felt pieces. Trace the pineapple body onto yellow felt twice, and the leaf shape onto green felt five times.

Prepare Materials Cut Felt Pieces
- two pineapple bodies, five leaves, two black circles for eyes, two pink circles/ovals for blush.
Cut Felt Pieces Embroider Face
- Sew the eyes and blush onto one of the yellow pineapple pieces using a backstitch.
Embroider Face Attach Leaves
- Attach the five leaves to the pineapple face using yellow thread.
Sew Pineapple Body
- Place the two yellow pineapple pieces together, with the right sides facing each other. Sew around the edge, leaving a gap for stuffing.
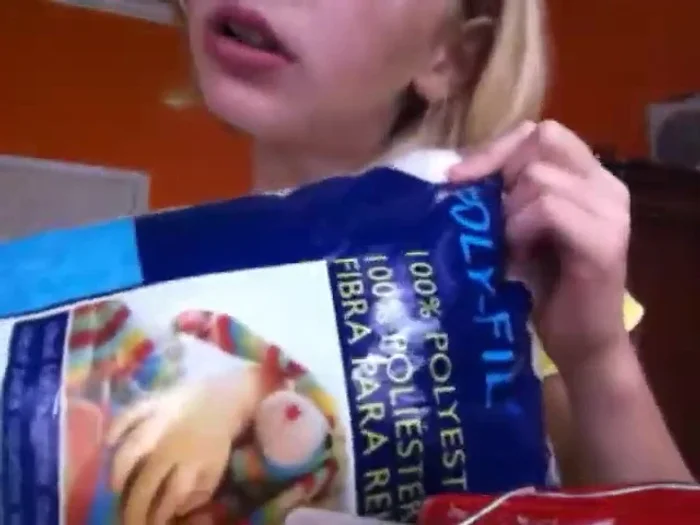
Stuff Pineapple
- Stuff the pineapple with polyfill.
Stuff Pineapple Close the Seam
- Sew up the gap using a blanket stitch and tie a knot to secure it.
Close the Seam
Read more: DIY Fluffy Duck Plushie Tutorial: A Step-by-Step Guide
Tips
- Use a backstitch for secure sewing of the eyes, mouth, and blush.
- A blanket stitch is recommended for closing the gap after stuffing.
- Leave a gap when sewing the pineapple body to easily stuff it with polyfill.