Avocados: creamy, delicious, and surprisingly adorable! If you're a fan of all things kawaii and have a penchant for plush toys, then you're in for a treat. This tutorial will guide you through the simplest method for creating your very own kawaii avocado plushie, perfect for cuddling, displaying, or gifting to a fellow avocado enthusiast. Forget complicated patterns and intricate stitching; this project is designed to be accessible even for complete beginners. We'll use readily available materials and straightforward techniques to bring this charming little fruit to life.
Prepare to be amazed by how quickly and easily you can craft this delightful plush companion! This isn't just another avocado; it's a miniature masterpiece of cuteness, ready to brighten your day. We'll be using felt, stuffing, and basic sewing skills to achieve maximum charm with minimal effort. Let's dive right into the step-by-step process and start crafting your kawaii avocado plushie!
Preparation and Safety Guidelines
- Green felt
- Lighter green plush fabric (Shannon Fabrics cuddle fabric recommended)
- Red felt liner
- Starbucks cup (or similar for pit sizing)
- Toy safety eyes
- Washer
- Sewing machine (optional)
- Stuffing
- Black puffy paint
- Dotting tool
- Blush
- Makeup brush
- Hot glue gun
- Fabric glue or needle and thread (optional)
- Adult supervision is required, especially when using needles or hot glue. Keep small parts away from young children to prevent choking hazards.
- Use fabric scissors to prevent injury and ensure clean cuts. Don't force the scissors through thick fabric.
- If using a sewing machine, always operate it according to the manufacturer's instructions and take necessary safety precautions.
Step-by-Step Instructions
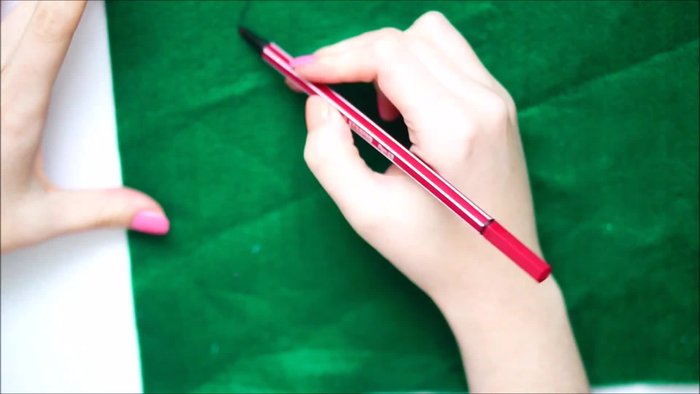
Prepare Avocado Shapes
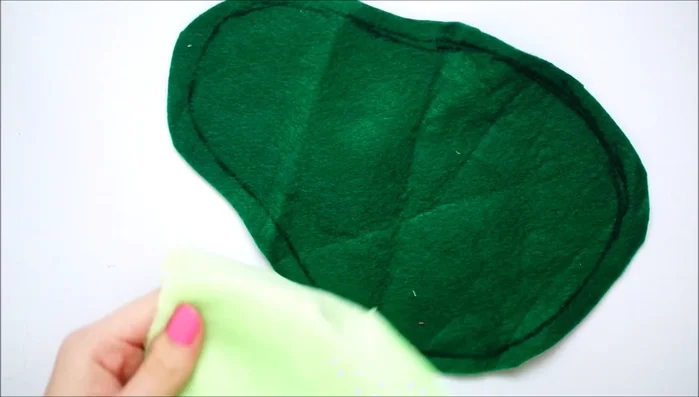
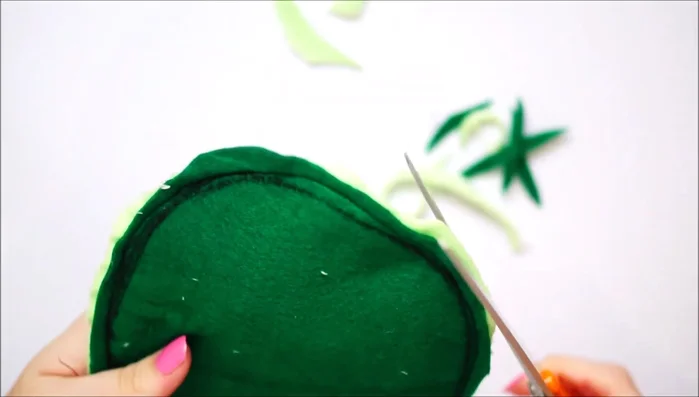
- Draw and cut avocado shape from green felt, leaving seam allowance.
- Repeat step 1 with lighter green plush fabric.

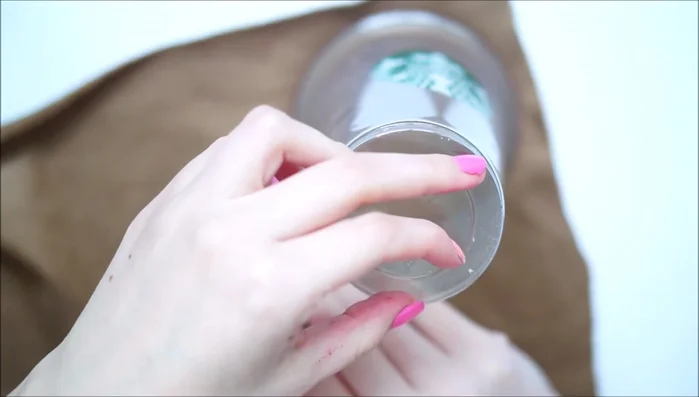
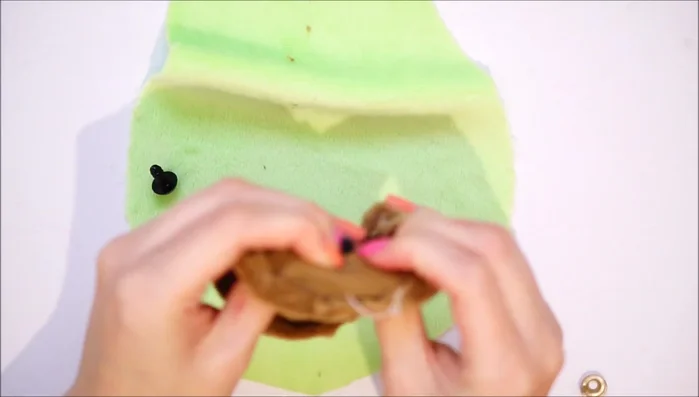
Prepare Avocado Shapes Create and Prepare the Pit
- Create avocado pit using a Starbucks cup as a template. Cut, fold edges, and hand sew, leaving a 1 cm gap.
- Stuff the avocado pit.
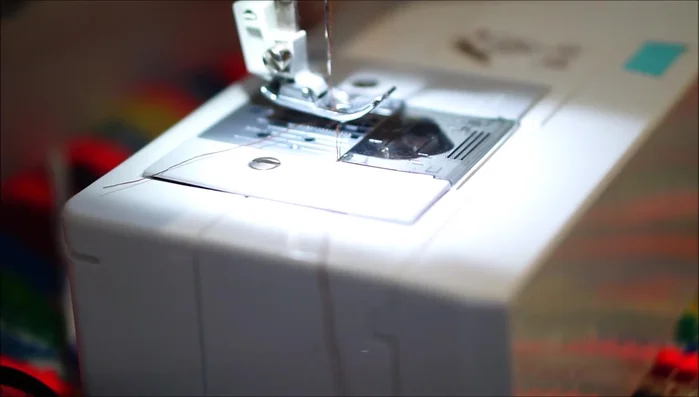
- Secure the top of the pit using a sewing machine (or hand sewing/fabric glue).
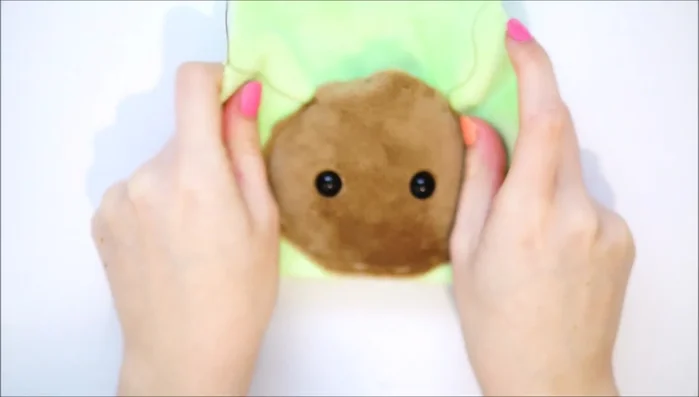
Create and Prepare the Pit Assemble the Face
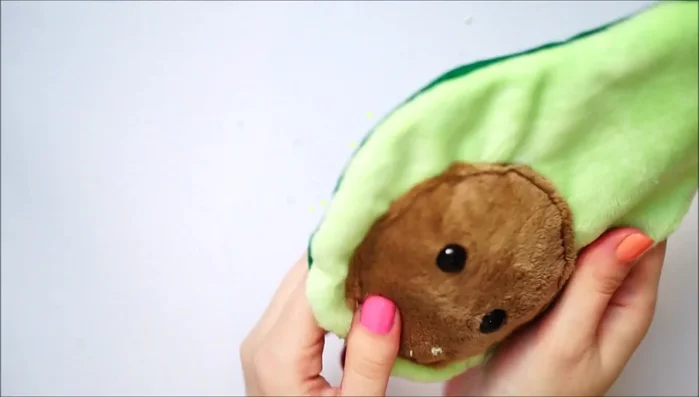
- Attach toy safety eyes to the front of the lighter green fabric.
- Attach the pit to the lighter green fabric using a sewing machine (or hand sewing/fabric glue). Leave a small gap at the top.
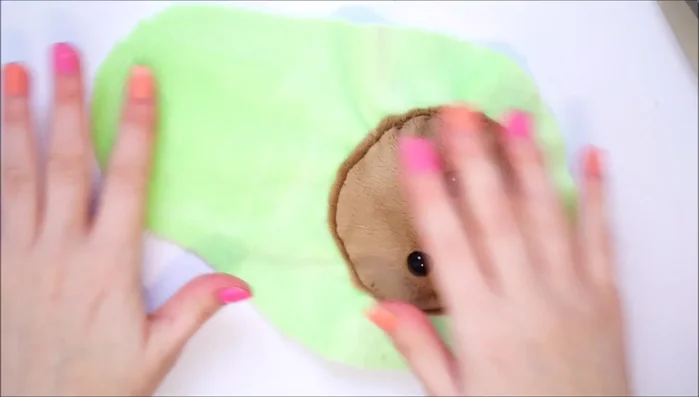
Assemble the Face Sew the Avocado Together
- Place the green felt and lighter green plush fabric pieces right sides together. Sew around the drawn line (sewing machine, hand sewing, or fabric glue).
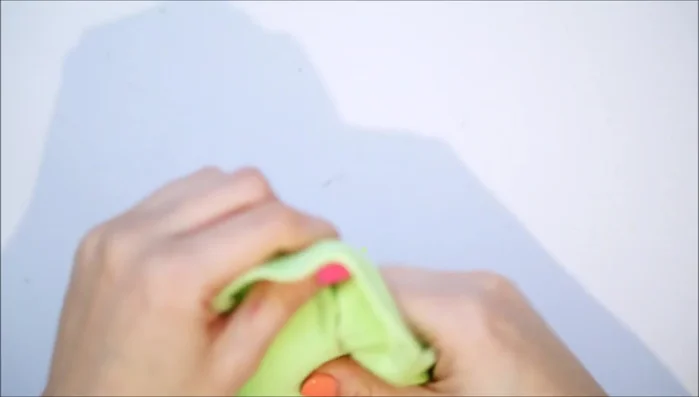
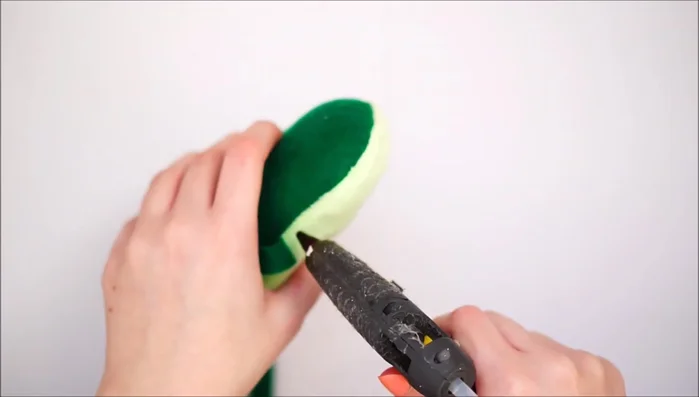
Sew the Avocado Together Turn and Stuff the Avocado
- Remove excess fabric and snip curves for easier turning. Turn inside out.
- Stuff the plushie.
Turn and Stuff the Avocado Close the Opening
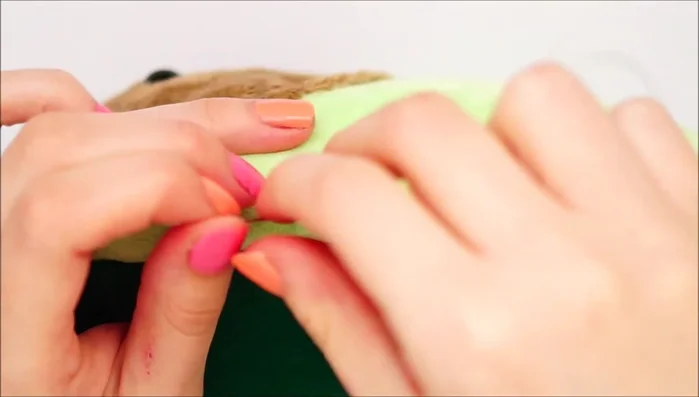
- Secure the opening using a ladder stitch.
Close the Opening Add Facial Details
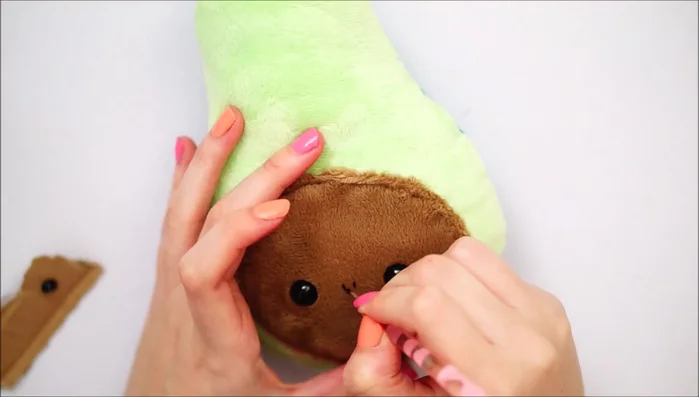
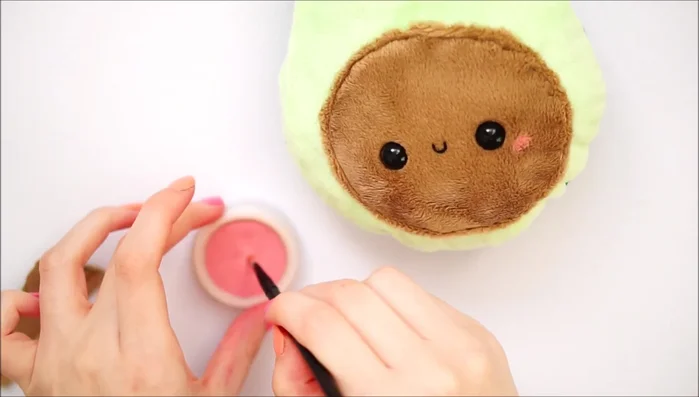
- Paint on the mouth using black puffy paint and a dotting tool, following the fabric's contours.
- Apply blush to the cheeks.
Add Facial Details Finishing Touches
- Glue green felt strips around the edges to add a darker green accent and conceal any imperfections.
Finishing Touches
Read more: DIY Fluffy Duck Plushie Tutorial: A Step-by-Step Guide
Tips
- Use a soft, thin plush fabric for easier sewing and a softer plushie.
- Don't worry if stitches show on the pit; they'll be hidden later.
- Snipping curves allows for smoother fabric when turning the plushie inside out.
- Use a ladder stitch to neatly close the opening.
- When painting the mouth, follow the direction of the fabric to avoid a messy look.