Love the look of luxurious, ruffled pillows but cringe at the price tag? You're not alone! Transforming simple, affordable IKEA cushions into stunning statement pieces is easier than you think. This DIY Ikea hack will guide you through creating a breathtaking striped ruffle pillow, adding a touch of handmade elegance to your home without breaking the bank. We'll show you how to elevate a basic cushion cover with the addition of charming, textured ruffles, creating a design that's both chic and surprisingly simple to achieve.
Forget expensive boutique pillows; this project empowers you to personalize your décor with a unique, handcrafted accent. Using readily available materials and straightforward techniques, you'll be amazed at the dramatic impact this simple upgrade can make. Ready to transform your living space? Let's dive into the step-by-step instructions to create your own stunning striped ruffle pillow.
Preparation and Safety Guidelines
- Ikea twin sheet set
- Pillowcase
- Sewing machine
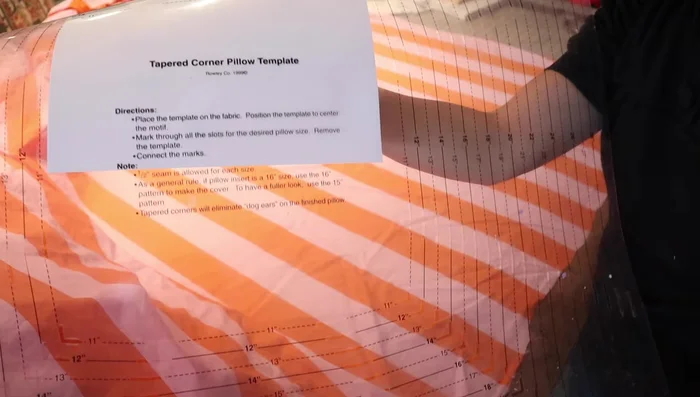
- Tapered Corner Pillow Template
- Ruler
- Pins
- Seam ripper
- Zipper
- Always unplug the sewing machine before changing needles or making any adjustments.
- Use caution when working with sharp objects like scissors and pins. Keep them away from children and pets.
- If using fabric paint or dye, ensure adequate ventilation and follow the manufacturer's instructions carefully, including wearing appropriate protective gear.
Step-by-Step Instructions
Prepare the Fabric
- Wash and dry the Ikea twin sheet set and pillowcase.
- Disassemble the duvet cover, cutting one layer at a time.

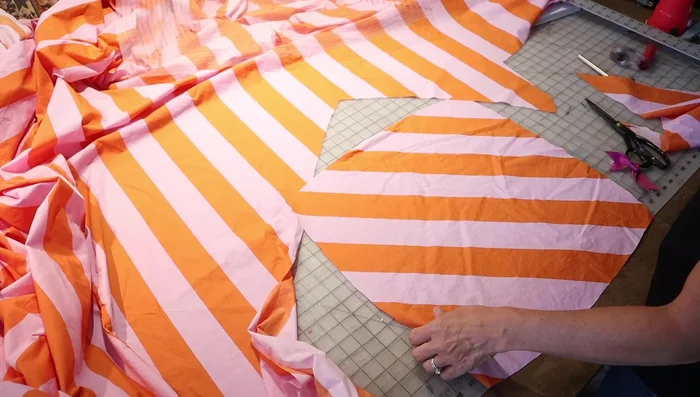
Prepare the Fabric Cut Pillow Pieces
- one with diagonal stripes and one with straight stripes.
- Cut the pillow pieces to 19 inches square, allowing for a 1/2-inch seam allowance.
Cut Pillow Pieces Cut and Sew Ruffle
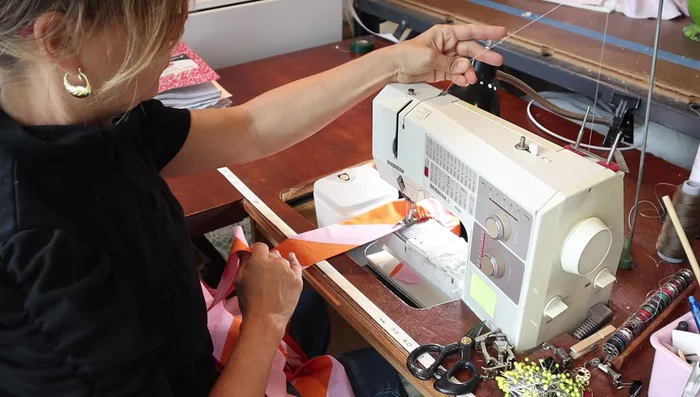
- Determine ruffle length (160 inches for a 20x20 pillow) and cut strips 6 inches wide (folded in half for self-lining).
- Sew ruffle strips together, ensuring stripes align for a continuous pattern.
- hold the top thread to create tension and automatically ruffle the fabric (requires practice).
Cut and Sew Ruffle Attach Ruffle to Pillow
- Pin the ruffled fabric to the front of the pillow, raw edges together. Join the ends of the ruffle to create a loop.
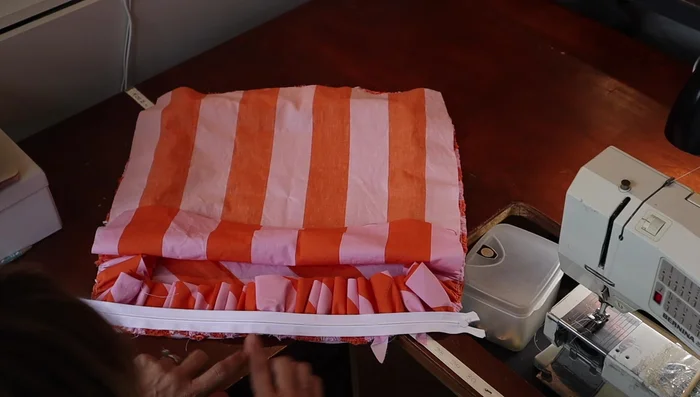
Attach Ruffle to Pillow Attach Zipper
- Pin and sew the zipper to one side of the pillow, leaving the pull facing down.
Attach Zipper Sew Pillow Together
- Pin the remaining pillow pieces together, and sew a half inch from the edge. Sew around the pillow, carefully maneuvering around the zipper.
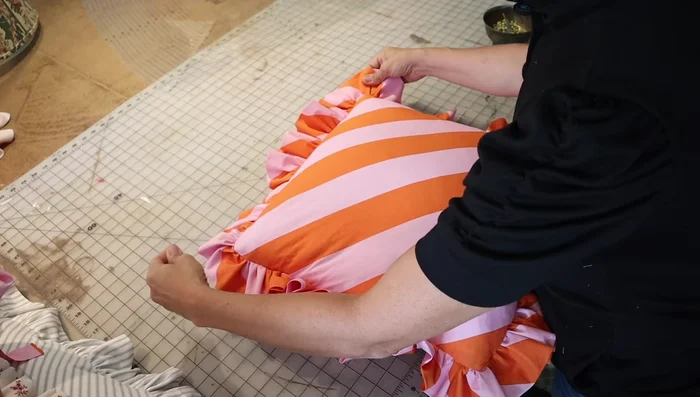
Sew Pillow Together Finishing Touches
- Stuff the pillow and remove any visible gathering stitches.
Finishing Touches


Read more: King Size Quilt Tutorial: Efficient Chain Piecing Method
Tips
- Use a tapered corner pillow template for easy pillow construction and to avoid dog-eared corners.
- For diagonal stripes, use the template to ensure accurate placement on the fabric, but be mindful of fabric waste.
- When creating ruffles, add extra gathers to the corners to prevent flat, cupped corners.
- For a professional finish, sew about an inch behind the zipper to conceal the zipper ends.