The Audrey Hepburn style remains timeless, its effortless elegance continuously inspiring modern fashion. A key component of this iconic look is the sleek, cropped mock turtleneck, often seen peeking from under a cardigan or styled with high-waisted skirts and trousers. This tutorial will guide you through the creation of your own versatile Hepburn-inspired top and dress, a perfectly tailored garment that seamlessly blends classic sophistication with contemporary flair. Whether you're a seasoned sewist or a beginner looking for a challenging yet rewarding project, this pattern offers a fantastic opportunity to elevate your wardrobe.
This comprehensive guide will walk you through each step of constructing this flattering and chic cropped mock turtleneck tank, which serves as the foundational piece for both the top and dress variations. Let's dive into the detailed, step-by-step instructions, equipping you with the skills and knowledge to sew your own beautiful Hepburn-inspired creation.
Preparation and Safety Guidelines
- Fabric (for front, back, and turtleneck pieces)
- 3/8 inch clear elastic (or knit elastic)
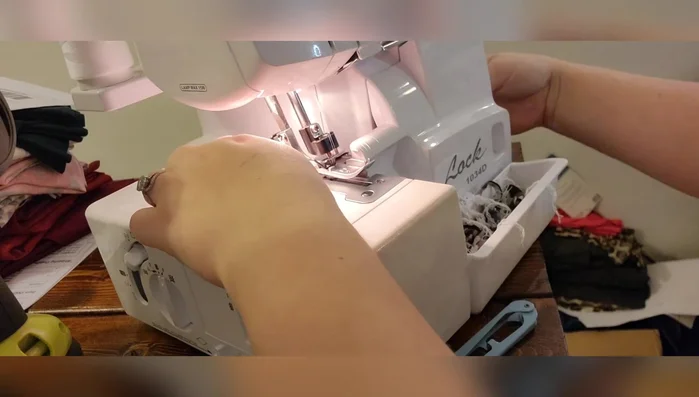
- Sewing machine (or serger)
- Pins or clips
- Scissors
- Seam ripper (optional)
- Iron and ironing board (optional)
- Use sharp sewing shears and needles to prevent fabric damage and injury. Dull tools require more force, increasing the risk of accidents.
- Always use a stable, well-lit workspace. Poor lighting and unstable surfaces can lead to mistakes and injuries.
- If using a sewing machine, be sure to unplug it before making any adjustments or cleaning. Never reach into the machine while it's plugged in and running.
Step-by-Step Instructions
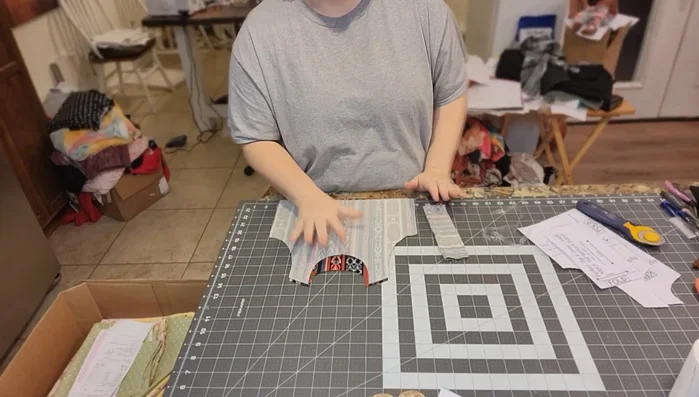
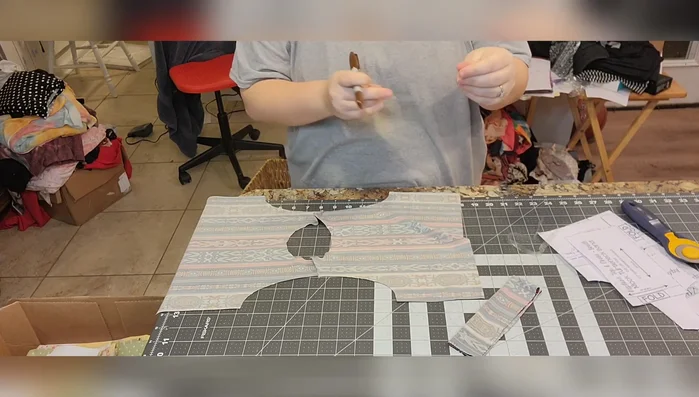
Cut Pattern Pieces
- Cut out the front and back pieces for the tank version of the Hepburn top/dress pattern, making sure to use the correct armhole.
- Cut out the mock turtleneck piece. This piece is cut on a fold.
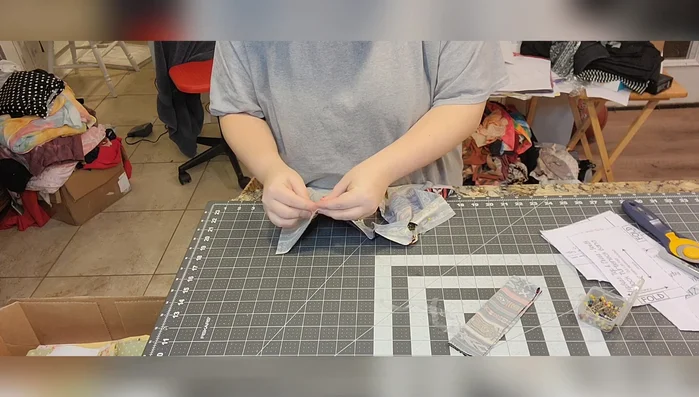
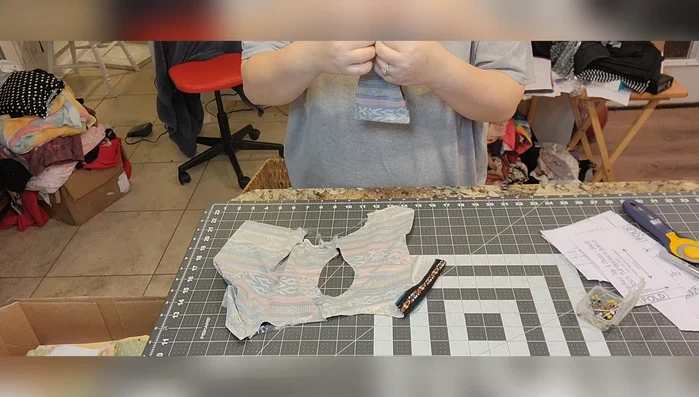
Sew Shoulder Seams
- Sew shoulder seams of the front and back pieces together, right sides together. Use a serger or zigzag stitch.

Sew Shoulder Seams Attach Armhole Elastic
- Pin clear elastic to the armholes, matching the middle of the elastic to the shoulder seam. Pin or clip the elastic to secure it to the fabric before sewing.
- Sew the elastic to the armholes using a serger or a sewing machine with a quarter-inch seam allowance. Stretch the elastic slightly to match the curve of the armhole.
Attach Armhole Elastic Prepare and Attach Neckband
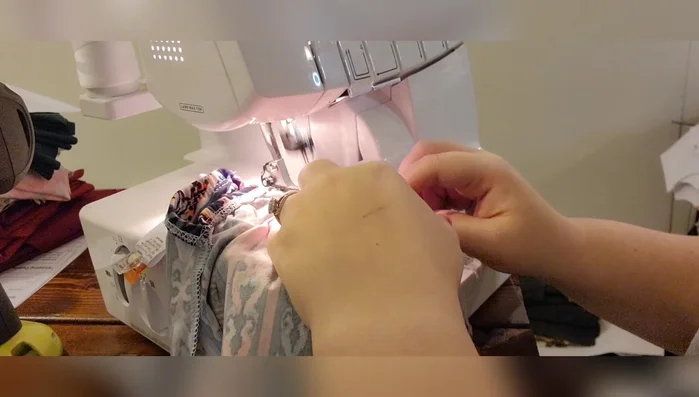
- Prepare the turtleneck cuff by folding the raw edge inward. (Hamburger/hot dog method)
- Sew the turtleneck cuff to the neckline, right sides together. Using a serger or sewing machine, match the back seam and shoulder points. Stretch the elastic to fit the neckline.
Prepare and Attach Neckband Sew Side Seams
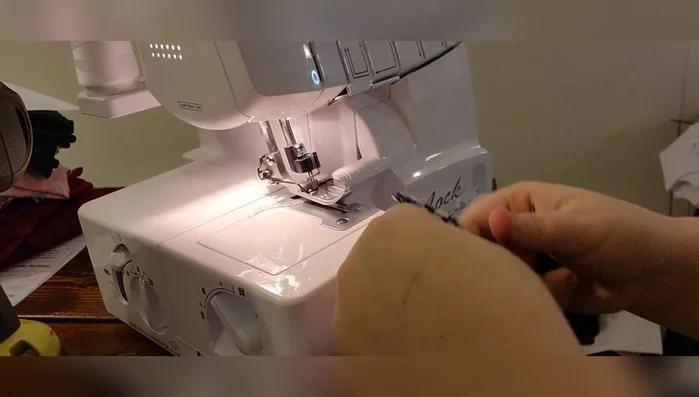
- Sew the side seams, right sides together, using a serger or sewing machine. Ensure the bottom edges are precisely aligned and that the seam allowance is consistent (half inch).
Sew Side Seams Finish Seams and Secure Elastic
- Finish seams using a serger (or sewing machine zigzag stitch) to prevent unraveling. Tuck and secure the elastic ends within the seams.
Finish Seams and Secure Elastic Hem Bottom Edge
- Hem the bottom edge of the top using a cover stitch or a shortened zigzag stitch. (Half-inch seam allowance is used here, despite the pattern calling for a full inch.)
Hem Bottom Edge Add Embellishments
- Add any embellishments like tags, if desired.
Add Embellishments
Read more: Raglan Sleeve Sewing Tutorial: A Step-by-Step Guide
Tips
- Knit elastic is a good alternative to clear elastic; it may be less prone to shifting during sewing.
- Pinning or clipping the elastic to the armholes before sewing is essential for a neat and secure finish.
- When sewing the elastic, use a serger or a sewing machine with a shortened zigzag stitch for a secure and flexible seam.
- Take your time and go slowly, especially when sewing the elastic, to ensure a smooth and even finish.
- Using a serger to stitch around the edge with the differential feed turned to 0 before hemming with a sewing machine (or cover stitch) creates a neat and less stretchy finish for the hem.