The Harriet jacket: a timeless piece, effortlessly chic, and surprisingly achievable. This classic lined jacket, with its clean lines and flattering silhouette, has long been a staple in discerning wardrobes. Whether you're a seasoned seamstress or a confident beginner eager to tackle a more ambitious project, this comprehensive guide will empower you to create your own Harriet. Imagine the satisfaction of wearing a beautifully tailored garment, crafted entirely by your own hands, a testament to your skill and creativity.
This guide provides a detailed, step-by-step process to sewing your own Harriet jacket, from choosing the right fabrics and cutting the pattern to finishing the lining and adding the final touches. Let’s dive in and transform your fabric dreams into a stunning reality.
Preparation and Safety Guidelines
- sewing machine
- interfacing
- pins
- iron
- ironing board
- needle
- thread
- scissors
- Always use sharp needles and pins to prevent fabric slippage and injury. Dull needles require more force, increasing the risk of pricking yourself.
- Handle your sewing machine with care. Keep your fingers away from the needle and moving parts at all times. Before operating, ensure the machine is properly plugged in and the power switch is on.
- When working with fabric scissors, cut away from yourself and always keep the blades closed when not in use. Avoid using fabric scissors for any task other than cutting fabric.
Step-by-Step Instructions
Prepare Fabric Pieces
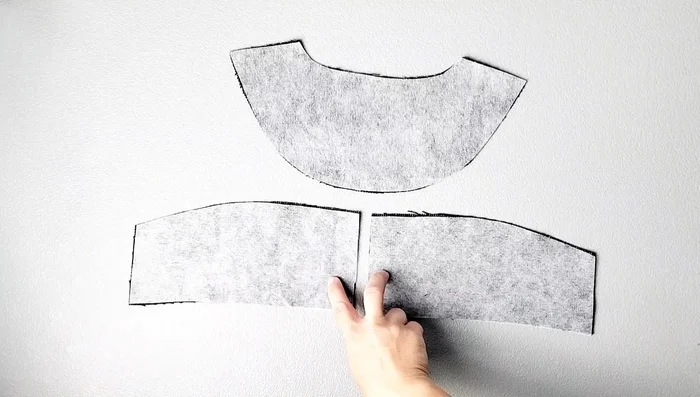
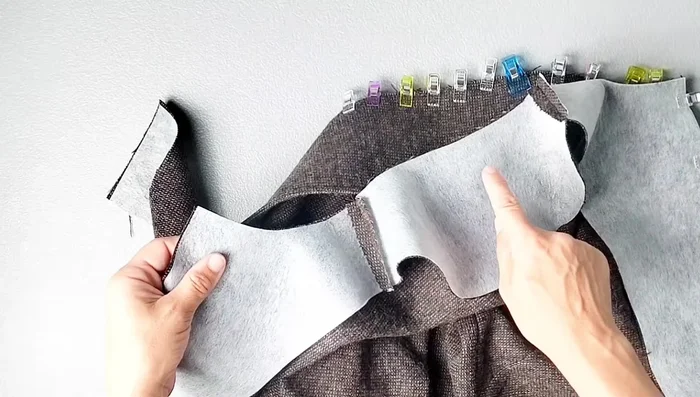
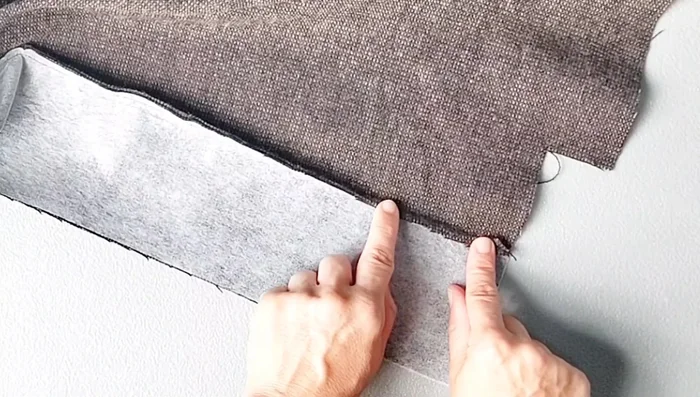
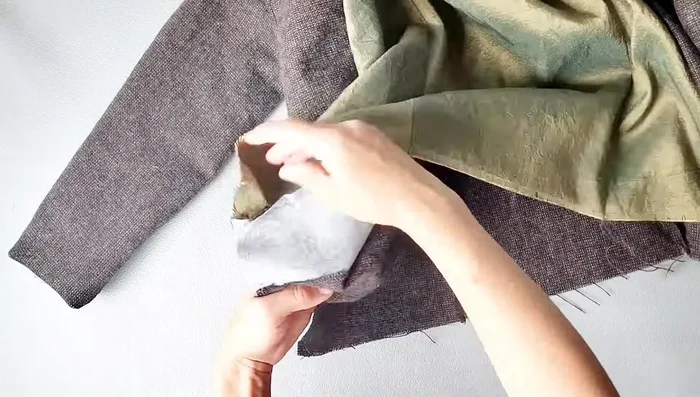
- Apply interfacing to the wrong side of your back neck facing, under collar, top collar, and front facing pieces.
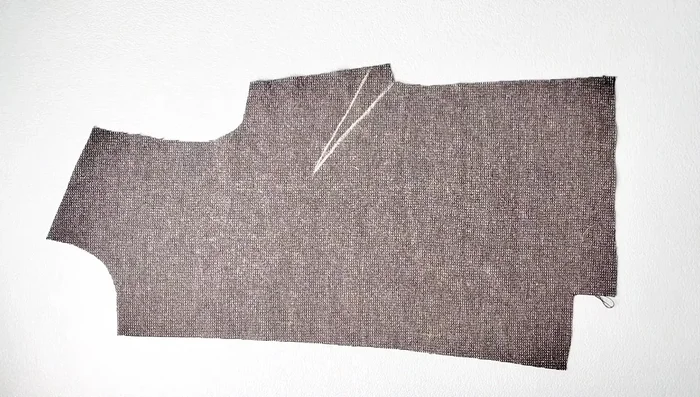
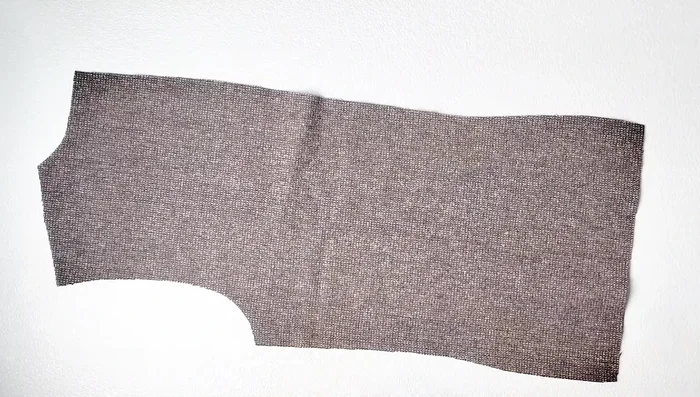
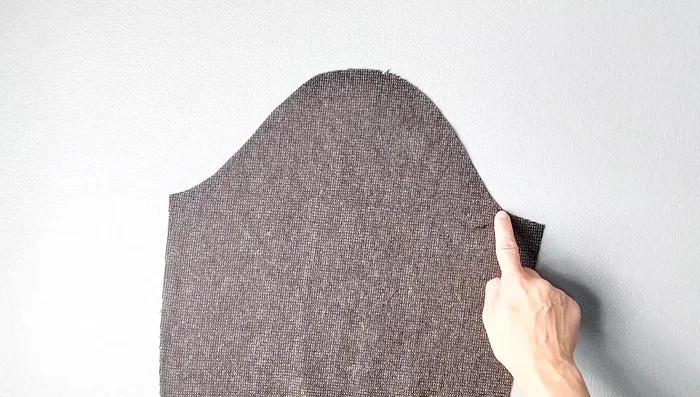
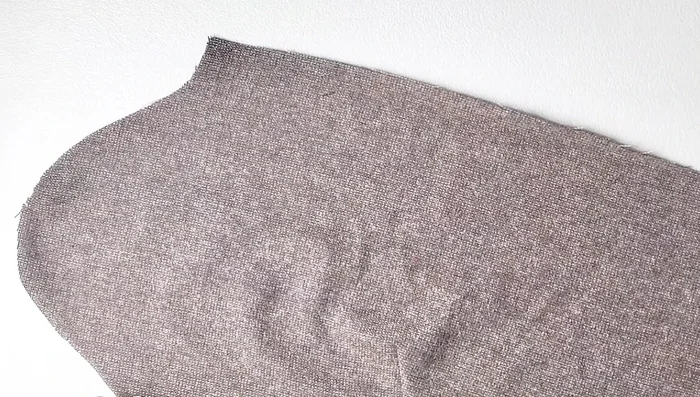
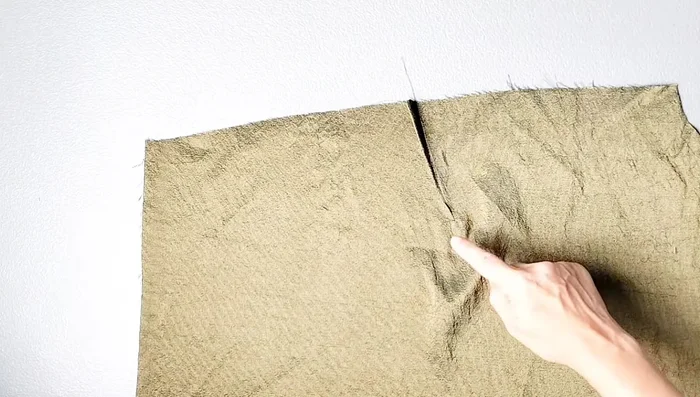
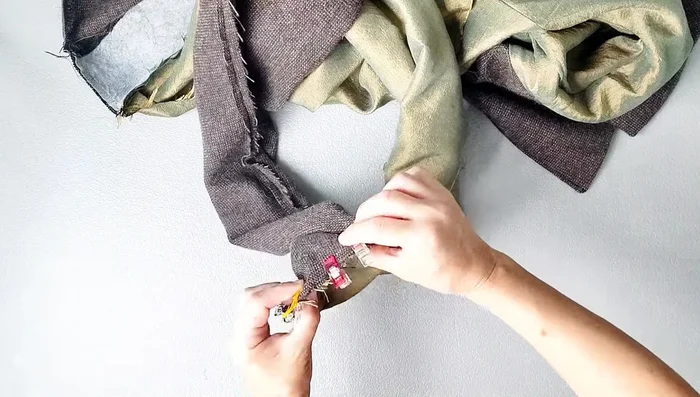
- Transfer and sew darts on the front bodice pieces. Press darts downward.
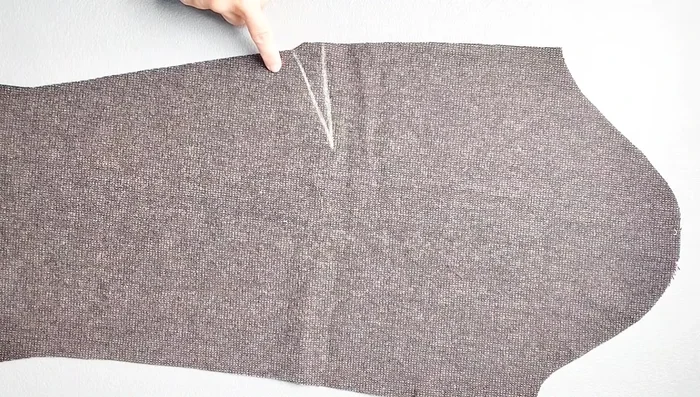
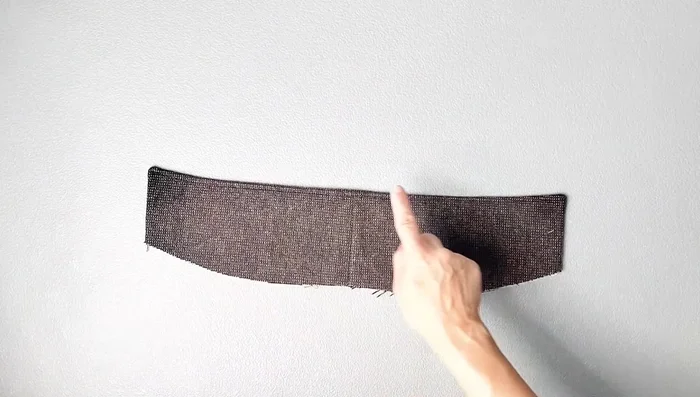
- Transfer and sew darts on the sleeve pieces. Press darts downward.

Prepare Fabric Pieces Construct Collar
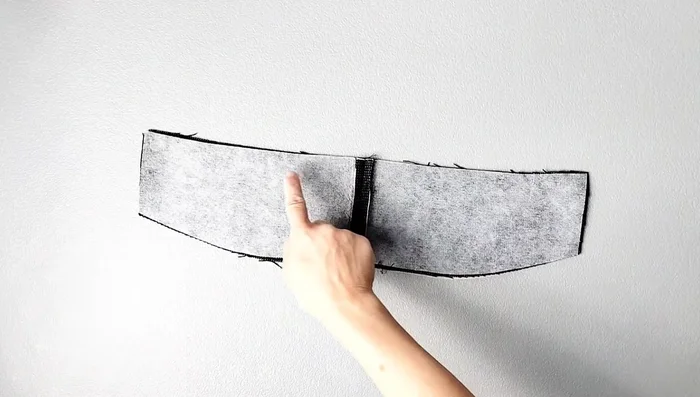
- Sew the center seam of the under collar pieces (right sides together) with a 3/8 inch seam allowance. Press seam open.
- Sew the top collar and under collar together (right sides together) along the short edges and long straight edge with a 1/4 inch seam allowance. Clip corners, turn right side out, and press.
- Sew the straight edge of the collar with an 1/8 inch seam allowance, back stitching at the beginning and end.
- Baste the bottom edges of the collar with an 1/8 inch seam allowance.
Construct Collar Assemble Bodice
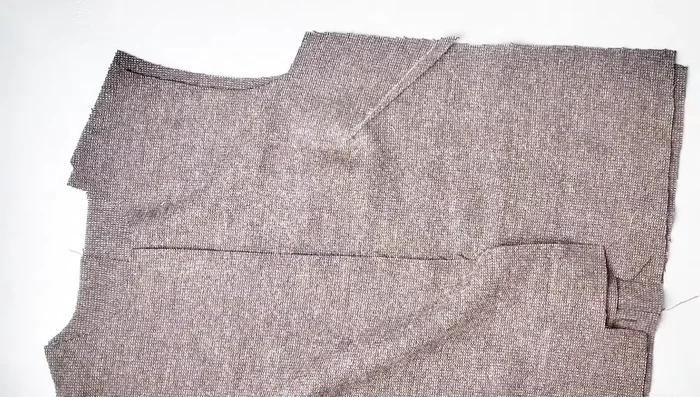
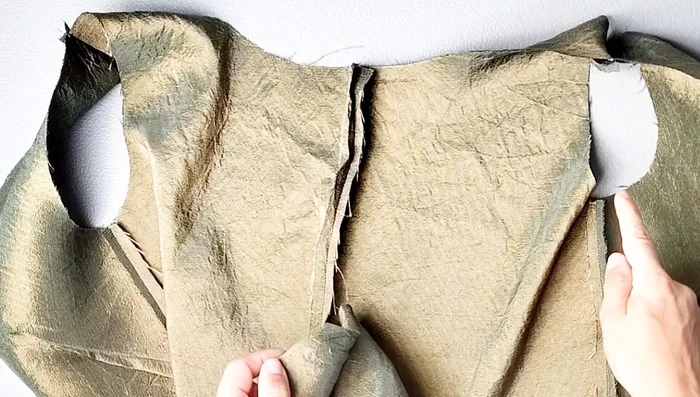
- Sew the center back seam of the back bodice pieces (right sides together) with a 3/8 inch seam allowance. Press seam open.
- Sew the side seams and shoulder seams of the bodice (front and back pieces right sides together) with a 3/8 inch seam allowance. Press seams open.
Assemble Bodice Attach Collar to Bodice
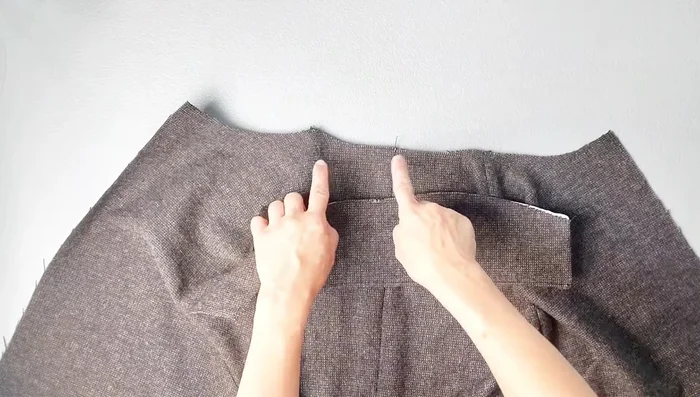
- Pin and sew the collar to the neckline of the bodice, matching centers and notches. Note that the bodice extends beyond the collar by one inch on both sides.
Attach Collar to Bodice Construct Sleeves
- Sew basting stitches from one outer notch to the other on the sleeves. Pull the basting stitches to ease the sleeve material into the armhole.
- Sew the underarm seam of the sleeves (right sides together) with a 3/8 inch seam allowance. Press seam open.
Construct Sleeves Set in Sleeves
- Insert sleeves into armholes (right sides together), matching underarm seams and notches. Ease fullness into armhole and pin. Sew with a 3/8 inch seam allowance.
Attach and Finish Facing
- Pin and sew the facing to the center front, neckline, and opposite center front, matching notches. Sew with a 1/4 inch seam allowance. Clip corners, turn right side out, and press.
- Understitch the facing seam allowance to the facing. Sew an 1/8 inch away from the original stitching line.
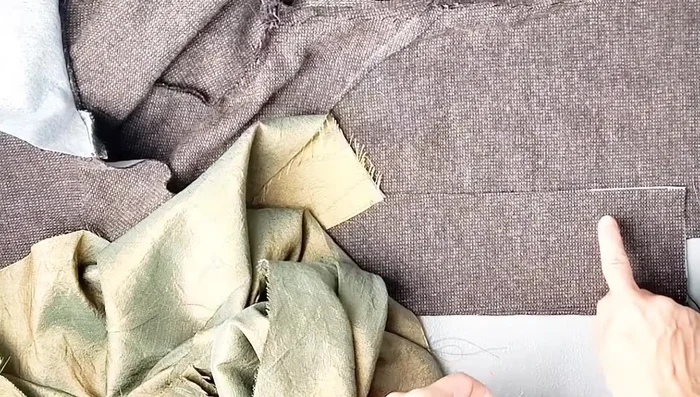
Attach and Finish Facing Construct Lining
- Sew the lining pieces together in the same manner as the main body pieces, including the tuck at the top of the back lining.
- Sew basting stitches along the top of the lining sleeves. Sew the underarm seam of the right lining sleeve. Leave an opening between the notches on the left lining sleeve.
Construct Lining Attach Lining to Bodice
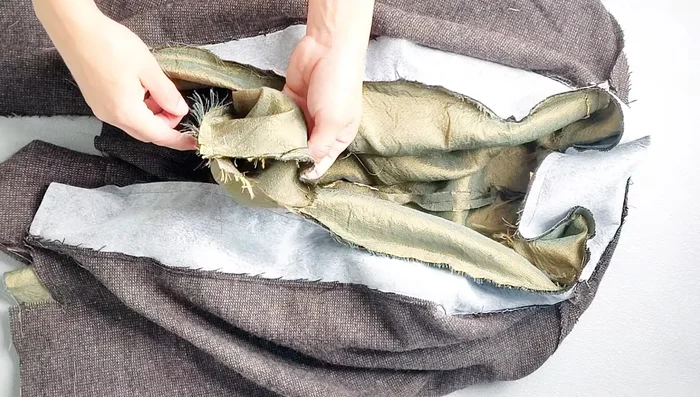
- Insert lining sleeves into armholes (right sides together), matching underarm seams and notches. Ease fullness into armhole and pin. Sew with a 3/8 inch seam allowance.
- Attach the lining to the bodice, tucking the front center edges from notch to notch. Sew with a 3/8 inch seam allowance, leaving the bottom hem open.
Attach Lining to Bodice Close Jacket and Hem
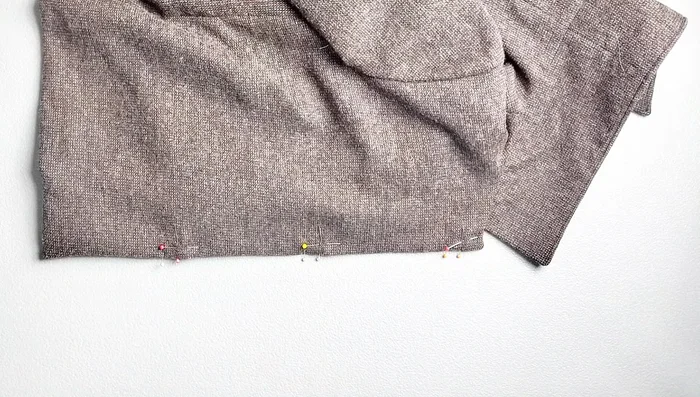
- Turn the jacket right side out through the bottom opening. Align underarm seams and bottom hems of main fabric and lining. Fold seam allowances (3/8 inch) to the inside, right sides together. Pull sleeves through the bottom opening. Pin and sew the bottom hem with a 3/8 inch seam allowance.
- Tack the bottom hem seam allowance of the sleeves to the main body sleeve seam allowance to prevent drooping. Hem the bottom of the sleeves (2 inches).
- Secure the bottom facings with a 3/8 inch seam allowance. Sew the bottom hem of the jacket (2 inches), leaving an opening for turning. Clip corners, turn right side out, and edgestitch the opening closed.
Close Jacket and Hem Add Finishing Touches
- Sew buttonholes and sew buttons in place.
Add Finishing Touches


Read more: Raglan Sleeve Sewing Tutorial: A Step-by-Step Guide
Tips
- For an unlined version, use a nice finish for all exposed seams (serged or Hong Kong seams).
- Leave thread tails at the dart points to tie in knots.