Are you tired of clutter taking over your home, especially in areas like the bathroom or kitchen? Small, everyday items like cotton balls, Q-tips, or even kitchen utensils often end up scattered and disorganized. Wouldn't it be fantastic to have charming and functional storage solutions that are both aesthetically pleasing and easy to make? Then get ready to sew some adorable hanging storage pots! These delightful little containers are perfect for keeping your essentials tidy and within easy reach, adding a touch of handmade charm to any room. They’re incredibly versatile, adaptable to various fabrics and sizes, and surprisingly simple to construct.
This tutorial will guide you through the process of creating your own set of these delightful hanging storage pots, perfect for adding a touch of personalized organization to your space. So gather your fabric scraps, thread, and sewing machine (or needle and thread if you prefer hand-sewing!), because we’re about to embark on a quick and easy sewing project that will leave you feeling accomplished and your home looking wonderfully organized. Let's get started with the step-by-step instructions!
Preparation and Safety Guidelines
- Fabric (Fat Quarters)
- Fusible Fleece
- Button
- Sewing Machine
- Sewing Patterns
- Pinking Shears (optional)
- Tape (for fixing mistakes)
- Scissors
- Pins or Clips
- Iron
- Always use sharp scissors or rotary cutter when cutting fabric to prevent injury and ensure clean cuts.
- Supervise young children if they are assisting with the project to prevent accidental needle pricks or ingestion of small parts.
- Ensure all fabric edges are securely finished (e.g., serged, zig-zag stitched, or turned and stitched) to prevent fraying and maintain the integrity of the storage pot.
Step-by-Step Instructions
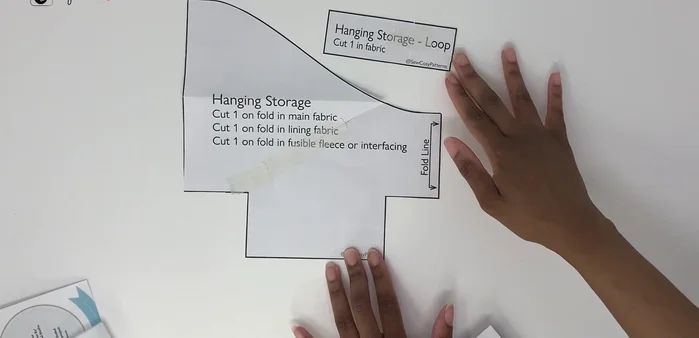
Prepare Pattern and Fabrics
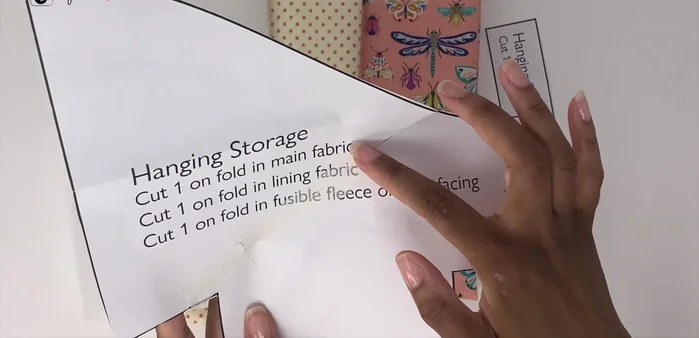
- Cut out the pattern pieces. Carefully study the pattern before cutting to avoid mistakes.
- one for the fusible fleece, one for the lining, and one for the main fabric. Also, cut a small piece for the hanging loop.
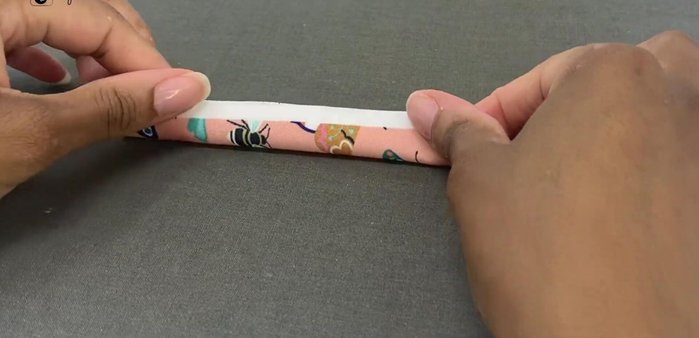
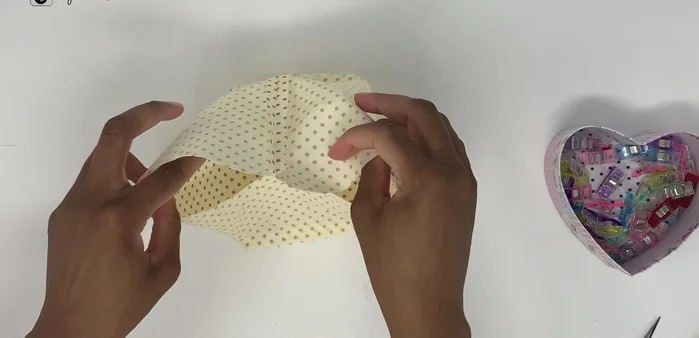
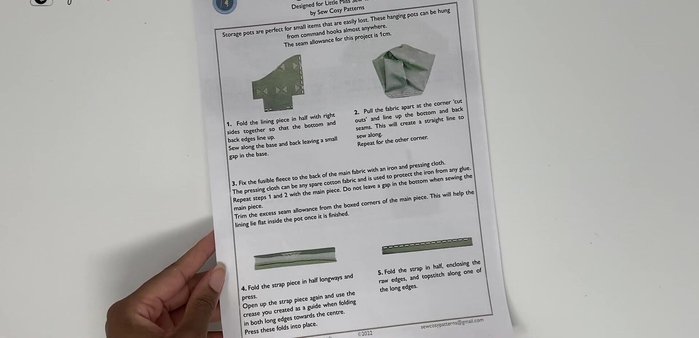
- Fold the small fabric piece in half, open, and fold again using the crease as a guide. Fold both edges towards the center and clip to hold.

Prepare Pattern and Fabrics Prepare Lining Fabric
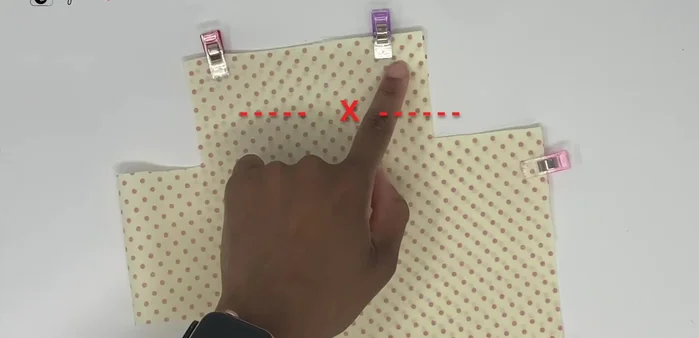
- Fold the lining fabric in half with right sides together, lining up the bottom and back edges. Clip or pin in place.
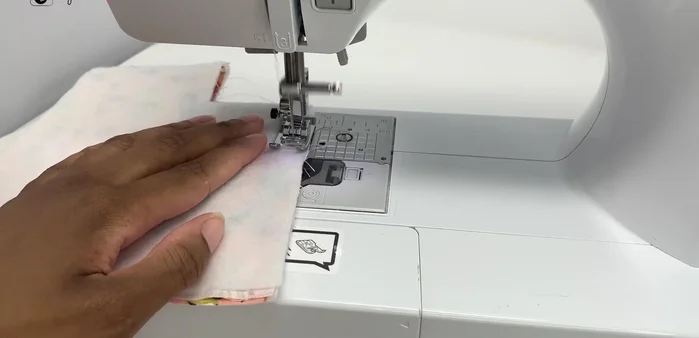
- Sew the edges of the lining fabric together, leaving a small gap at the bottom for turning. Press the seams.
Prepare Lining Fabric Prepare Main Fabric
- Attach fusible fleece to the back of the main fabric and press together. Fold in half with right sides together, repeating the same steps as the lining fabric. Clip in place.
- Repeat the same steps for the main fabric, but sew completely closed without leaving a gap. Press seams.
Prepare Main Fabric Attach Hanging Loop
- Attach the hanging loop to the back seam of the main fabric. Clip to secure.
Attach Hanging Loop Assemble and Sew
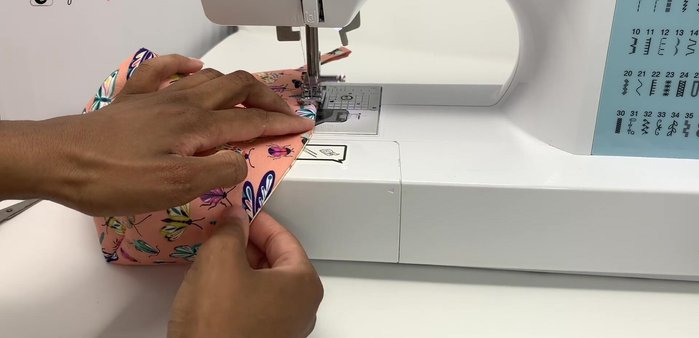
- Place the lining fabric inside the main fabric with right sides together. Clip or pin around the edges to secure. Sew around the top edge.
Assemble and Sew Finish and Press
- Trim seam allowance to reduce bulk (using pinking shears is optional). Turn the pot right side out through the small gap in the lining and press seams flat.
- Top stitch along the edge and close the gap in the lining. Give the storage pot a final press.
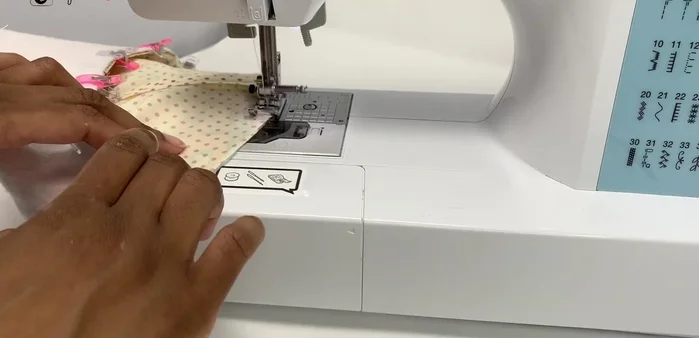
Finish and Press Pre-Sewing Prep
- sew along edges and corners, including the hanging loop.
Pre-Sewing Prep


Read more: DIY Super Cute Whale Shower Curtain: A Step-by-Step Tutorial
Tips
- Take your time studying the pattern before cutting to avoid mistakes.
- Prepping all fabric pieces before sewing makes the process more efficient.
- Use pinking shears to trim seam allowances for a cleaner finish and to reduce bulk.
- Pressing the seams flat after each step will result in a more professional-looking finished product.