Hand binding a quilt offers a unique opportunity to elevate your quilting project from charming handmade to truly exquisite. Unlike machine binding, which can be quick but sometimes lacks the personalized touch, hand binding allows for intricate detail and a satisfyingly tactile finish. The meticulous process results in a beautifully finished edge, showcasing your craftsmanship and adding lasting durability to your cherished quilt. This handcrafted border not only protects the quilt’s layers but also serves as a delightful frame for your artistic efforts.
The subtle elegance of a hand-bound quilt is worth the time and effort invested, promising a professional look that surpasses even the most expertly machine-finished edge. This guide will walk you through each step of the process, from preparing your binding strips to creating a secure and aesthetically pleasing finish. Ready to transform your quilt into a masterpiece? Let's dive into the step-by-step instructions below.
Preparation and Safety Guidelines
- Wonder Clips
- Sharp hand needles
- Polyester thread
- Use sharp needles and pins to avoid accidental punctures. Always point needles away from your body and others when not actively stitching.
- Handle your binding fabric carefully to avoid fraying. Pre-wash and press your binding fabric before starting to prevent shrinkage and ensure a neat finish.
- Take breaks to avoid eye strain and fatigue. Hand binding can be time-consuming; regular breaks prevent mistakes and injuries.
Step-by-Step Instructions
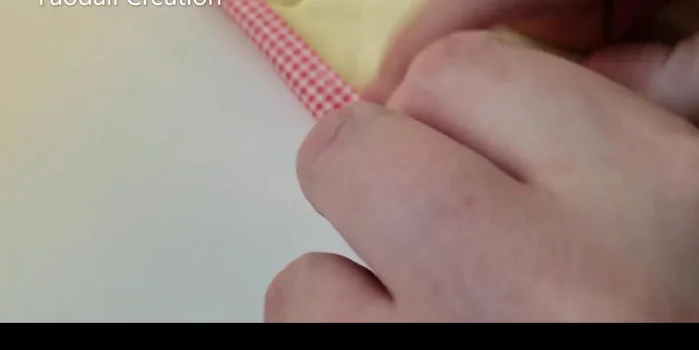
Prepare for Hand Binding
- Thread a needle with a single strand of polyester thread and tie a knot.
- Position the quilt with the binding to the left and the rest of the quilt to the right.

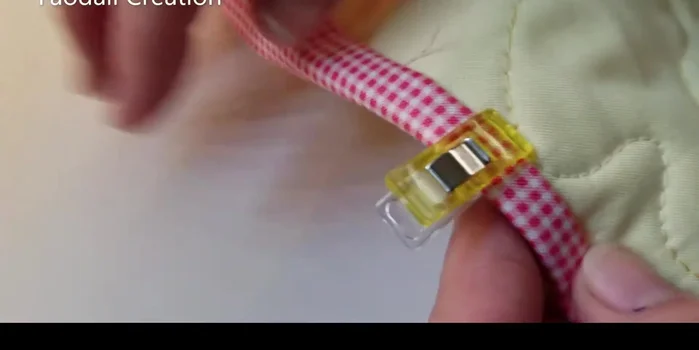
Prepare for Hand Binding Attach Binding to Quilt Front
- Attach the quilt binding to the front side of the quilt.
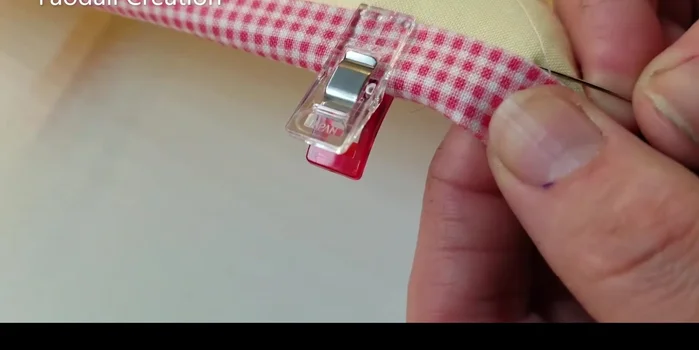
- Use Wonder Clips to secure the binding, especially on the corners.
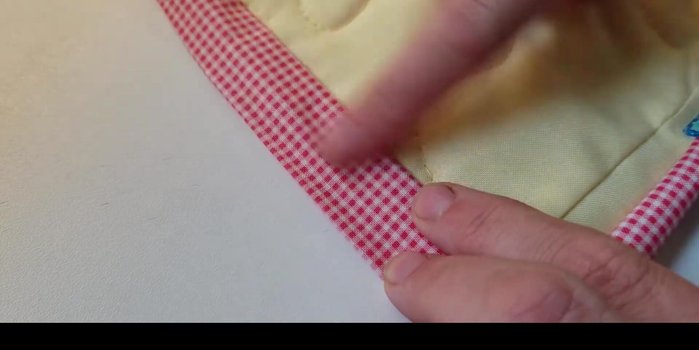
Attach Binding to Quilt Front Securing the Corner
- Securely knot the thread at the corner.
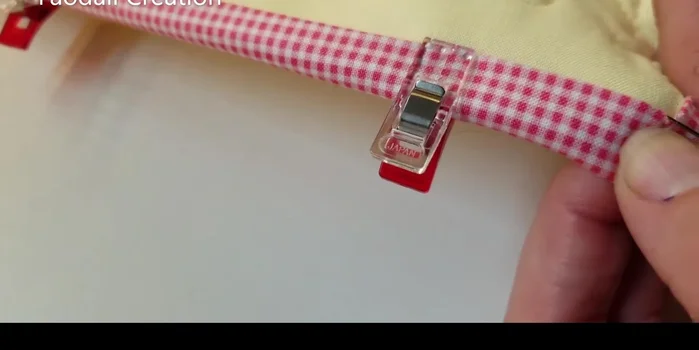
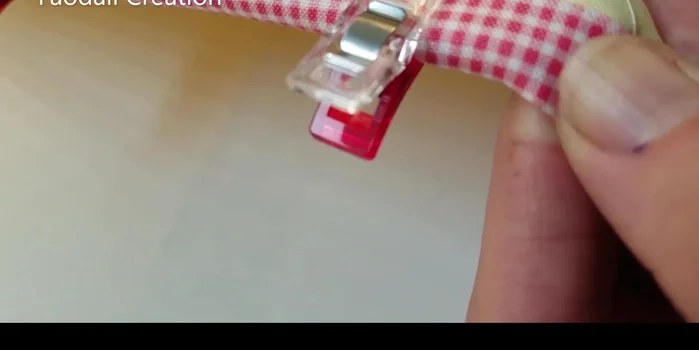
Hand Stitching the Binding
- Hand bind around to the back for a more professional look.
- Take a stitch through the binding, aiming for the center. Then, do a back stitch, catching the binding from behind or the center, but not going all the way through the quilt backing.
- Repeat the stitch, catching a small amount of the quilt backing and the binding each time. Avoid fully penetrating the backing to hide the stitches.
- Continue moving your Wonder Clips and repeating the stitch around the quilt.
Hand Stitching the Binding
Read more: King Size Quilt Tutorial: Efficient Chain Piecing Method
Tips
- Don't make your thread too long to prevent knotting.
- Overlap the binding over the initial securing stitches on the front to hide them.
- Take your time; this method produces a much neater finish than machine binding.