The halter neck dress – a timeless classic that exudes elegance and confidence. Its sleek silhouette and flattering neckline make it a perfect choice for any occasion, from a summer wedding to a chic evening out. Whether you’re a seasoned seamstress or a beginner eager to tackle a new project, sewing your own halter neck dress is a rewarding experience that allows for complete creative control over fabric, style, and fit. Imagine crafting a garment that perfectly complements your figure and reflects your unique personal style.
This step-by-step guide will take you through the entire process, from choosing the right fabric and pattern to the final stitching, ensuring you create a stunning halter neck dress you’ll cherish for years to come. Prepare to be amazed by how easily you can bring your vision to life, one stitch at a time. Let’s get started!
Preparation and Safety Guidelines
- Fabric
- Pattern Paper
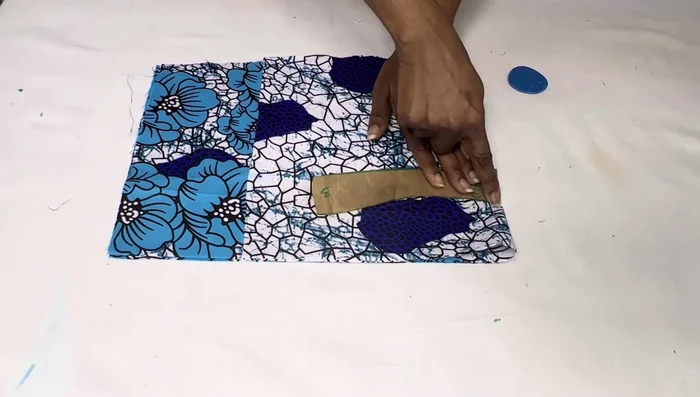
- Ruler
- Scissors
- Tape Measure
- Marker/Chalk
- Curve Ruler/Pattern Master
- Sewing Machine
- Zipper
- Interfacing
- Serger (optional)
- Always use sharp, well-maintained sewing machine needles and shears to prevent fabric damage and injuries. Dull tools require more force, increasing the risk of accidents.
- Pin fabric carefully before sewing to avoid accidental needle pricks. Use plenty of pins to ensure accurate seam alignment.
- If using a rotary cutter, always use a cutting mat underneath to protect your work surface and prevent accidental cuts.
Step-by-Step Instructions
Drafting the Bodice Block
- Draft the basic bodice block. A link to a tutorial is provided in the description if needed.

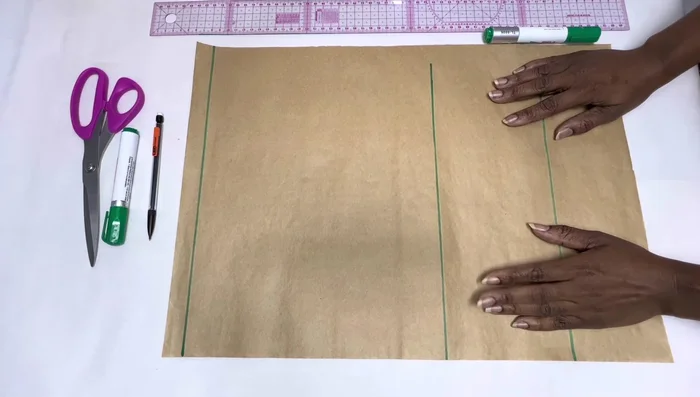
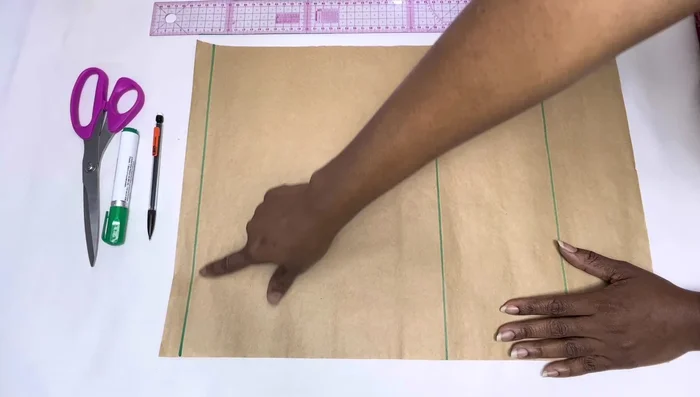
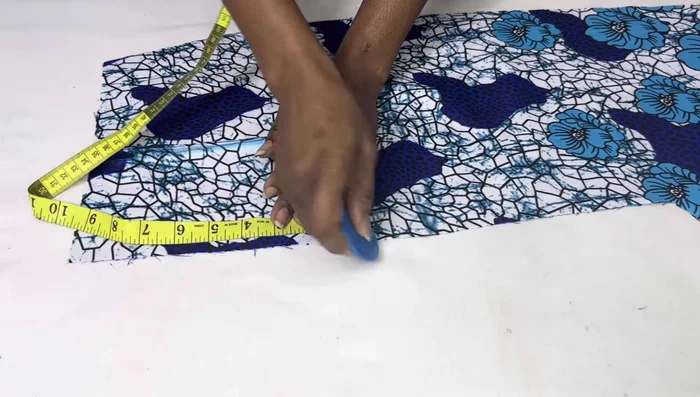
Drafting the Bodice Block Taking Measurements and Marking Pattern Paper
- Take measurements (shoulder to bust point, shoulder to waist, neck width, neck depth) and mark them on the pattern paper.
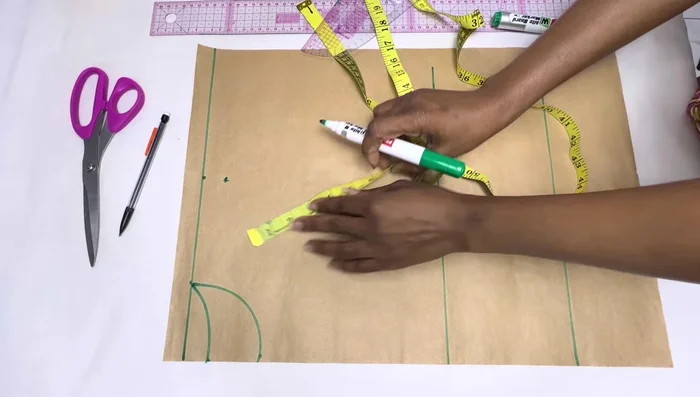
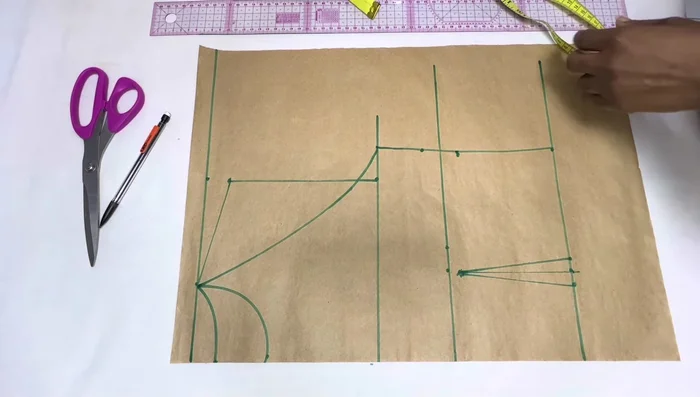
Taking Measurements and Marking Pattern Paper Drawing Necklines and Shoulder/Armhole
- Draw the front and back necklines.
- Mark shoulder length, armhole length (minus 1 inch for modesty), and connect points to form the shoulder slope and armhole.
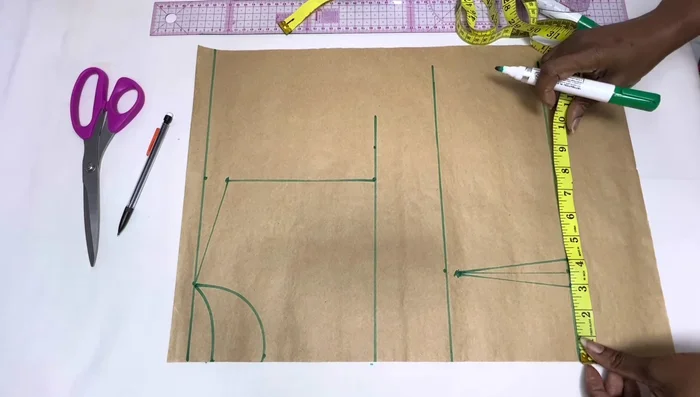
Drawing Necklines and Shoulder/Armhole Marking Bust, Waist, and Halter Neck Points
- Mark bust points (nipple-to-nipple measurement divided by 2) and waist points.
- Mark quarter circumference measurements on chest and waistlines. Connect these points to form the halter neck style.
Marking Bust, Waist, and Halter Neck Points Creating and Adjusting Side Seams
- Create the side seam by marking points and connecting them, adding 1.5 inches to compensate for seam allowance.
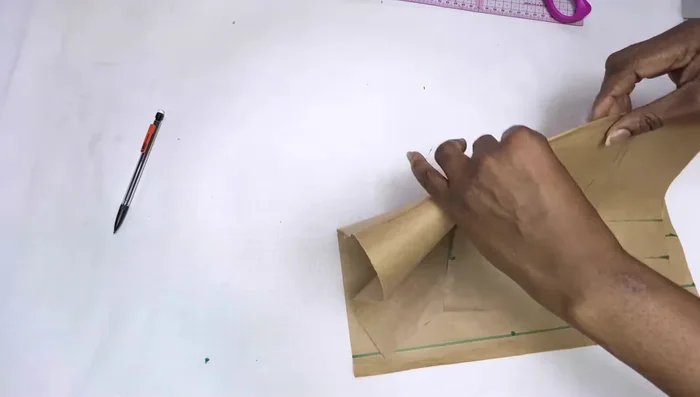
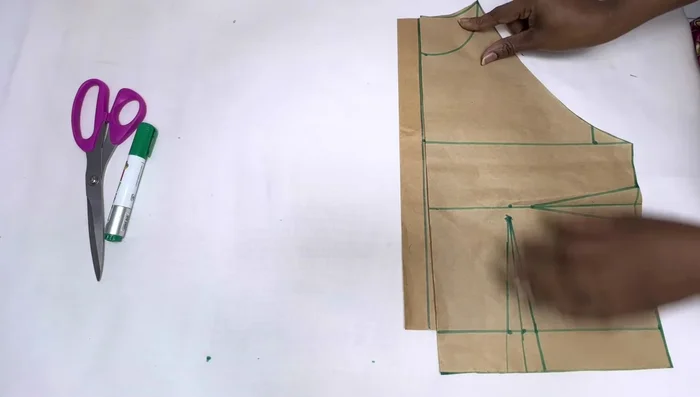
Creating and Adjusting Side Seams Cutting the Bodice Pattern
- Fold in the side seam allowance before cutting the pattern piece.
- Cut out the front and back bodice pieces, adding seam allowances (neckline, armhole, side seam, and bottom hem).
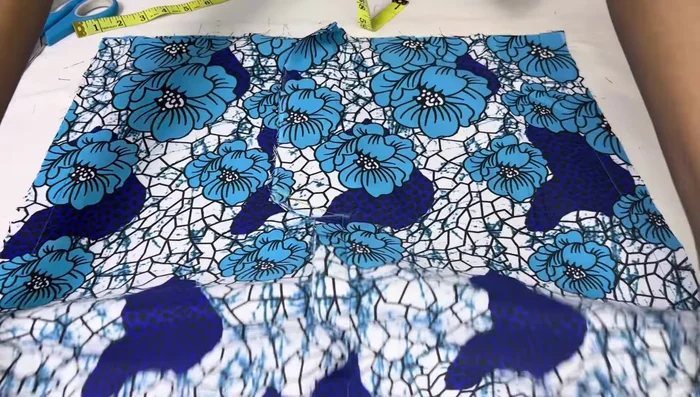
Cutting the Bodice Pattern Cutting and Preparing Fabric
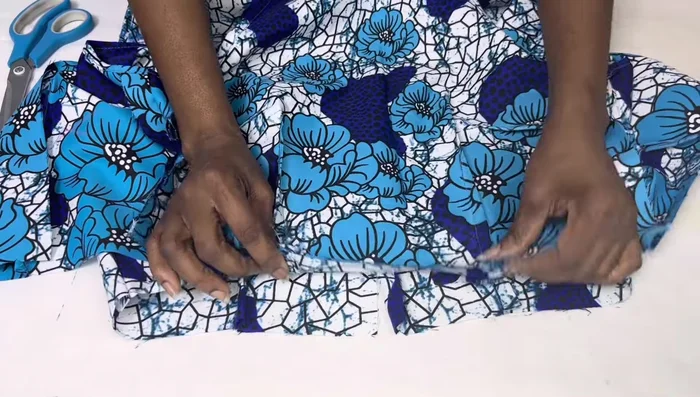
- Transfer the pattern pieces onto fabric, adding seam allowances.
- Transfer all marked points (bust points, waist points, etc.) to the fabric pieces using pins and chalk or a marker.
Cutting and Preparing Fabric Sewing the Bodice
- Sew the shoulder seams of the bodice.
Sewing the Bodice Drafting and Making the Collar
- Draft the bias collar pattern.
- Cut out the bias collar pattern pieces and assemble the collar.
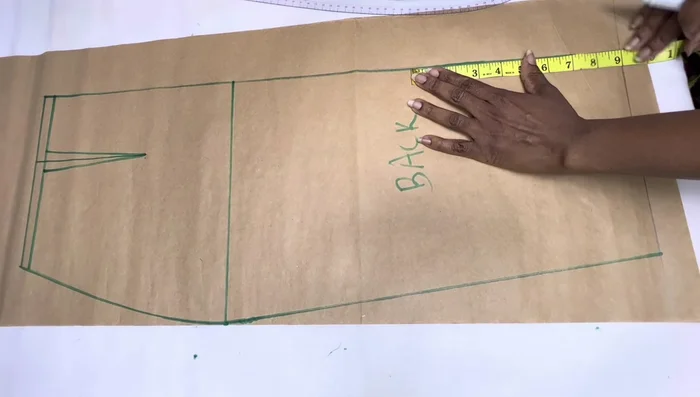
Drafting and Making the Collar Drafting and Cutting the Skirt
- Draft the skirt pattern.
- Cut out the skirt pieces, adding seam allowances.
Drafting and Cutting the Skirt Sewing the Skirt
- Sew the side seams and back vent of the skirt.
Sewing the Skirt Attaching Bodice to Skirt
- Attach the bodice to the skirt, aligning the marked points. Sew the seam allowance.
Attaching Bodice to Skirt Attaching the Collar
- Attach the collar to the neckline. Sew, then turn right side out.
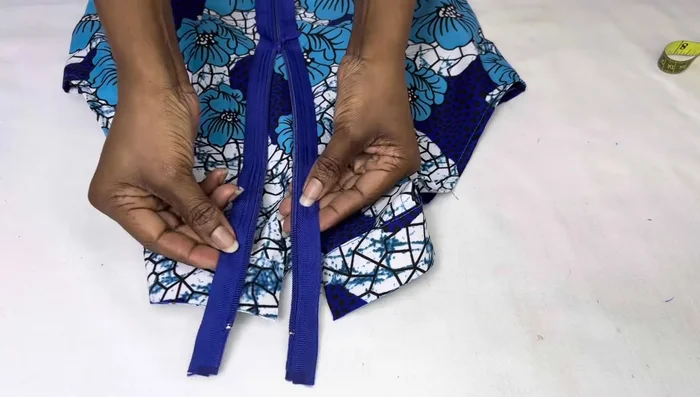
Attaching the Collar Inserting the Zipper
- Insert the zipper.
Inserting the Zipper Hemming the Dress
- Hem the dress.
Hemming the Dress


Read more: Raglan Sleeve Sewing Tutorial: A Step-by-Step Guide
Tips
- Use a serger to finish seams for a professional look.
- Add interfacing to the collar for stability.