Half-square triangles (HSTs) are a cornerstone of countless quilt patterns, adding a dynamic, geometric flair to any project. However, the traditional method of creating these can be time-consuming and, frankly, a bit tedious. Many quilters find themselves spending hours meticulously cutting, sewing, and pressing individual squares, only to discover wonky triangles that require painstaking adjustments. Fortunately, there are faster and easier ways to achieve perfectly sized HSTs, significantly streamlining your quilting process and allowing you to focus on the creative aspects of your design.
This article explores several efficient methods for making HSTs, from simple shortcuts to clever techniques that minimize fabric waste and maximize precision. We'll delve into practical tips and tricks to help you avoid common pitfalls and achieve consistent, accurate results every time. Ready to revolutionize your HST construction? Let's dive into our step-by-step guides and discover the fastest and easiest ways to create these essential quilting units.
Safety Guidelines
- Always use a sharp rotary cutter and cutting mat to ensure accurate cuts and prevent injuries. Dull blades lead to inaccurate HSTs and increased risk of cutting yourself.
- Pay close attention to your fabric placement, especially when using directional prints or patterns. Incorrect placement can result in distorted HSTs.
- Press your seams carefully and consistently – either open or to one side – to maintain accuracy and prevent bulky seams that will distort your final quilt.
Methods: One-Inch Larger Square Method
Tools Needed
- Rotary cutter
- Cutting mat
- Ruler
Step-by-Step Instructions
Prepare Squares
- Cut squares 1 inch larger than your desired finished HST size.
Sew and Cut
- Sew two squares together along the longest side, taking care not to stretch the seam.
- Cut along the diagonal.

Sew and Cut Trim to Size
- Trim to the desired finished HST size.
Trim to Size
Tips
- Adding an extra inch allows for more precise trimming and avoids stretching the seam.
- See the video on how to sew straight and make perfect HSTs for more detailed guidance.
Methods: Two-at-a-Time Method
Tools Needed
- Rotary cutter
- Cutting mat
- Ruler
- Half-inch ruler (optional)
Step-by-Step Instructions
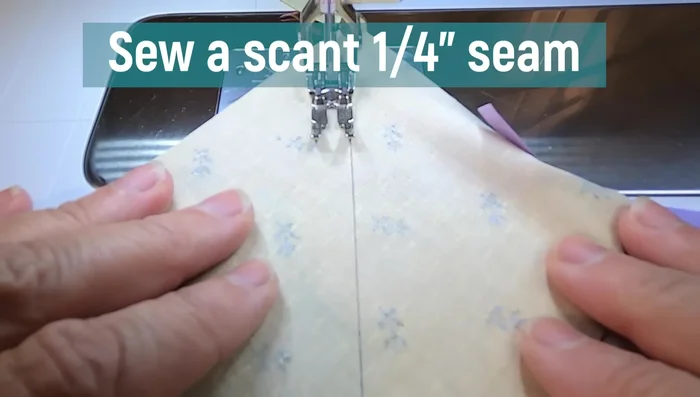
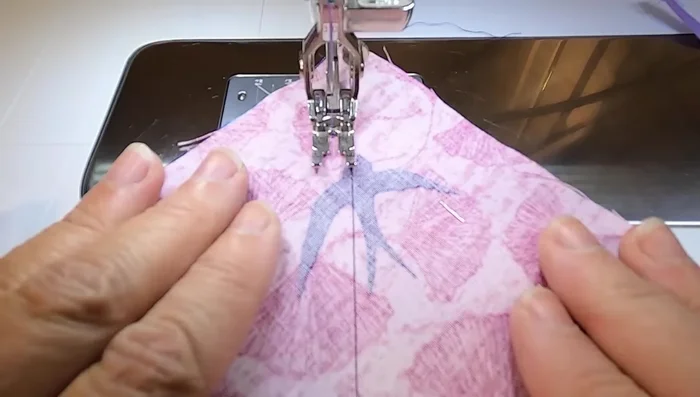
Marking and Sewing
- Mark the diagonal on two squares.
- Sew a scant 1/4 inch down one side, then back along the other.
Marking and Sewing Cutting
- Cut through the middle to create two HSTs.
Cutting
Tips
- Keeping the fabric in one piece during sewing provides more structure and prevents stretching.
- Press before cutting to set the seam.
- Use low-tack washi tape to create a ledge if needed.
Methods: Charm/Mini-Charm Method
Tools Needed
- Rotary cutter
- Cutting mat
- Ruler
Step-by-Step Instructions
Marking and Sewing
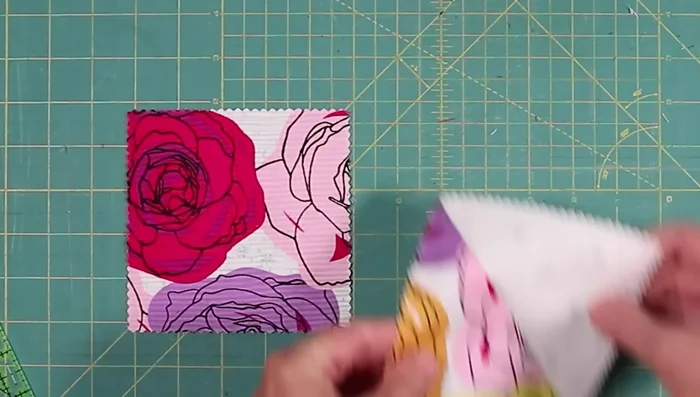
- Mark the diagonal on a charm square.
- Sew directly on the line.
Marking and Sewing Trimming
- Trim 1/4 inch from the seam.
Trimming
Tips
- Convenient for small squares, but results in more waste.
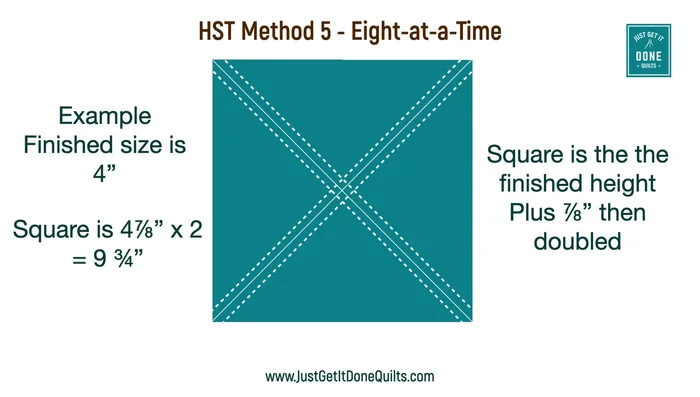
Methods: Four-at-a-Time Method
Tools Needed
- Rotary cutter
- Cutting mat
- Ruler
Step-by-Step Instructions
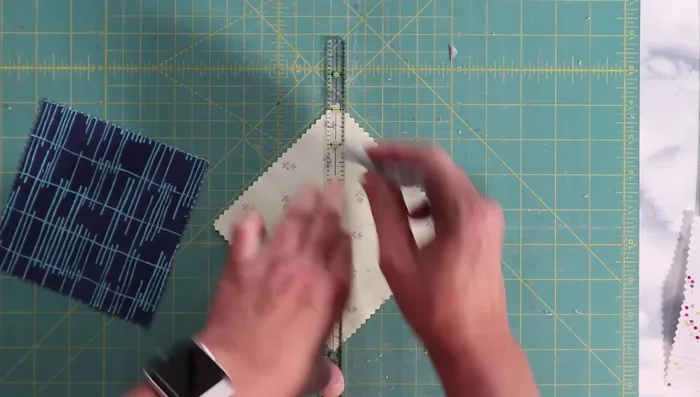
Preparing the Fabric Square
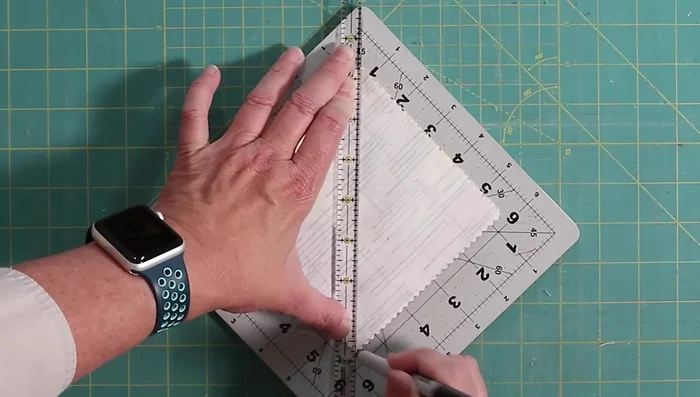
- Cut a large square (four times the size of your desired HST).
- Mark both diagonals.
Preparing the Fabric Square Sewing and Pressing
- Sew a scant 1/4 inch seam on both sides, press well.
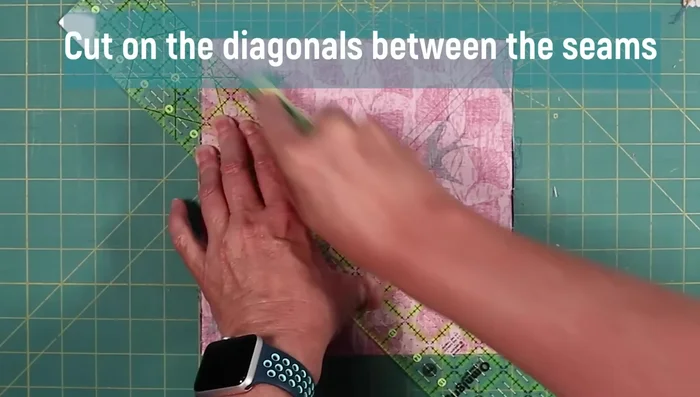
Sewing and Pressing Cutting the HSTs
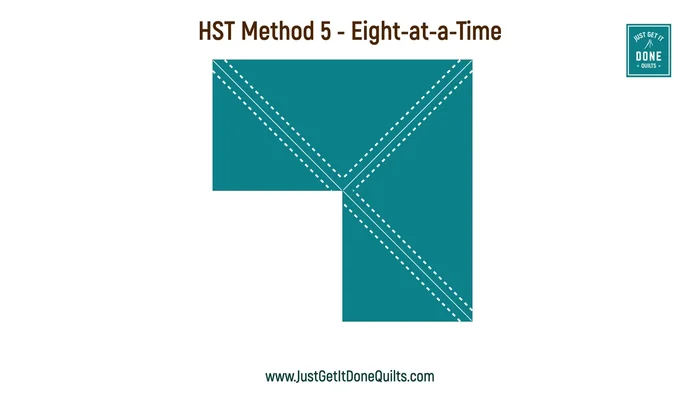
- Make horizontal and vertical cuts in the center, then diagonal cuts to yield four HSTs.
Cutting the HSTs
Tips
- Fastest for quantity, but requires larger fabric pieces and precise marking.
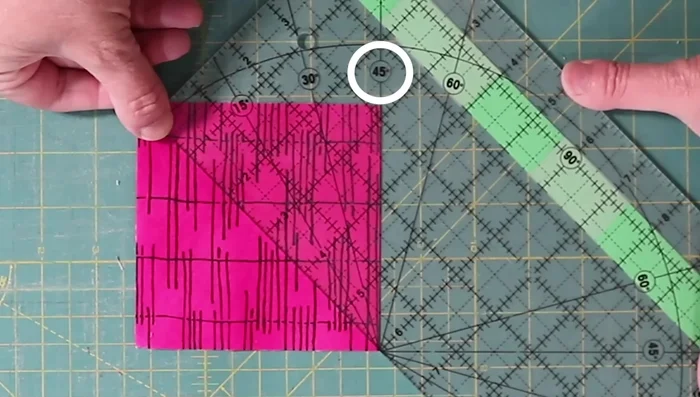
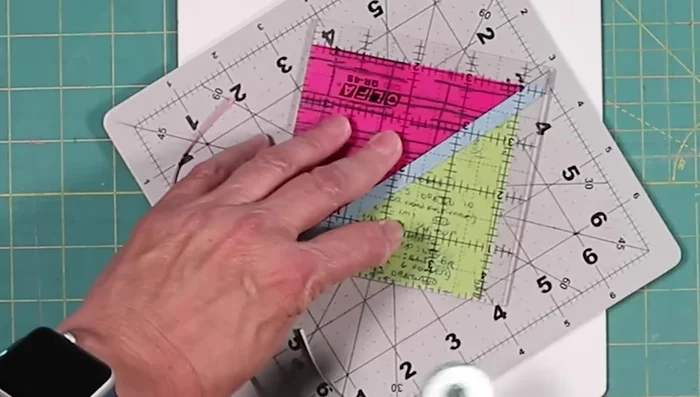
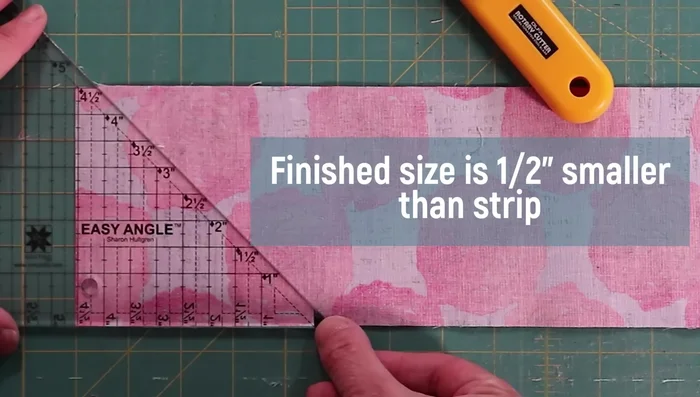
Methods: Easy Angle Ruler Method
Tools Needed
- Easy Angle Ruler
- Rotary cutter
- Cutting mat
- Washi tape (optional)
Step-by-Step Instructions
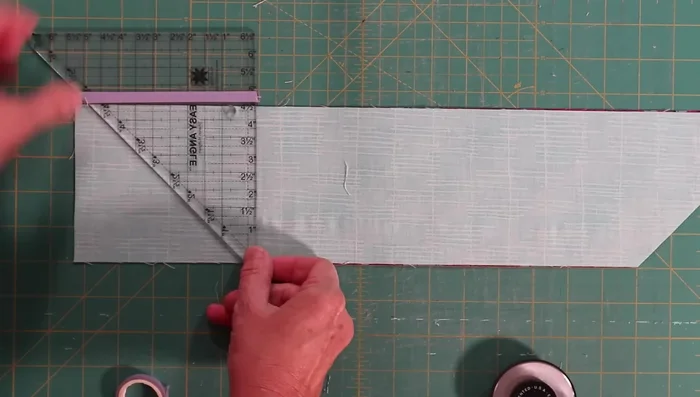
Prepare Fabric and Ruler
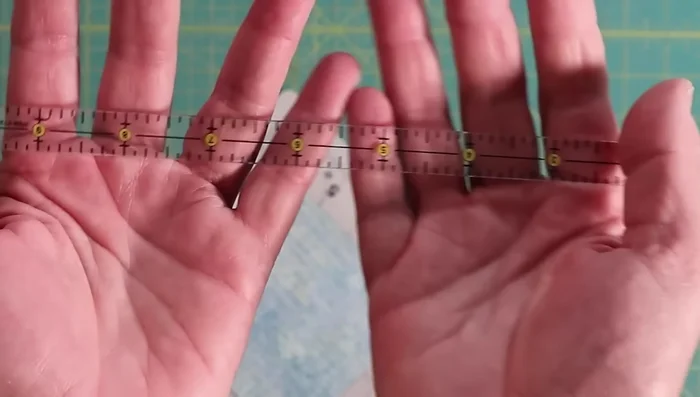
- Place fabric strip against ruler, align with desired HST height.
Prepare Fabric and Ruler Cut Half-Square Triangles (HSTs)
- Cut along the diagonal, flip the ruler, and cut again.
Cut Half-Square Triangles (HSTs)
Tips
- Good for limited height or when cutting squares.
Methods: Accordian Method for Scrappy HSTs
Tools Needed
- Ruler
- Rotary cutter
- Cutting Mat
- Scissors
Step-by-Step Instructions
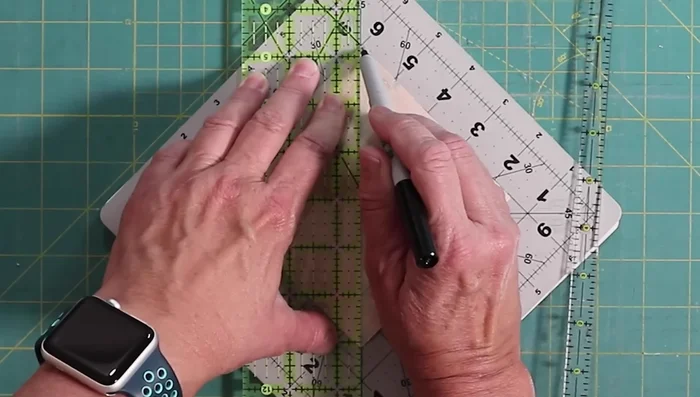
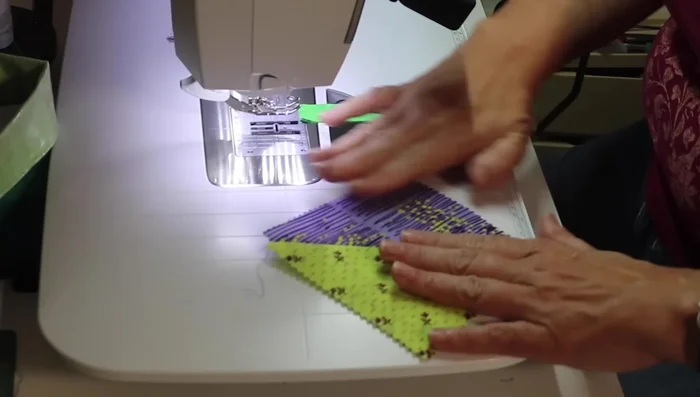
Marking
- Mark sewing lines.
Marking Sewing HSTs
- Sew HSTs together in an accordion-like fashion.
Sewing HSTs Trimming
- Trim between the sewn HSTs.
Trimming
Tips
- Ideal for scrappy HSTs, avoiding identical pairs.
- Watch Eva Page's YouTube tutorial for detailed instructions (link provided).
Read more: 3 Easy Pieced Heart Tutorials for Quilting Projects