Tired of flimsy grocery bags ripping at the seams or soggy produce ruining your day? Then this quick and easy tutorial is for you! Learn how to sew a durable, water-resistant grocery tote bag that's perfect for carrying all your market finds, from delicate greens to heavy bottles. This project is surprisingly simple, even for beginner sewers, utilizing readily available materials and straightforward techniques. We'll focus on creating a sturdy exterior combined with a waterproof lining to protect your groceries from spills and dampness, ensuring your shopping experience stays stress-free and your food stays fresh.
This tutorial will guide you through each step of the process, from cutting the fabric to adding the crucial water-resistant lining. Get ready to ditch the plastic and embrace a reusable, eco-friendly, and stylish solution to your grocery hauling needs! Let's dive into the step-by-step instructions and start crafting your perfect grocery tote bag.
Preparation and Safety Guidelines
- Sewing machine
- Jersey needle (size 12)
- Polyester thread
- Rotary cutter
- Ruler
- Iron
- Spray bottle
- Wonder clips
- Fabric (Pull fabric for lining, canvas for top, duck cloth canvas for bottom, cotton webbing for straps)
- Always use sharp sewing machine needles and pins appropriate for your fabric to prevent breakage and injury.
- When working with water-resistant materials, ensure proper ventilation as some fabrics may release fumes. Work in a well-ventilated area.
- Exercise caution when using sharp scissors and rotary cutters. Keep fingers clear of the blades.
Step-by-Step Instructions
Prepare the Lining
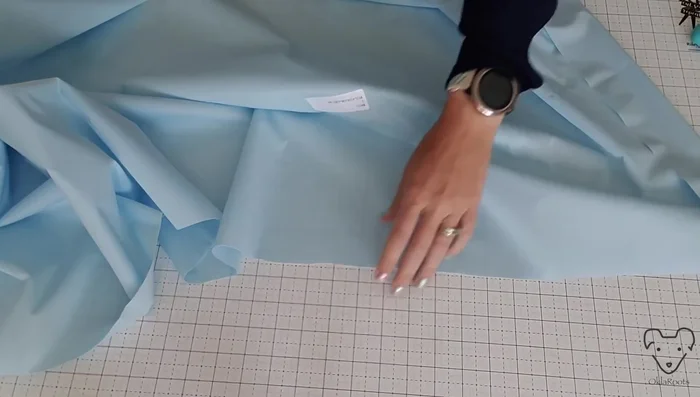
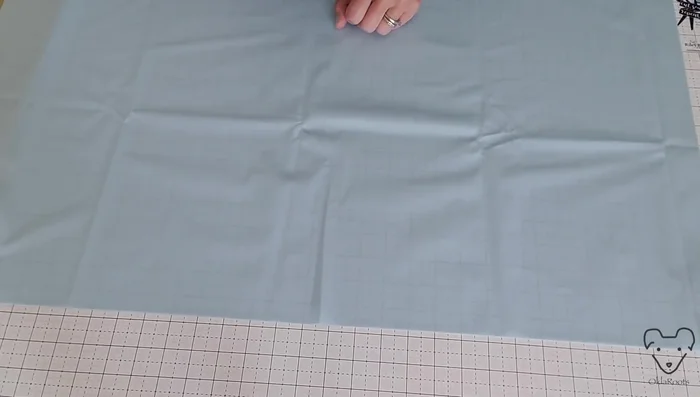
- Cut the pull fabric lining to 18 inches x 32 inches. Fold the fabric in half to make cutting easier.
- The narrator had difficulty with this step and suggests experimenting with dry pressing on low heat if steam doesn't work well)

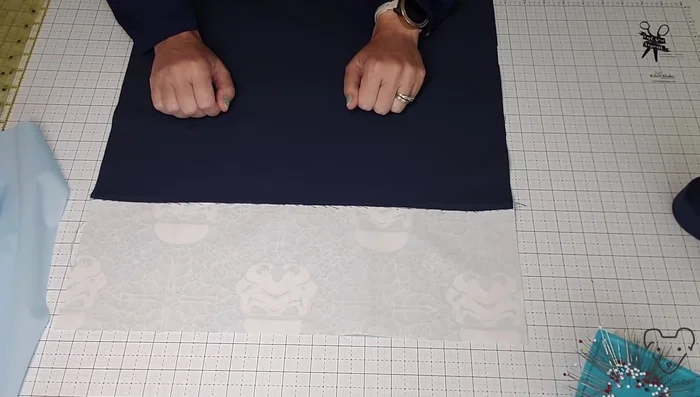
Prepare the Lining Create the Exterior Panel
- Sew the contrasting top flaps onto the base fabric to create the exterior panel.
Create the Exterior Panel Prepare the Exterior for Sewing
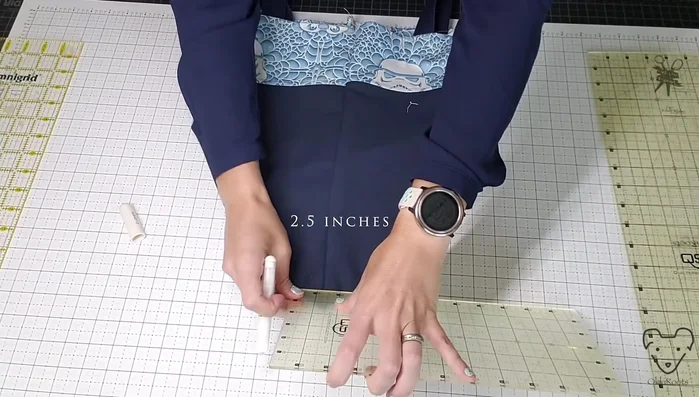
- mark a 1-inch line for a 1/2-inch fold, and a 3-inch line for a 1 1/2-inch fold. Fold and press.
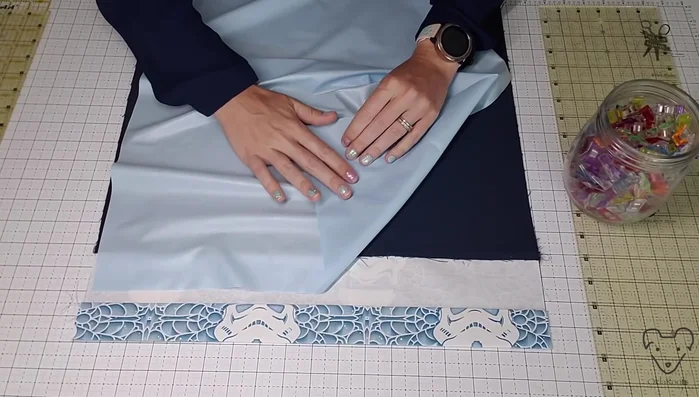
Prepare the Exterior for Sewing Attach Lining to Exterior
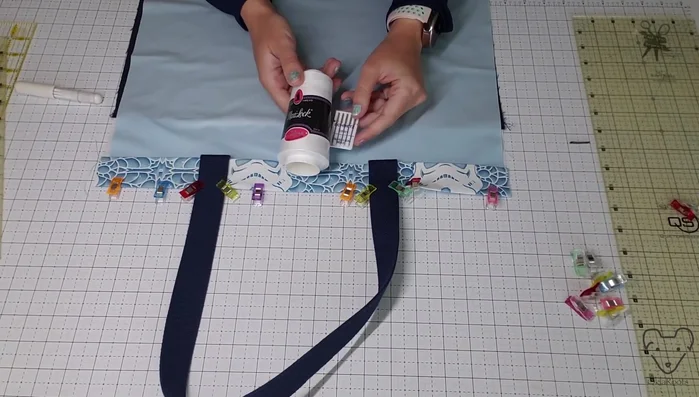
- Pin the lining to the exterior panel using Wonder Clips (avoid metal pins with pull fabric).
- Sew the lining and exterior together using a quarter-inch seam allowance. Remember to use polyester thread and a Jersey needle.
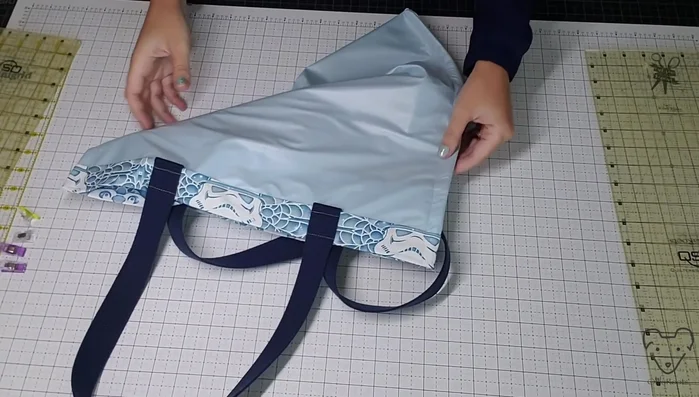
Attach Lining to Exterior Sew Side Seams and Box Corners
- Flip the bag inside out and sew along both sides with a 5/8-inch seam allowance (this step was challenging due to the fabric's tendency to stick).
- Box the corners by cutting off the excess fabric and sewing the corners.
Sew Side Seams and Box Corners

Read more: DIY Quilted Makeup Pouch Tutorial: The Easiest and Fastest Method
Tips
- Use Wonder Clips instead of pins when working with pull fabric to avoid piercing the fabric multiple times.
- Use polyester thread and a Jersey needle (size 12) when sewing with pull fabric.
- A silicon presser foot is recommended for easier sewing with pull fabric.
- Increase stitch length if needed to help feed the fabric through the machine.