Gravity quilts, with their mesmerizing, swirling patterns, are a captivating quilting project. However, the seemingly chaotic beauty of these designs often masks a surprisingly intricate piecing process. Many quilters find themselves frustrated by the time-consuming and potentially inaccurate methods of creating these blocks, leading to inconsistencies and wasted fabric. Achieving precise, uniform gravity quilt blocks requires careful planning and a methodical approach, significantly impacting the overall aesthetic appeal of your finished quilt.
This guide will equip you with the essential techniques to conquer the challenges of piecing gravity quilt blocks efficiently. We'll break down the process into easily manageable steps, demonstrating how to create accurate and consistent blocks with minimal frustration. Get ready to unlock the secrets to creating stunning gravity quilt blocks – let's dive into the step-by-step instructions.
Preparation and Safety Guidelines
- sewing machine
- scrap fabric
- iron
- Violet craft seam roller
- ruler
- Always use a sharp rotary cutter and cutting mat to ensure clean, accurate cuts. Dull blades lead to inaccurate piecing and frustrating results.
- Press seams carefully and consistently – either to one side or nested – to maintain the accuracy and integrity of your quilt block. Inconsistent pressing will throw off the overall block dimensions.
- Before assembling the final block, carefully check the dimensions of each component. Make necessary adjustments early to prevent significant issues in the final product.
Step-by-Step Instructions
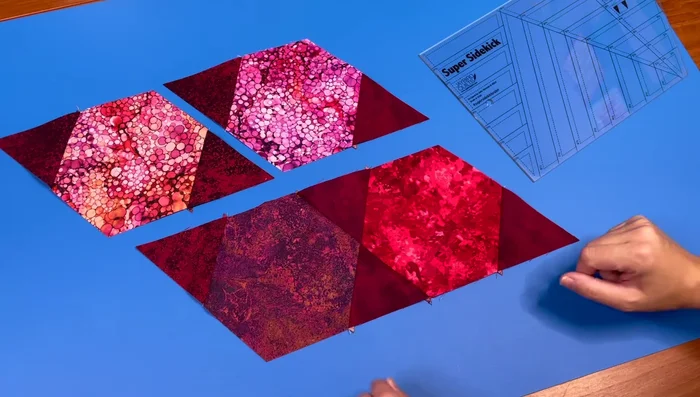
Create Large Diamonds
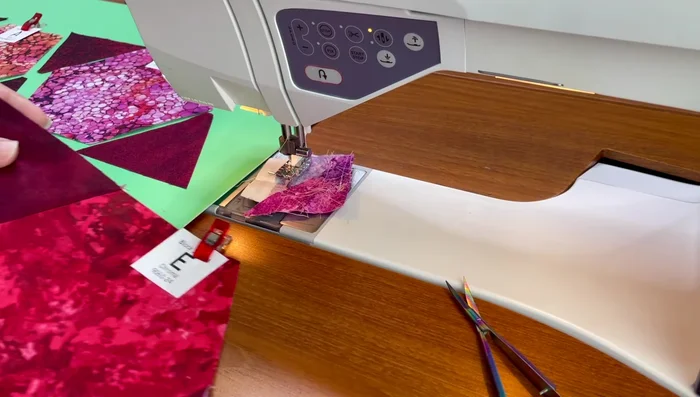
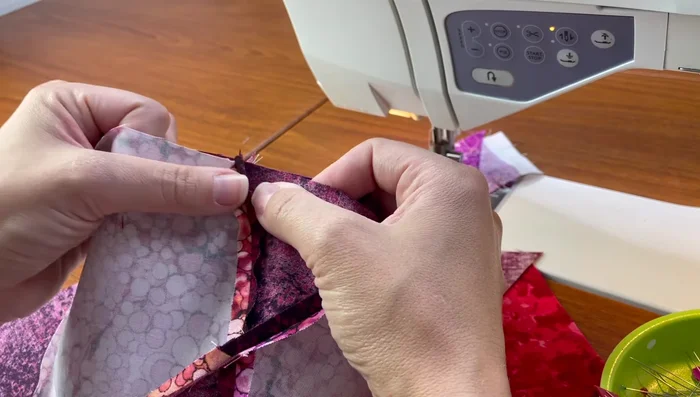
- Sew triangles to hexagons to create large diamonds. Pay close attention to the layout diagram on page 16 to ensure correct fabric placement.
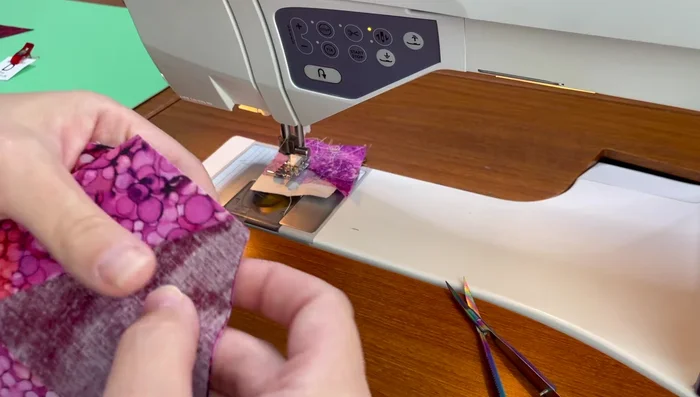
- Align the blunt corner of the triangle with the hexagon corner, quarter-inch seam allowance aligning with the valley.
- Repeat step 2 for the remaining triangles on each hexagon.

Create Large Diamonds Press Seams
- Finger press and then iron press the seams open.
Press Seams Prepare for Row Assembly
- Trim the sharp points of the diamonds to create blunt alignment points (as shown in month one).
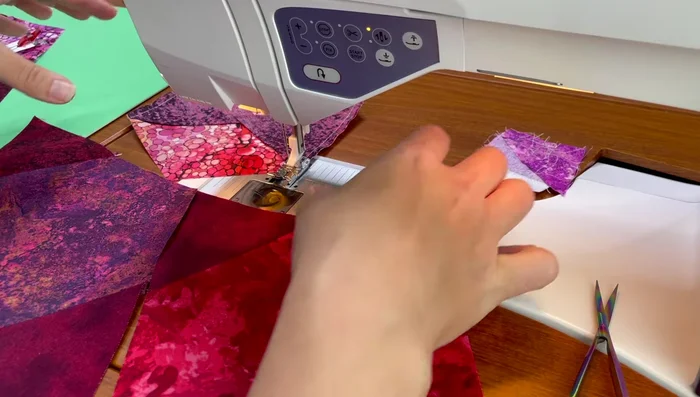
Prepare for Row Assembly Assemble Rows
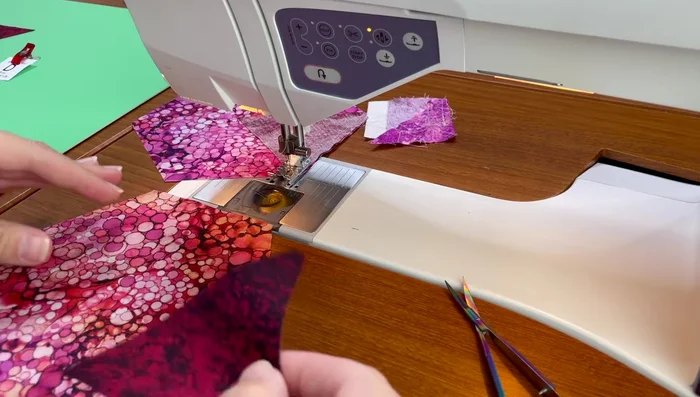
- Sew the two rows of diamonds together. Use either the seam allowance or trimmed points for alignment.
- Align the rows using either the seam allowance or the blunt points, and then sew.
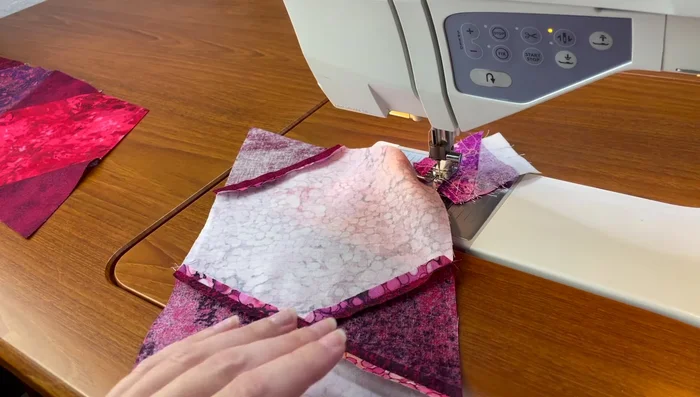
Assemble Rows Final Pressing
- Press seams flat (seam roller can be used).
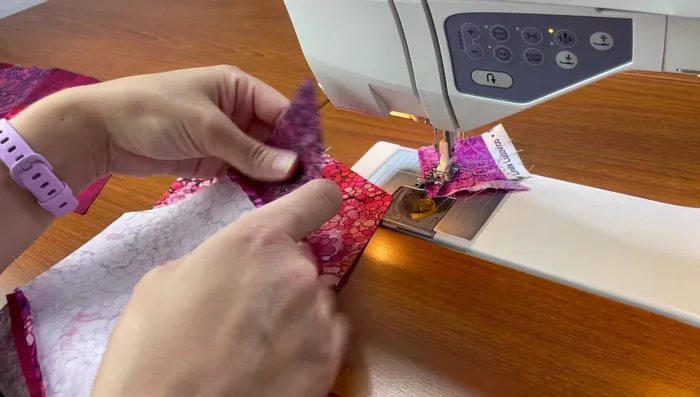
Final Pressing Complete Block Assembly
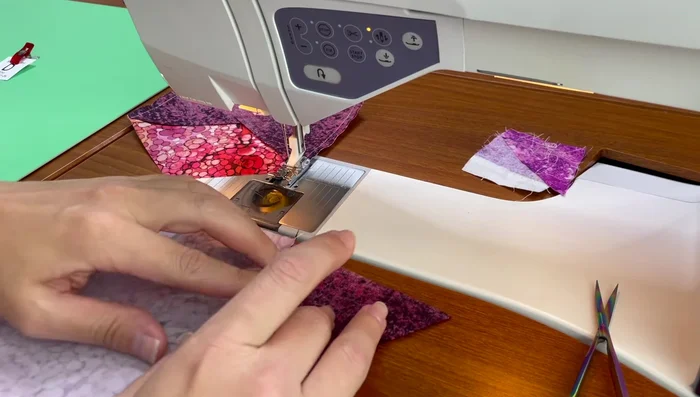
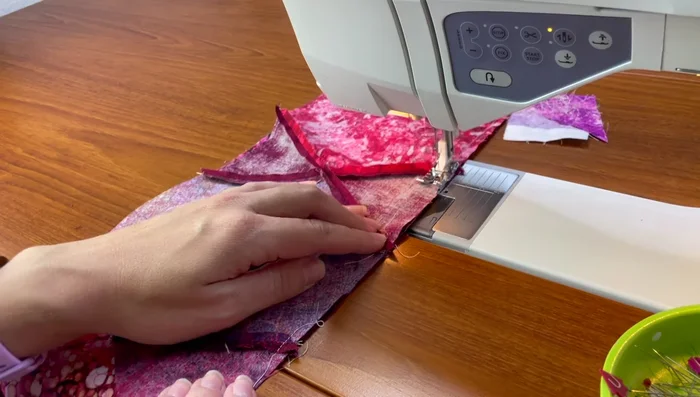
- Line up the triangles and sew, using either the seam allowance or thread pinning for accurate placement.
- Sew down the length of the final seam to complete the block.
Complete Block Assembly
Read more: King Size Quilt Tutorial: Efficient Chain Piecing Method
Tips
- Use coordinating thread for a clean finish.
- Thread pinning provides accurate seam alignment.
- Blunting sharp points on triangles and diamonds helps with alignment.
- Using the fabric in the seam allowance as a guide for alignment provides accurate piecing.
- Lay out the pieces to double check fabric placement before sewing.