Prepare to elevate your crochet skills with this comprehensive masterclass on creating stunning Bold Angles Pillow Graphghans! This exciting project combines the satisfying precision of graphghan crochet with a bold, geometric design that's both modern and eye-catching. Forget those predictable pillow patterns; we're diving into a world of vibrant colorwork and sharp angles, resulting in a truly unique and impressive handmade piece. Learn to master the techniques necessary to bring this design to life, from understanding the graph itself to seamlessly joining your squares and achieving crisp, professional finishes.
This detailed guide walks you through each step of the process, providing clear instructions and helpful diagrams to ensure even beginners can confidently tackle this seemingly complex project. From choosing your yarn to the final finishing touches, we'll cover everything you need to know to create a breathtaking Bold Angles Pillow Graphghan. Ready to get started? Let’s dive into the step-by-step instructions below!
Preparation and Safety Guidelines
- Yarn (multiple colors)
- 5mm (H) crochet hook
- Use a hook size appropriate for your chosen yarn. Using too small a hook can lead to tight stitches, making the project difficult and potentially causing hand strain. Too large a hook can result in loose, floppy fabric.
- Always check your tension regularly. Consistent tension is crucial for a neat and even finished product, especially in a graphghan where precise placement of colors is important. Use a tension square before beginning your main project.
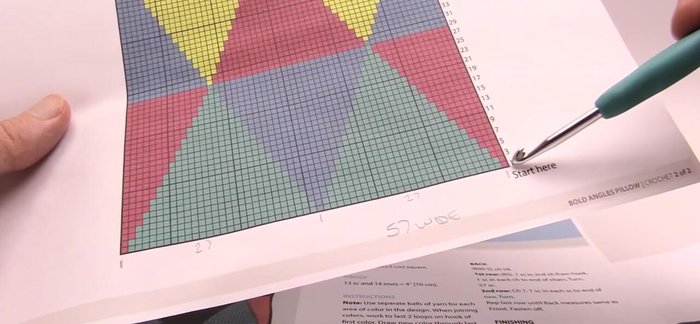
- Follow the graph carefully. Graphghans rely on precise stitch counts and color changes. Counting stitches and checking your progress frequently will help avoid mistakes that are difficult to correct later.
Step-by-Step Instructions
Foundation
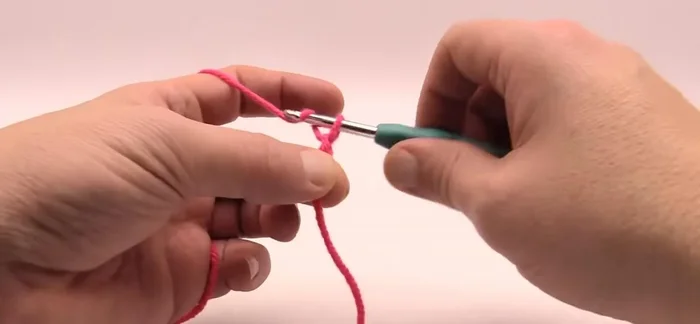
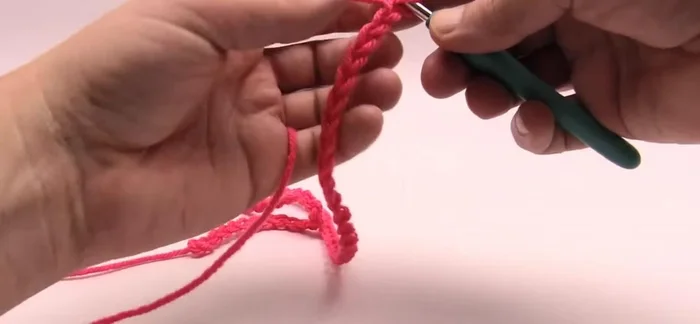
- Begin with a foundation chain of 58 stitches. This applies to both the front (graphghan) and back panels.
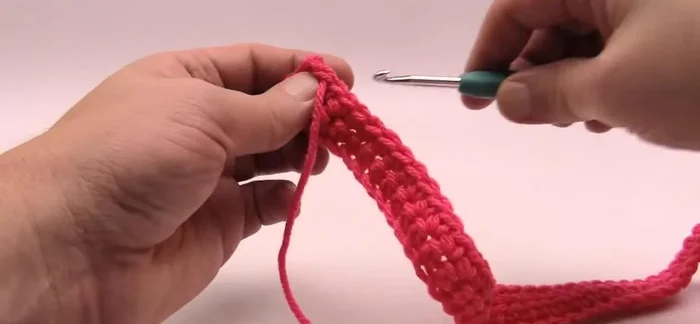
- Single crochet across the foundation chain (working in the second chain from the hook). Repeat this for one more row to create a solid base for the graphghan.

Foundation Prepare for Graphghan
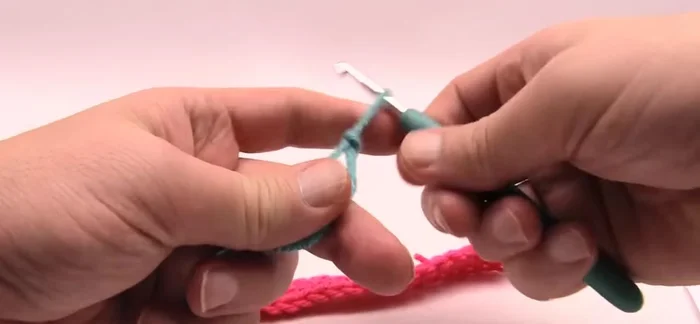
- Fasten off the initial color and begin the graphghan section. Attach a new color (color #1) to the first stitch.
Prepare for Graphghan Work the Graphghan (Rows 1-28)
- Chain 1, then work the specified number of stitches in each color according to the chart. Do NOT finish the last stitch of each color section; instead, leave a tail.
- Attach the next color to the unfinished last stitch of the previous color section before continuing.
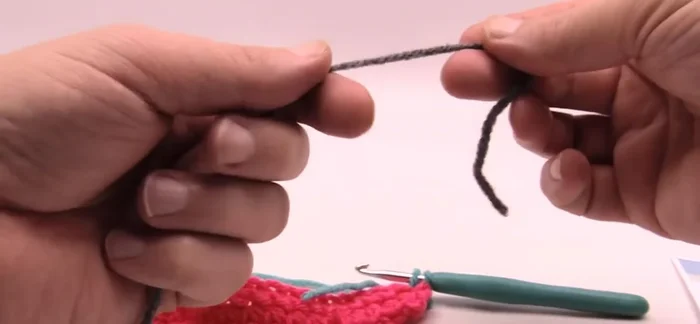
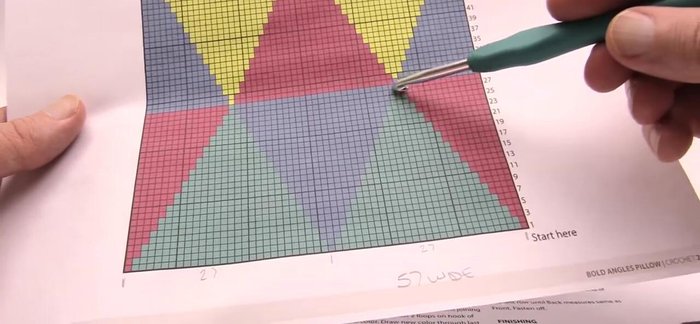
- Continue this process, carefully following the graph pattern, changing colors as indicated and leaving tails to be woven in later. Note that some color changes will result in a slight ‘bleed’ effect due to the nature of crochet; this is normal and happens on the reverse side as well.
- As you proceed, the triangle pattern will naturally form as you increase and decrease stitches according to the chart. Rows will be identical every other row.
Work the Graphghan (Rows 1-28) - Continue until you reach row 28, then fasten off and begin again with fresh yarn for the next half of the pillow (if you choose to do a full graphghan design).
Work the Graphghan (Rows 1-28) Create Back Panel
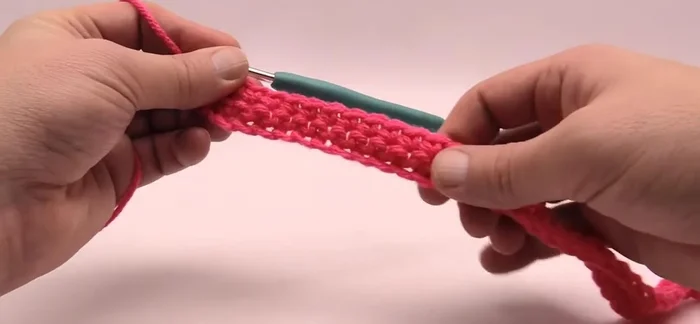
- Create a matching back panel using single crochet, continuing until it matches the size of the front panel.
Create Back Panel Finishing
- Weave in all loose ends.
Finishing


Read more: King Size Quilt Tutorial: Efficient Chain Piecing Method
Tips
- To avoid creating separate bobbins for each color variation, use the inner and outer strands of the same yarn ball for similar shades.
- When changing colors, carry the new color up to the working stitch to create a cleaner transition. Avoid carrying the old color underneath the new stitch, as it creates an untidy look.
- Don't panic about slight color bleeds; these are a natural characteristic of this type of project and will be less visible on the reverse side.
- Keep your yarn strands organized to prevent tangling, especially during color changes.
- When changing colors, prepare the next color by creating a slipknot and attaching it to the hook before finishing the last stitch of the previous color. This ensures a smooth transition.