Gingham is back, and it's bolder and brighter than ever! This season, the classic checkered pattern is experiencing a major resurgence, making its way onto everything from blouses to bags, and especially skirts. If you're craving a fresh, stylish addition to your wardrobe that perfectly captures this trend, why not sew your own? This tutorial will guide you through creating a charming and effortlessly chic DIY gingham linen midi skirt, perfect for summer picnics or a night out. Linen's breathable texture and the gingham's cheerful pattern create a winning combination that’s both comfortable and stylish.
This detailed sewing project is perfect for intermediate sewers looking to enhance their skills, offering a satisfying challenge with a beautiful end result. We'll walk you through selecting the right fabric, cutting the pattern pieces accurately, and assembling your skirt with professional-looking finishes. Let's dive into the step-by-step process and get started on your new favorite skirt!
Preparation and Safety Guidelines
- Sewing machine
- Overlocker (optional)
- Scissors
- Measuring tape
- Water erasable pen or tailor's chalk
- Iron
- Safety pins
- Elastic
- Always use sharp sewing machine needles and sharp fabric shears to prevent fabric from fraying and ensure clean cuts. Dull tools increase the risk of injury.
- Before starting any sewing, pre-wash your linen fabric to prevent shrinkage after the skirt is finished. Linen can shrink considerably.
- Pin fabric carefully to prevent shifting during sewing, especially when working with curves. Secure pins perpendicular to the seam line to avoid accidentally sewing over them.
Step-by-Step Instructions
Cut and Prepare Fabric
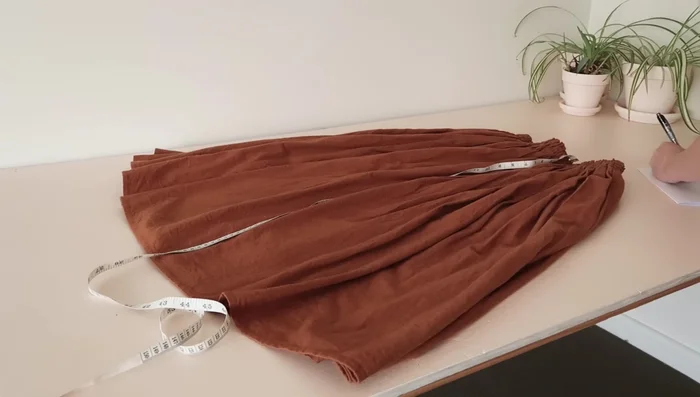
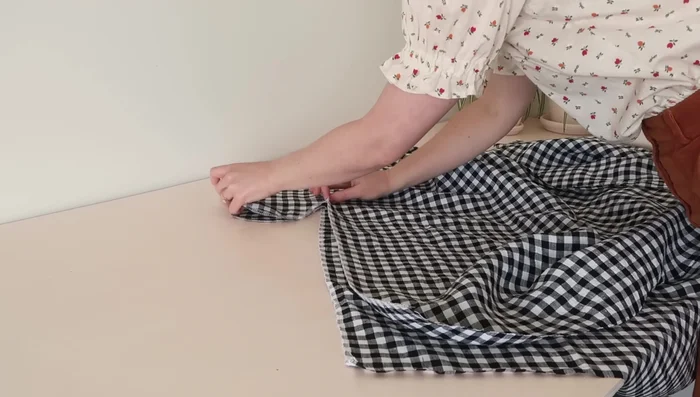
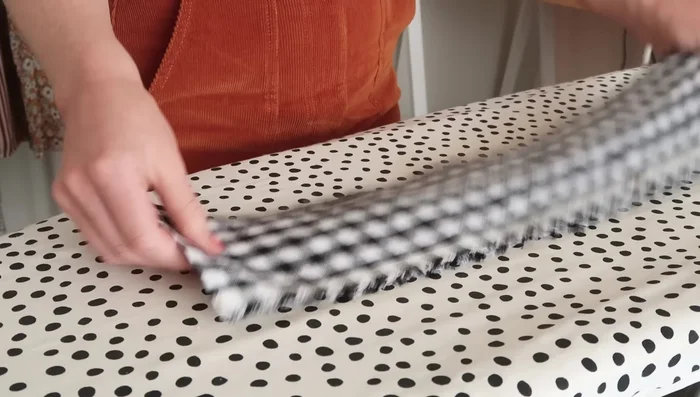
- Measure and cut out fabric pieces for the skirt, lining, and waistband. Use the provided formula or adjust measurements to your preference.
- Overlock or zigzag stitch the curved edges of the pocket pieces to prevent fraying.

Cut and Prepare Fabric Attach Pockets
- Attach pocket pieces to the side edges of the main skirt rectangles.
- Stitch the main skirt pieces together at the side seams, enclosing the pockets.
Attach Pockets Construct Lining
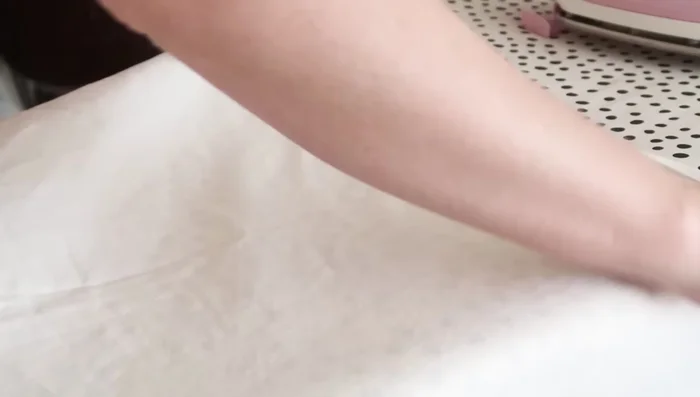
- Stitch the lining pieces together at the side seams.
- Hem one edge of the lining.
Construct Lining Gather Skirt and Lining
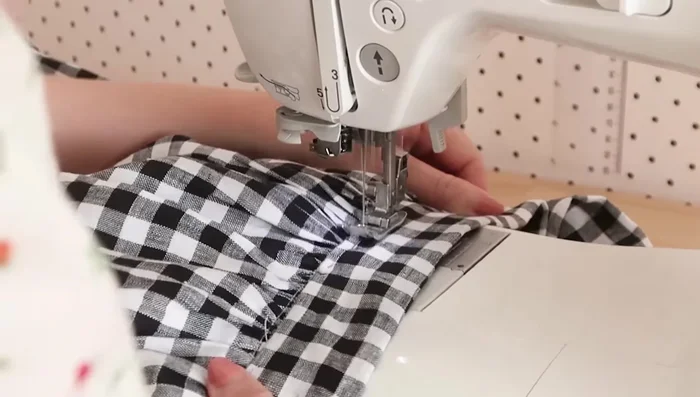
- Sew gathering stitches along the top edge of the main skirt and lining pieces.
- Gather the skirt and lining pieces to the desired size.
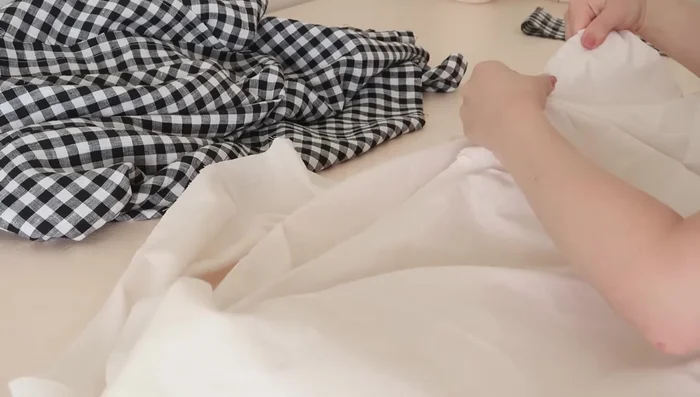
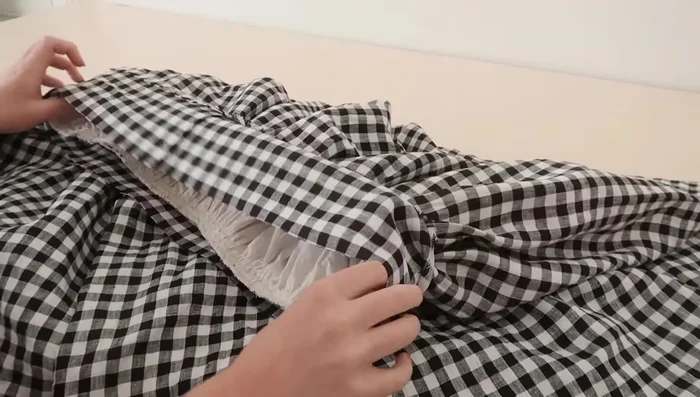
- Place the lining inside the main skirt, right sides together, and pin the layers at the side seams.
- Stitch the lining and main skirt together with a basting stitch. Overlock or zigzag stitch the raw edges (optional).
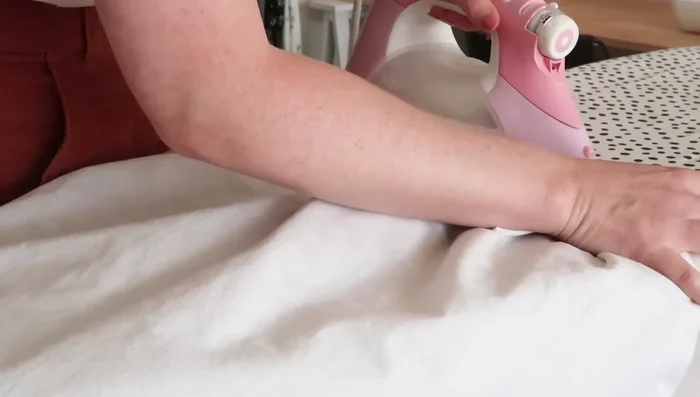
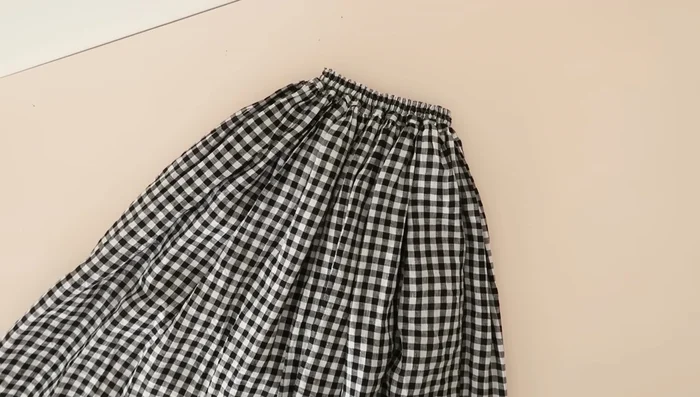
Gather Skirt and Lining - Press the gathers.
Gather Skirt and Lining Prepare and Attach Waistband
- Stitch the shorter raw edges of the waistband rectangle together. Press the seam open and then press one of the longer raw edges.
- Pin and stitch the non-folded edge of the waistband to the skirt.
- Press the waistband seam, fold in half lengthways, and pin in place.
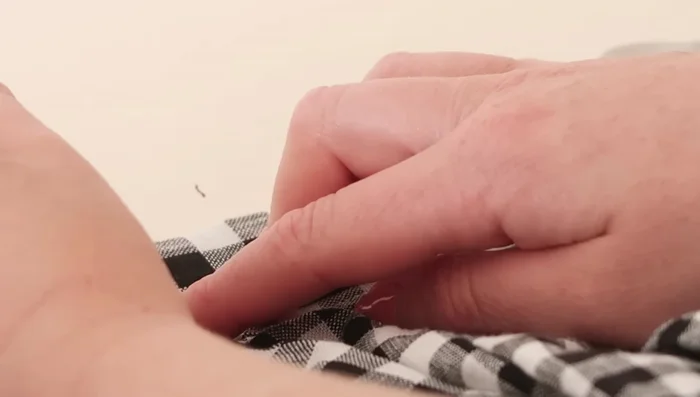
- Stitch the waistband in place, enclosing the raw edges. Leave a small opening for elastic threading.
Prepare and Attach Waistband Insert Elastic
- Mark and stitch three casings for the elastic on the waistband, leaving small openings.
- Thread elastic through each casing using a safety pin. Stitch the elastic ends together and secure.
- Stitch the openings in each casing closed.
Insert Elastic Final Touches
- Hem the bottom edge of the skirt.
- Remove gathering and basting stitches.
Final Touches


Read more: Raglan Sleeve Sewing Tutorial: A Step-by-Step Guide
Tips
- Use a water-erasable pen or tailor's chalk for marking fabric.
- Adjust measurements to your preference for a different skirt style.
- Overlocking or zigzag stitching raw edges prevents fraying.
- Use the longest stitch length on your sewing machine for gathering stitches.
- Threading elastic through casings individually is easier than while sewing.