Half a million subscribers! We're absolutely bursting with excitement to celebrate this incredible milestone with you, our amazing community. To show our gratitude for your unwavering support, we've decided to embark on a truly colossal crafting project: a giant watermelon plushie! This isn't your average stuffed fruit; we're talking a seriously impressive, huggable behemoth perfect for summer snuggles and showcasing your dedication to our channel. Think adorable, oversized, and utterly irresistible.
This gigantic, juicy-looking plush watermelon is more than just a celebration; it's a testament to the fun and creativity we share together. Ready to dive into the delightful world of fabric, stuffing, and stitching? Let's get started with our step-by-step guide on how to create your own giant watermelon plushie – a project perfect for seasoned crafters and enthusiastic beginners alike!
Preparation and Safety Guidelines
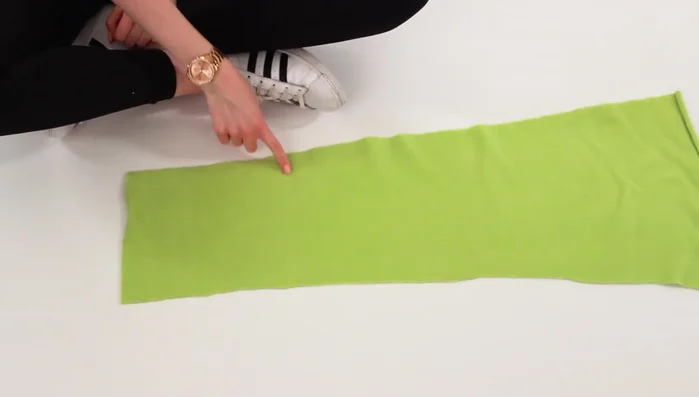
- Fabric (pink fleece, white, light green)
- Sewing machine (or fabric glue)
- Needles
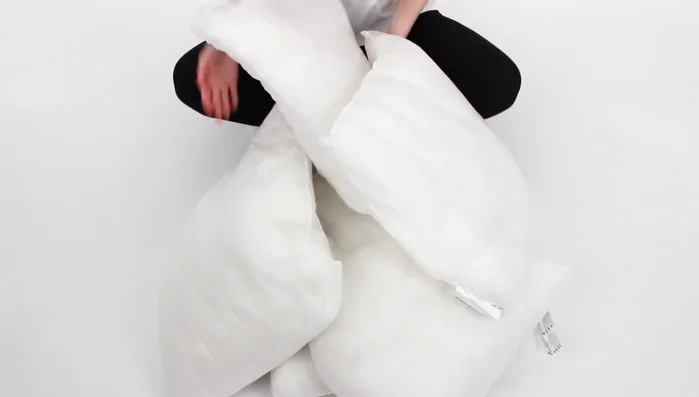
- Stuffing (e.g., sheep pillows)
- Paper
- Scissors
- Always supervise young children during crafting and playtime with the finished plushie to prevent choking hazards from small parts or suffocation from the large size.
- Use non-toxic materials for filling and construction. Ensure all fabrics are pre-washed to avoid potential skin irritations.
- Be mindful of the plushie's large size and weight when handling and storing. Avoid placing it in areas where it could cause damage or injury if it falls.
Step-by-Step Instructions
Cut Fabric Pieces
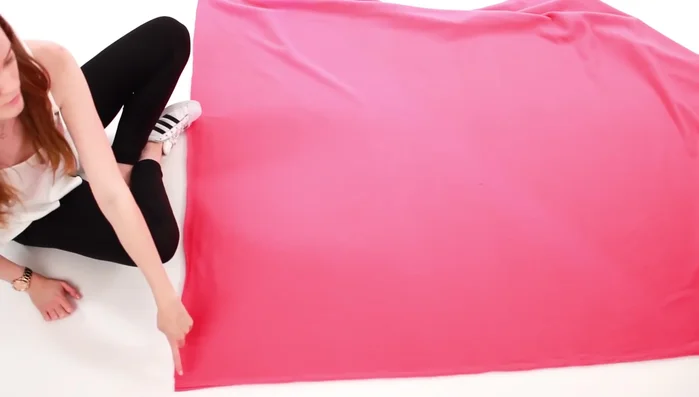
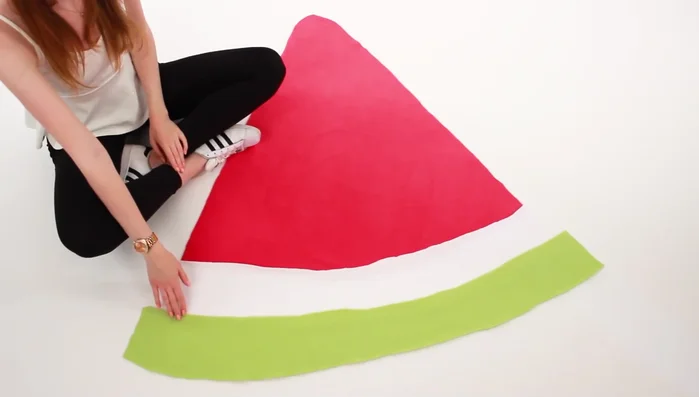
- Cut out the watermelon slice shapes. Measure and cut a large triangle shape from the pink fleece for the main watermelon slice. You can adjust the size to your preference.
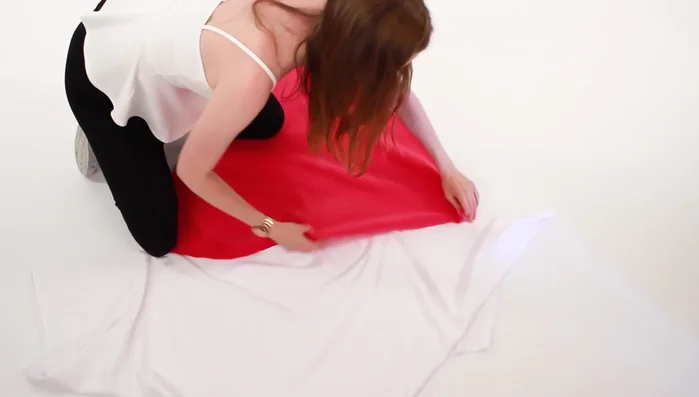
- Create the white part of the watermelon. Measure and cut a white fabric piece to fit under the pink triangle.
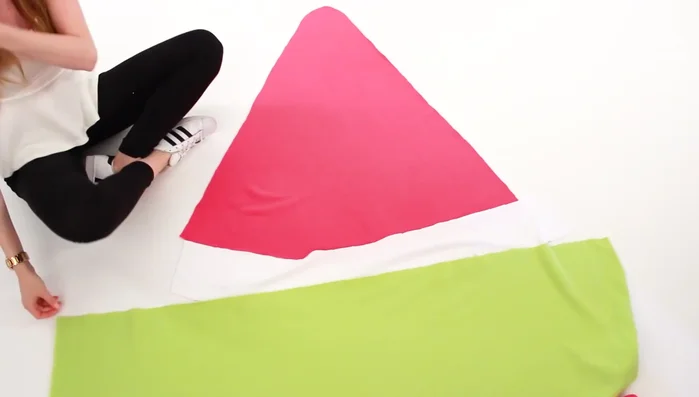
- Create the light green part of the watermelon. Measure and cut a light green fabric piece to fit under the white piece.
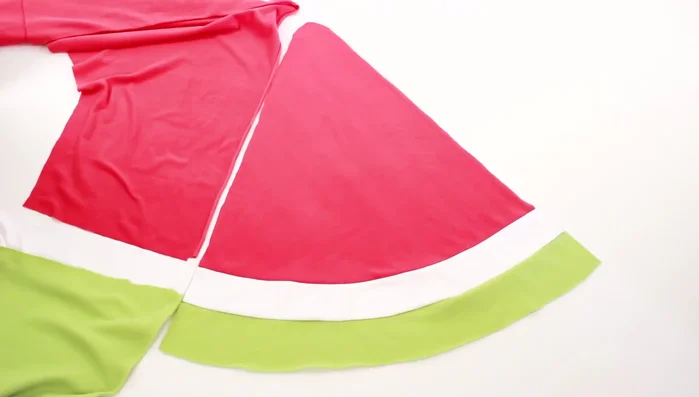
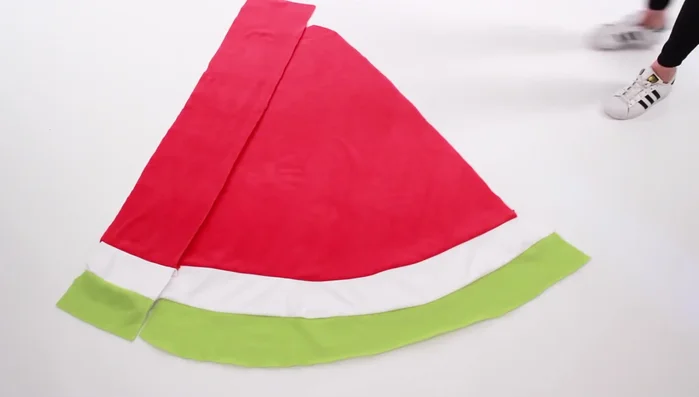
- Create the side pieces. Line up the colors of the fabric with a triangle and cut out two side pieces to match the main slice piece.

Cut Fabric Pieces - Create the bottom. Create multiple light and dark green squares and sew them together to form the bottom of the watermelon.
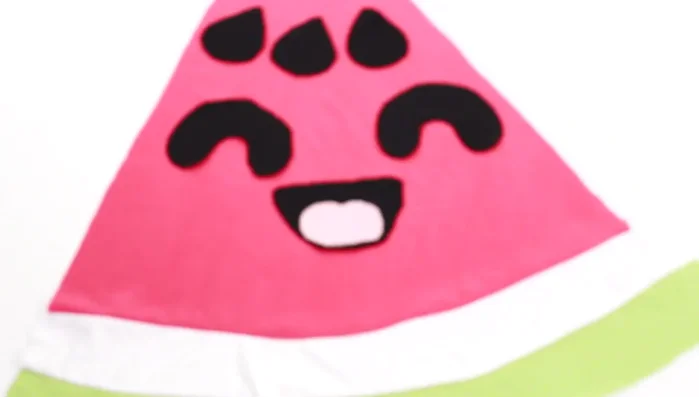
- Design and cut out the facial details on paper, then transfer them onto black and pink fabric and cut out the fabric pieces.
Cut Fabric Pieces Assemble Watermelon Layers
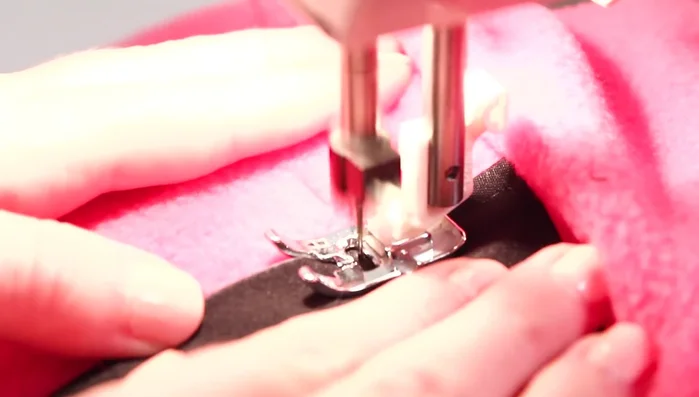
- Sew the three fabric layers together (pink, white, light green). Use a sewing machine to neatly stitch the layers together.
- Sew the side pieces to the main slice. Sew the two side pieces onto the main watermelon slice.
Assemble Watermelon Layers Create Watermelon Base
- Create the bottom. Create multiple light and dark green squares and sew them together to form the bottom of the watermelon.
Create Watermelon Base Add Facial Features
- Design and cut out the facial details on paper, then transfer them onto black and pink fabric and cut out the fabric pieces.
- Attach the facial details. Use needles to attach the black fabric features to the watermelon.
Add Facial Features Sew Watermelon Together
- Sew all the watermelon parts together. Sew the different parts together carefully (or use fabric glue if preferred).
Sew Watermelon Together Stuff and Finish
- Stuff the watermelon. Fill the watermelon with stuffing (sheep pillows were used in the video).
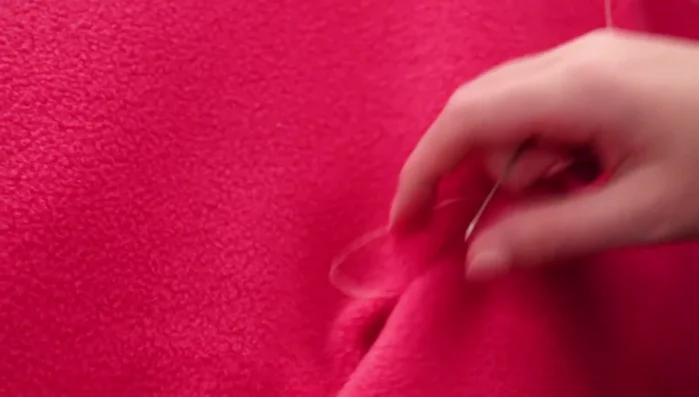
- Sew the final seam closed.
Stuff and Finish

Read more: DIY Fluffy Duck Plushie Tutorial: A Step-by-Step Guide
Tips
- Use a sewing machine for faster and neater results, but fabric glue is an acceptable alternative.
- Consider using pre-made shapes or templates to make the process easier.