Are you ready to add a splash of adorable amphibian charm to your life? This tutorial will guide you through creating your very own super cute fuzzy frog plushie, perfect for cuddling, gifting, or simply adding a touch of whimsy to your home décor. Forget expensive, mass-produced toys; with just a few simple supplies and a little bit of patience, you can craft a personalized frog friend that's uniquely yours. This project is surprisingly easy, even for beginners, requiring minimal sewing skills and readily available materials. Imagine the satisfaction of creating something so delightful with your own hands!
Prepare to be charmed as we delve into the delightful world of plush frog creation. This easy-to-follow, step-by-step sewing tutorial will show you exactly how to bring this adorable amphibian to life. From cutting out the fabric to adding the finishing touches, we'll walk you through each stage, ensuring a successful and satisfying crafting experience. So grab your fabric, needles, and thread, and let's get started!
Preparation and Safety Guidelines
- Green fuzzy fabric
- White fabric
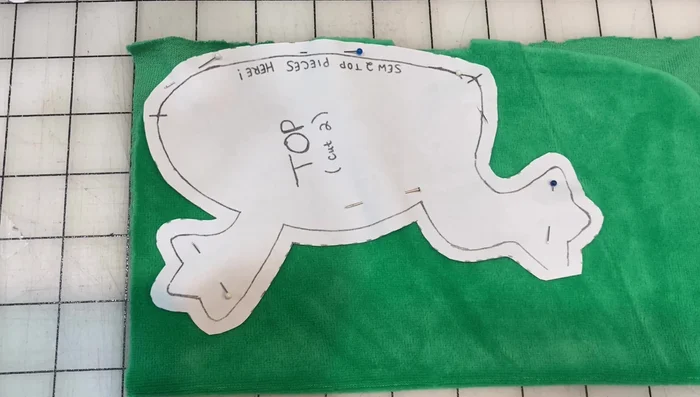
- Pattern (from TikTok @cloudvalen9 and @thefrogcottage)
- Pins
- Needle
- Thread (green and black)
- Buttons
- Stuffing (e.g., pillow filling, cotton fluff)
- Scissors
- Sharpie
- Adult supervision is required, especially for younger crafters using needles and scissors.
- Always use sharp scissors to prevent accidental slips and injuries. Keep scissors pointed away from yourself and others.
- Handle stuffing material carefully to avoid inhaling fibers. If you have allergies, consider wearing a mask.
Step-by-Step Instructions
Prepare Fabric Pieces
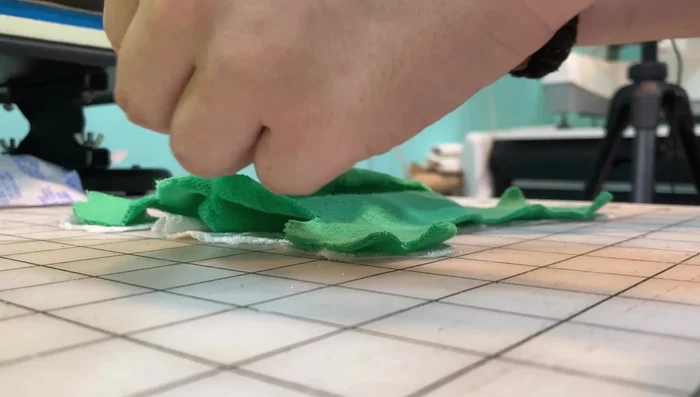
- Pin the top pattern piece to two layers of green fabric.
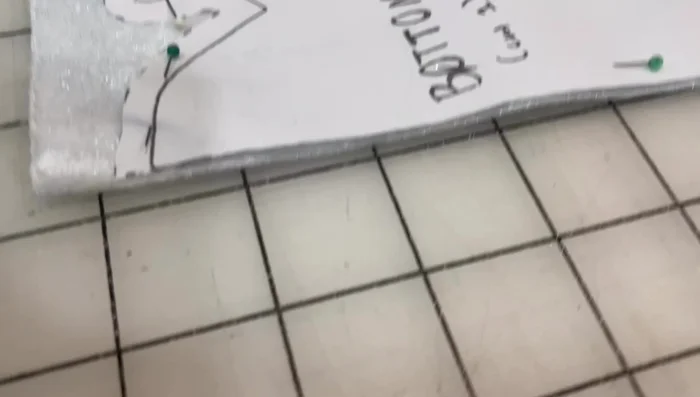
- Repeat for the bottom pattern piece, ensuring the edge is on the folded side of the fabric.
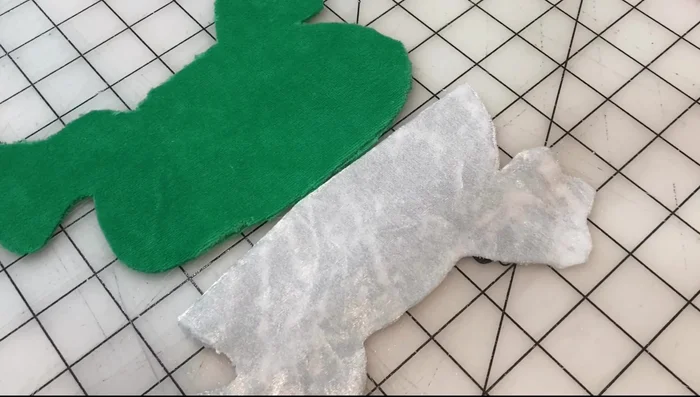
- Cut out both fabric pieces.

Prepare Fabric Pieces Sew Frog Body
- Pin and sew along the edge of the top and bottom pieces, with fuzzy sides facing each other.
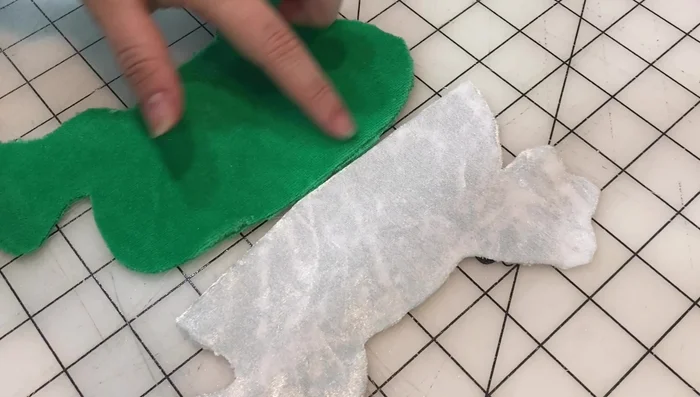
- Lay the green pieces on top of the white fabric, fuzzy sides facing inward. Pin around the outside and sew.
- Ensure the tongue is facing inward.
- Leave a small opening (about ¾ inch) in the back for turning and stuffing.
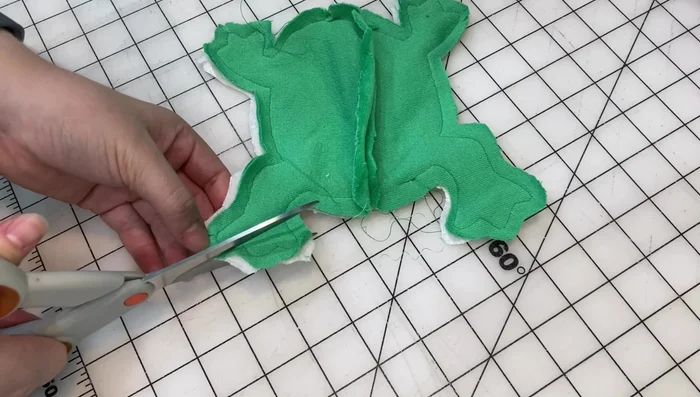
Sew Frog Body - Clip curves (toes) to reduce bulk.
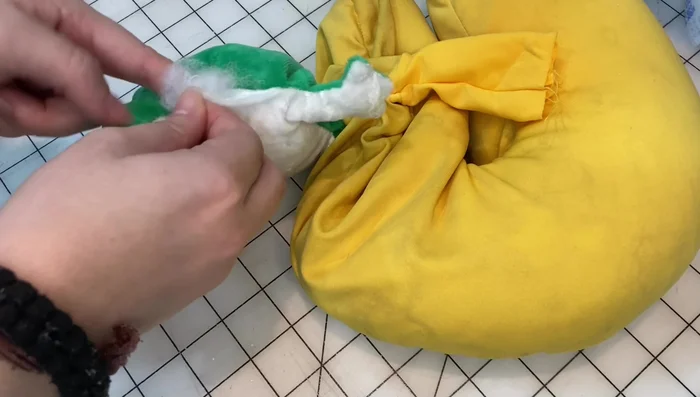
Sew Frog Body Turn and Stuff
- Turn the frog inside out through the opening.
- Stuff the frog with filling (beanies and/or cotton fluff).
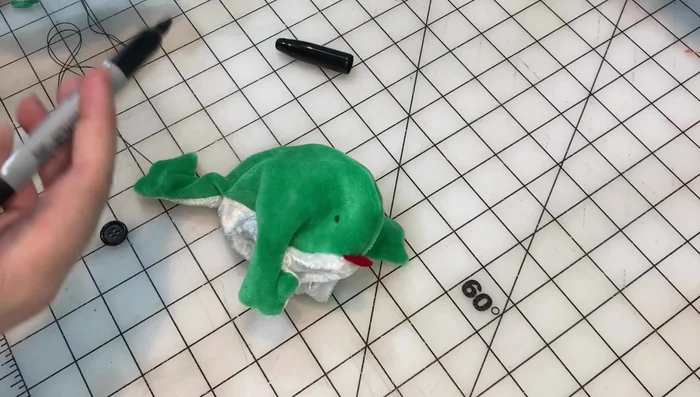
Turn and Stuff Finishing Touches
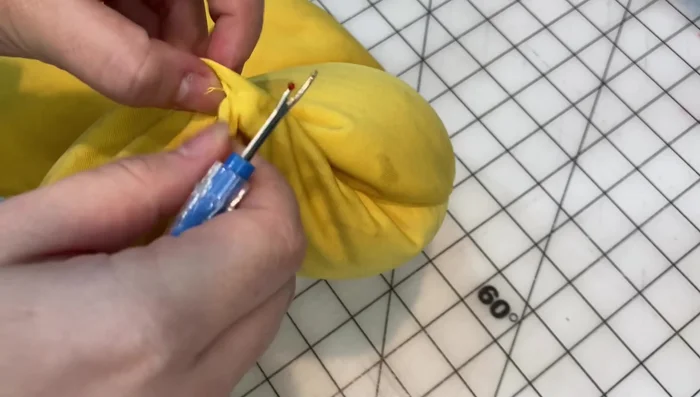
- Hand-stitch the opening closed using green thread.
- Attach buttons for the eyes.
Finishing Touches


Read more: DIY Fluffy Duck Plushie Tutorial: A Step-by-Step Guide
Tips
- Make the turning hole slightly larger (¾ inch) for easier turning.
- Consider sewing the buttons before completely sewing the frog body to ensure accurate eye placement.
- Use a funnel to fill the frog with the beans.