Have you always admired those charming, plump frog plushies but felt intimidated by the sewing process? Fear not! This tutorial demystifies the art of creating your own adorable, three-dimensional frog plushie, even if you're a complete beginner. We'll guide you through creating this delightful amphibian friend using simple techniques and easily accessible materials, perfect for a relaxing crafting session or a fun project to share with children. Forget complex patterns and frustrating seams; we've streamlined the process to make it enjoyable and achievable for everyone.
This easy-to-follow guide will show you how to sew a charming frog plushie using a method that focuses on simple, dimensional pieces, eliminating the need for intricate shaping. Prepare to be surprised by how quickly and easily you can bring your own cuddly frog to life! Let's dive into the step-by-step process and start stitching your very own happy little amphibian.
Preparation and Safety Guidelines
- Fabric
- Batting
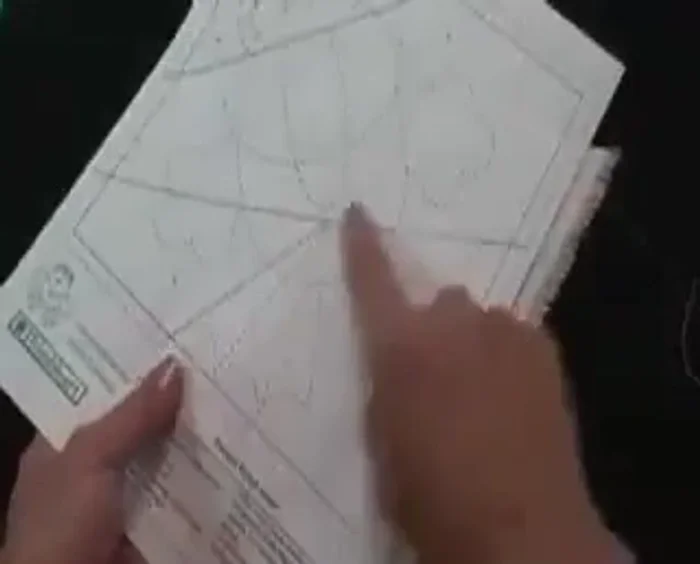
- Xerox copy
- Sewing machine
- Needle
- Thread
- Buttons
- Adult supervision is required, especially for younger sewers using needles and scissors.
- Always use a blunt-ended needle to prevent accidental injury.
- Keep small parts (buttons, beads, etc.) away from young children to prevent choking hazards.
Step-by-Step Instructions
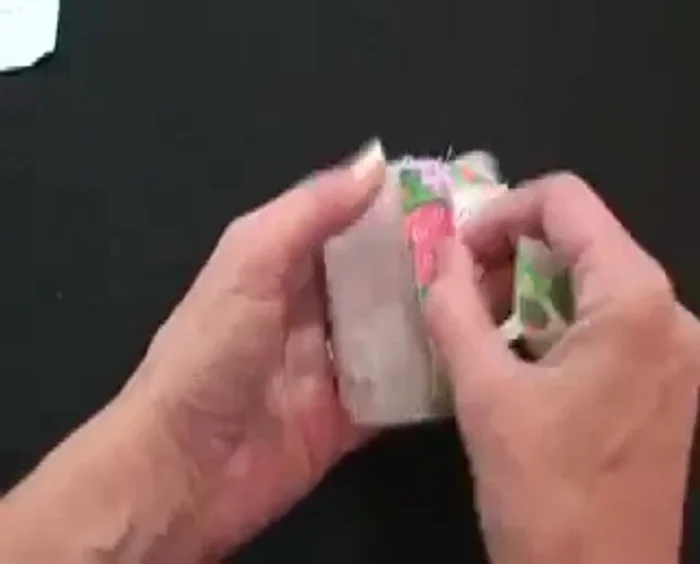
Prepare Frog Body
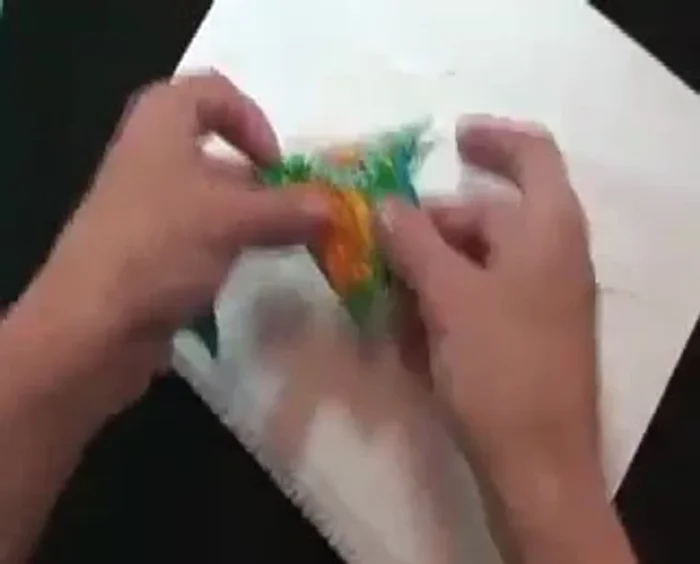
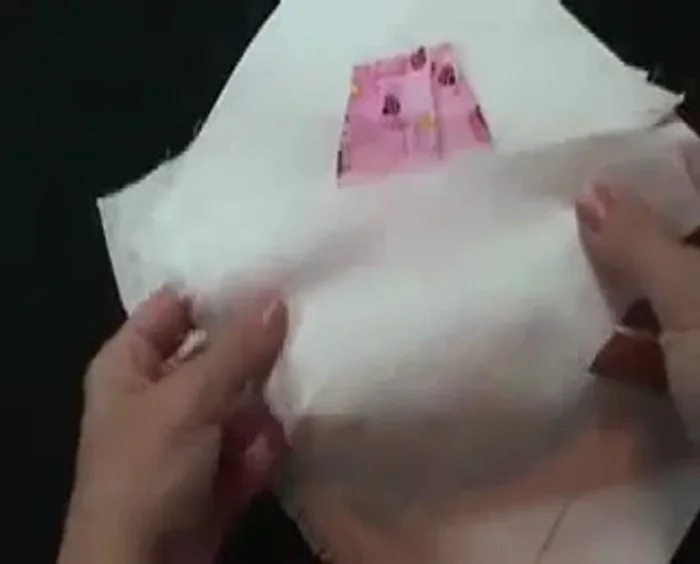
- Prepare fabric pieces for the frog body using a Xerox copy of the pattern on two pieces of fabric with batting.
- Fold another fabric piece wrong sides together, place it between the two main fabric pieces aligning the fold with the design line. Repeat for both eyelids.
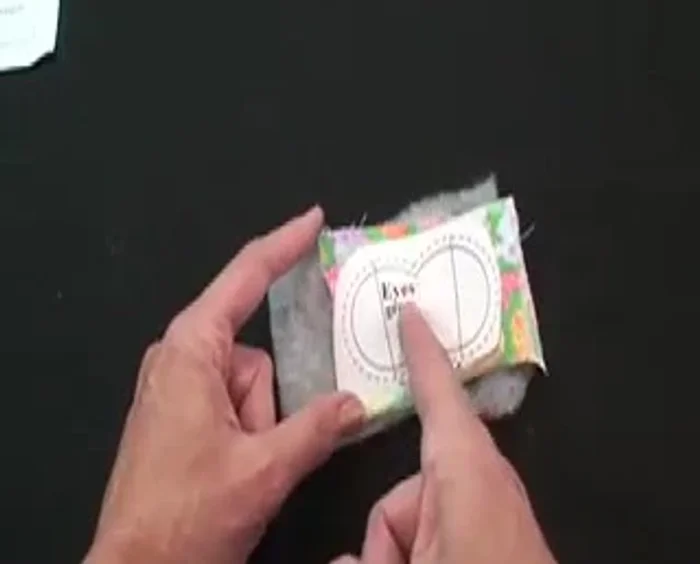
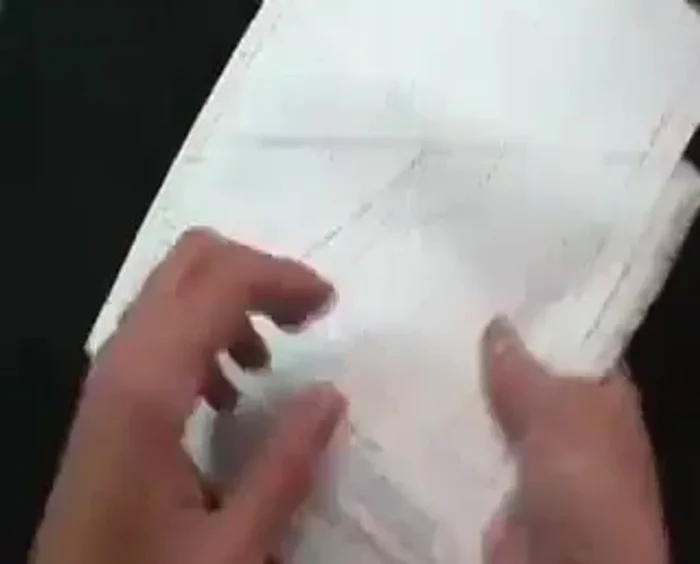
- Sew around the solid line of the pattern, then cut on the dashed line (down the middle). Do not sew on the solid lines inside the dashed line; only sew the outer solid line.

Prepare Frog Body Attach Frog Body Pieces
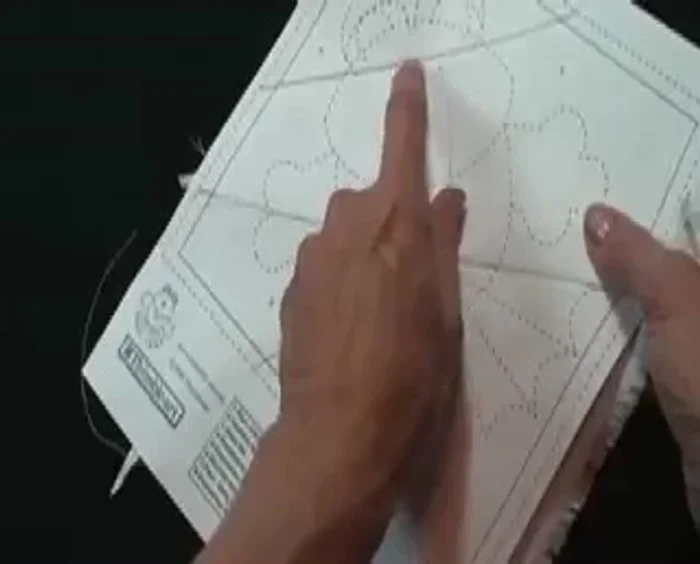
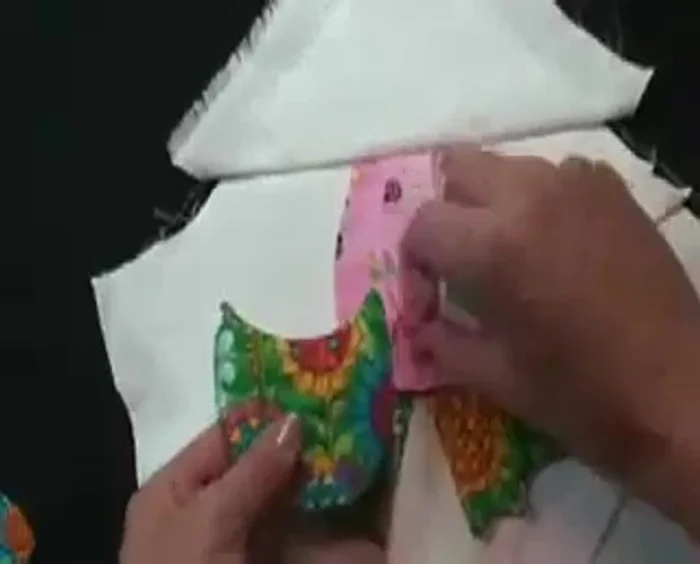
- Place fabric piece number one (unprinted side) to cover the body area.
- Locate the feet positions on the printed side of the pattern, transfer to the unprinted side.
- Attach the dimensional feet with the raw edge 1/4 inch past the basting line, pin to hold.
- Add fabric pieces number two and three, enclosing the raw edges of the frog's feet.
Attach Frog Body Pieces Attach Tongue and Lining
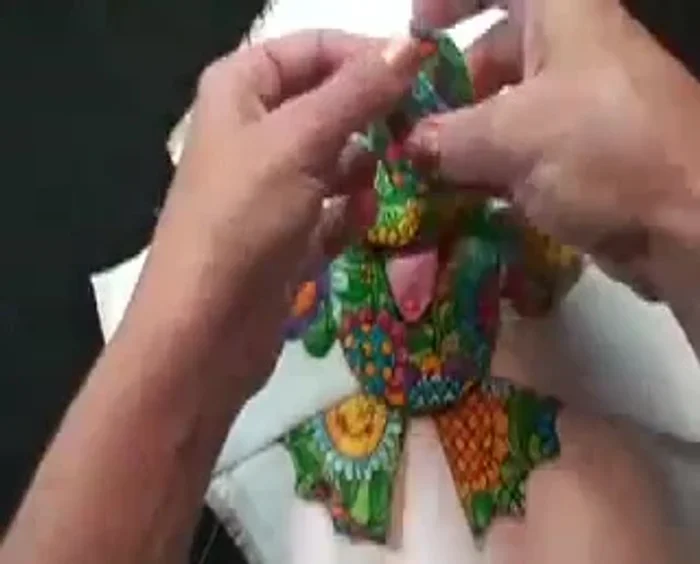
- Locate the tongue position, transferring it to the unprinted side. Position the lining and tongue 1/4 inch above the basting line and pin.
- Add a corner piece (cut previously), right side down, against the top of the lining, sew along the length, enclosing the lining top.
- Sew all the way around, turn it over, and hand close the opening. Place the hands behind the lining; put the hands under and blind stitch around the outside, reinforcing the corners.
Attach Tongue and Lining Attach Head and Eyes
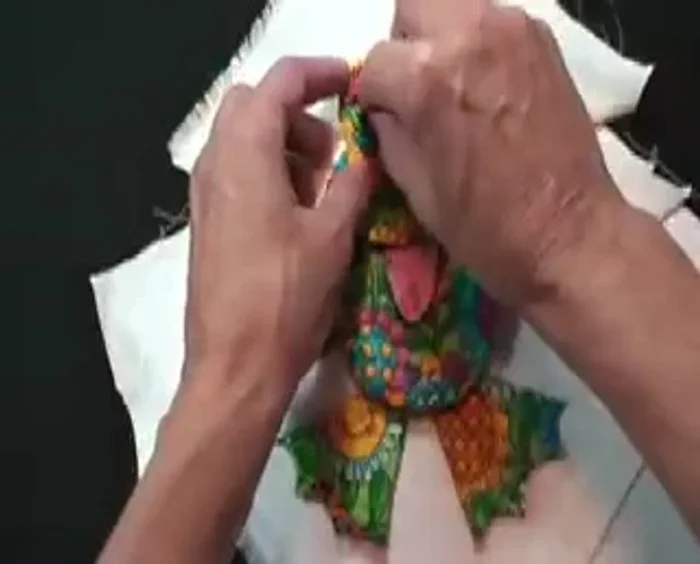
- Position the head over the mouth and place the raw edges of the two eyes underneath the head, ensuring the eyelids are on top. Sew from corner to corner, reinforcing edges.
Attach Head and Eyes Finishing Touches
- Add buttons. Cut on the dashed line to square the frog.
Finishing Touches
Read more: DIY Fluffy Duck Plushie Tutorial: A Step-by-Step Guide
Tips
- Use a Xerox copy to easily transfer the pattern onto fabric.
- Precise placement of dimensional pieces is key for a professional finish. Pay close attention to the 1/4 inch measurements mentioned throughout.
- Blind stitch or use a similar technique to neatly close the seams and create a clean finish.