Free-motion quilting, with its organic, expressive lines, can seem daunting to beginners. But the truth is, mastering the basics is easier than you think! This tutorial focuses on the foundational meandering stitch, a versatile technique that unlocks a world of creative possibilities in your quilting projects. Forget rigid patterns and embrace the freedom of letting your needle guide your artistic vision. You'll discover how easy it is to transform a simple quilt top into a stunning, textured masterpiece, adding personality and depth to your handmade creations. Meandering stitches provide a fantastic starting point for exploring the many joys of free-motion quilting.
This beginner-friendly guide will walk you through the essential steps, from setting up your machine to practicing different meandering styles. We’ll cover everything you need to know to create beautiful, flowing stitches with confidence, gradually building your skills and inspiring you to experiment with your own unique designs. Let's get started with our step-by-step instructions!
Preparation and Safety Guidelines
- Sewing machine
- Free motion quilting foot (darning foot recommended for front-loading machines)
- Invisible thread (or all-purpose thread)
- Basting pins
- Seam ripper
- Always use a darning foot: This specialized foot keeps your fingers safely away from the needle and allows for smooth fabric movement.
- Keep your speed slow and steady: Rushing can lead to uneven stitches and potential injury. Practice on scraps before tackling your project.
- Use a sharp needle and appropriate thread: A dull needle will break, potentially causing injury. The right thread type prevents breakage and ensures beautiful stitching.
Step-by-Step Instructions
Prepare the Quilt
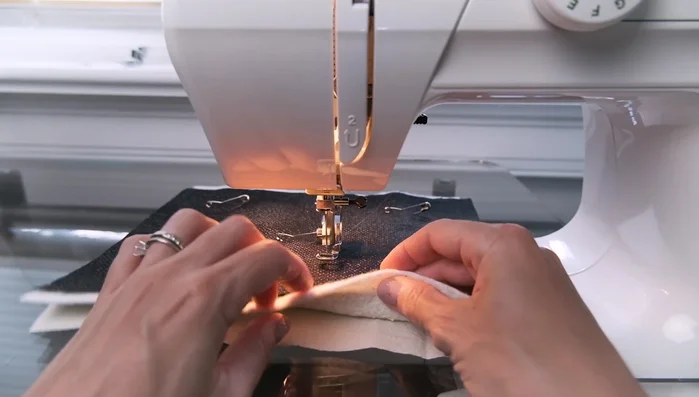
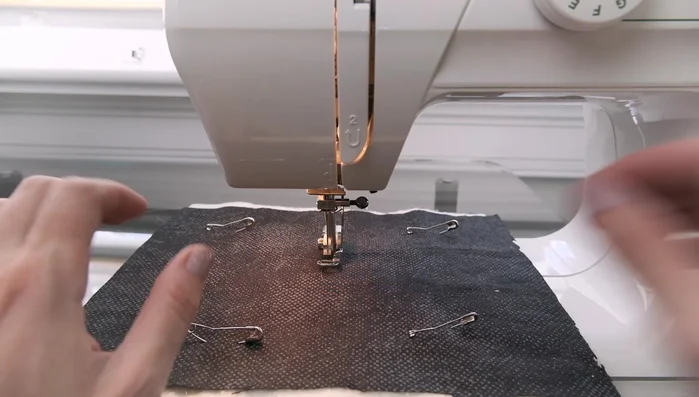
- Layer your backing fabric, batting, and quilt top. Use basting pins to secure the layers and keep them smooth.

Prepare the Quilt Prepare the Sewing Machine
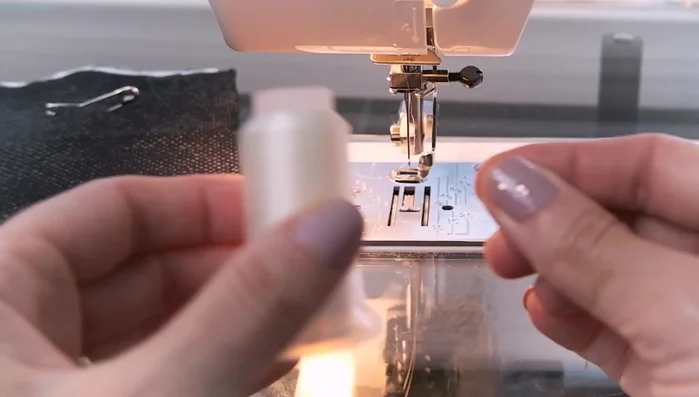
- Use invisible thread (for high-contrast quilt tops) or all-purpose thread. Ensure you have the appropriate free motion quilting foot attached to your machine.
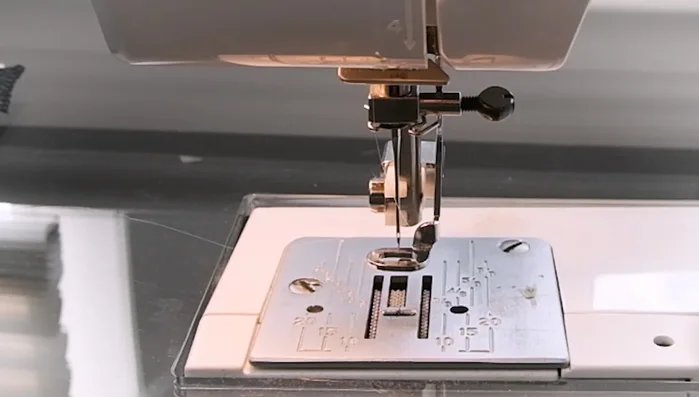
- This gives you complete control over the fabric movement during free motion quilting. Consult your sewing machine manual for instructions.
Prepare the Sewing Machine Begin Quilting
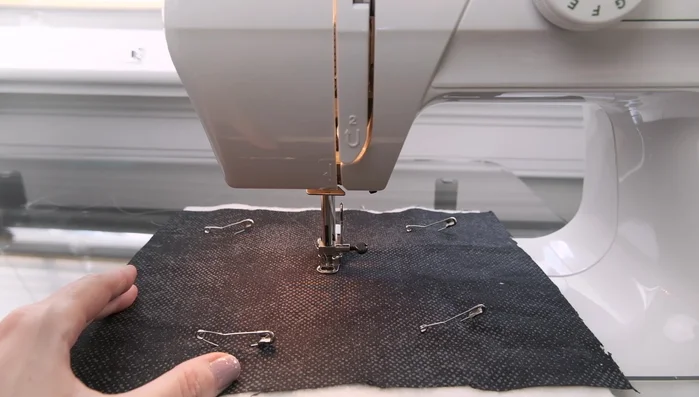
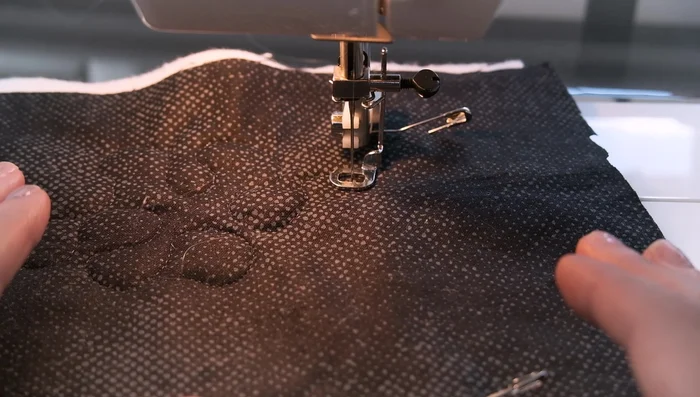
- Begin in the center of the quilt to prevent bunching. Lower the needle, pull the threads to the back, and start sewing.
Begin Quilting Meandering Stitch Technique
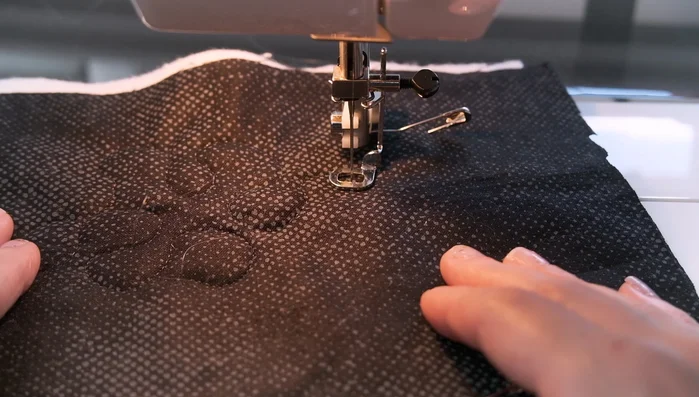
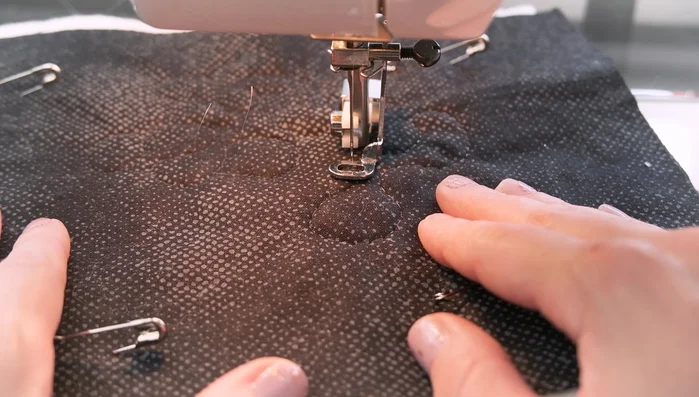
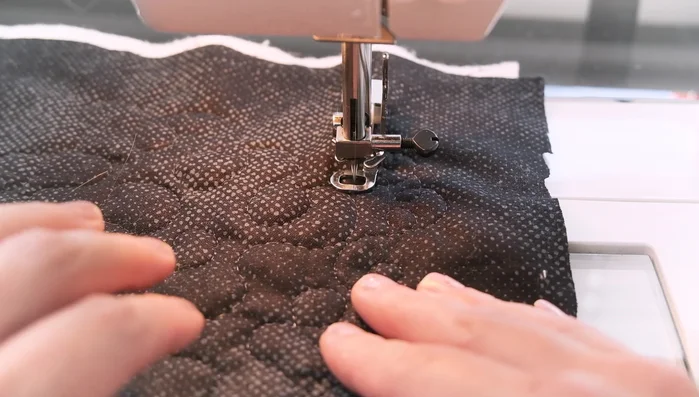
- This is an easy starting point for beginners. Sew in and out, creating a flowing, curved pattern.
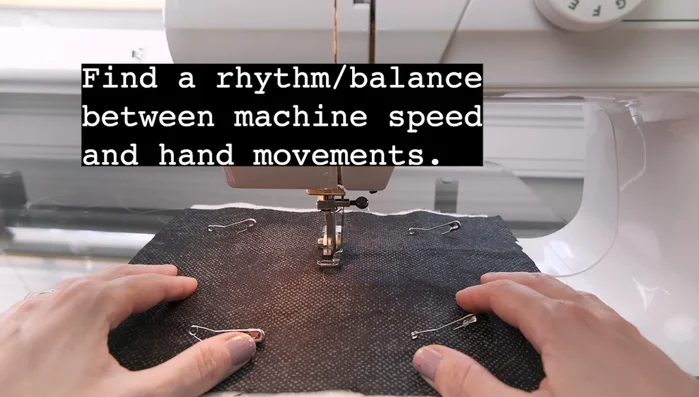
- Find a comfortable balance between your foot pedal speed, machine speed, and hand movement. Practice on a scrap piece first.
- Slow down when quilting around curves to prevent 'eyelashing' (uneven stitches).
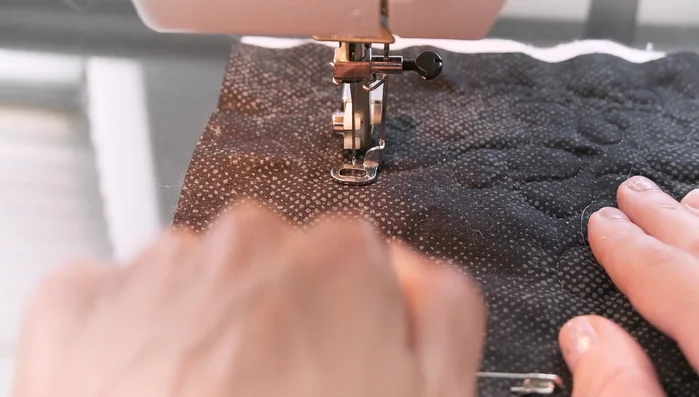
Meandering Stitch Technique Quilting Process
- Remove basting pins as you go.
- It's okay if your stitches aren't perfectly uniform. Focus on having fun and filling the empty spaces.
Quilting Process Error Correction and Safety
- If you make a mistake, use your seam ripper to remove the stitches and re-sew.
- Always keep your fingers clear of the needle.
Error Correction and Safety
Read more: King Size Quilt Tutorial: Efficient Chain Piecing Method
Tips
- Practice on a scrap piece of fabric before starting your project.
- Consider using a slick pad or gloves to aid fabric movement.
- Lower your needle before adjusting fabric or removing pins to prevent accidental damage.