Free-motion quilting elevates a quilt from a collection of fabric squares to a breathtaking work of art. Pinwheel blocks, with their dynamic swirling patterns, provide an especially exciting canvas for this technique, offering opportunities for both intricate detail and bold, expressive designs. However, mastering free-motion quilting on these blocks can seem daunting, demanding both skill and efficient workflow. This often leads quilters to shy away from the potential beauty this combination can offer.
This article is designed to demystify the process, equipping you with the knowledge and techniques to confidently tackle free-motion quilting on pinwheel blocks. We'll explore essential preparatory steps, from selecting appropriate quilting motifs to optimizing your machine settings. From there, we will embark on a step-by-step guide that will take you through creating stunning results, transforming simple blocks into captivating masterpieces.
Safety Guidelines
- Always use a darning foot or free-motion quilting foot. This essential tool keeps your fabric from bunching and allows for smooth movement.
- Keep your machine speed slow and steady, especially when starting. This prevents stitches from becoming too loose or bunched, and reduces the risk of needle breakage.
- Practice your designs on scrap fabric before quilting your project. This allows you to perfect your technique and get comfortable with the feel of free-motion quilting.
Methods: Seamless Curve Motif Quilting
Tools Needed
- sewing machine
- free-motion quilting foot
Step-by-Step Instructions
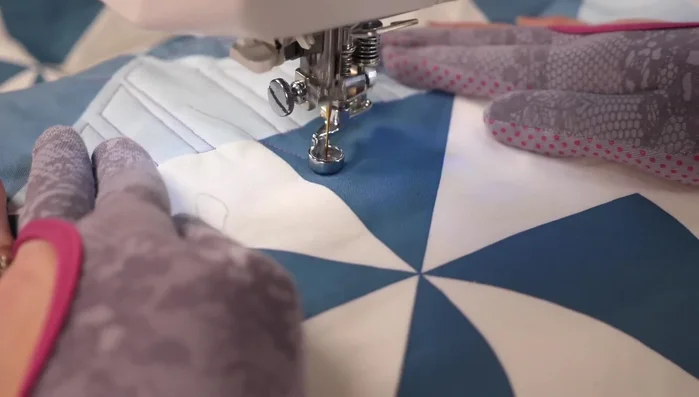
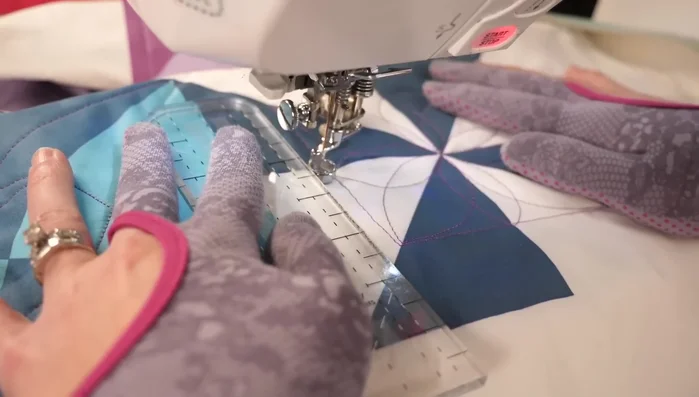
Creating the Basic Curve Motif
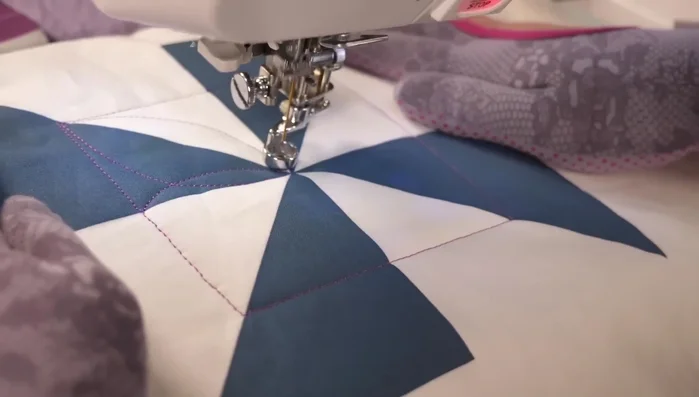
- Start from an outer seam and follow the curve into the center, then out to the opposite side.

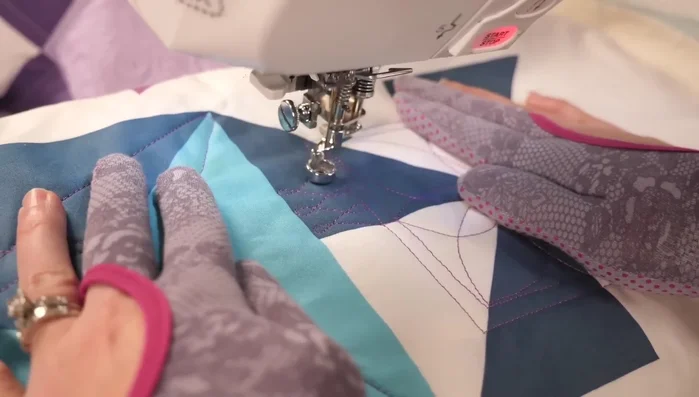
Creating the Basic Curve Motif Repeating and Adapting the Motif
- Repeat this curve motif around the block, adjusting for different fabric colors or sections as needed.
- Use stitching in the ditch to smoothly transition between sections and connect your curves.
Repeating and Adapting the Motif

Tips
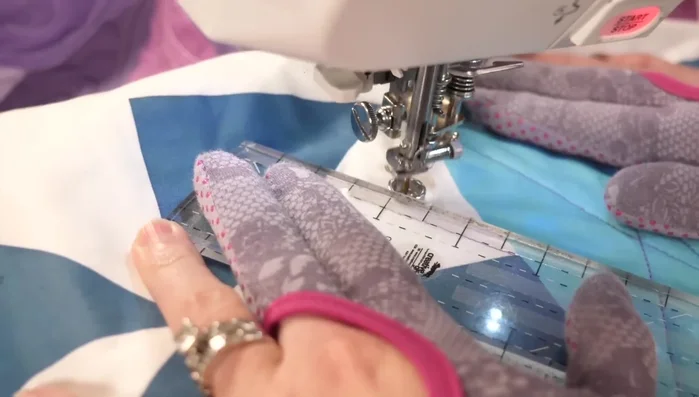
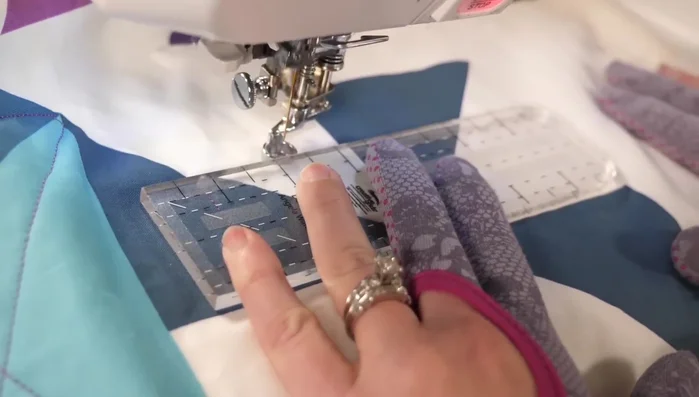
- If repositioning your hands, do so where two lines cross to minimize visible stitch variations.
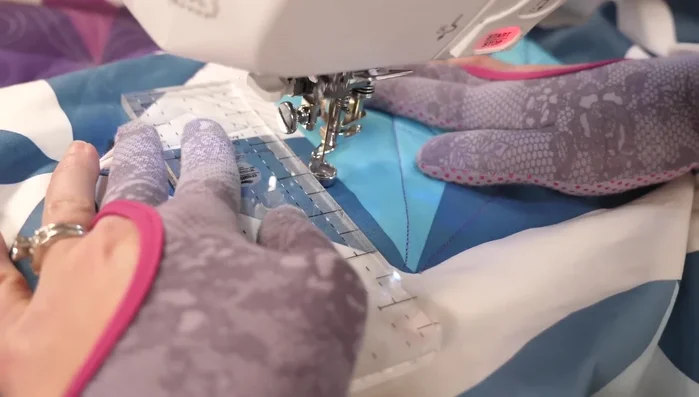
- Use a ruler to guide longer curves; adjust the ruler's position slightly to fit varied line lengths.
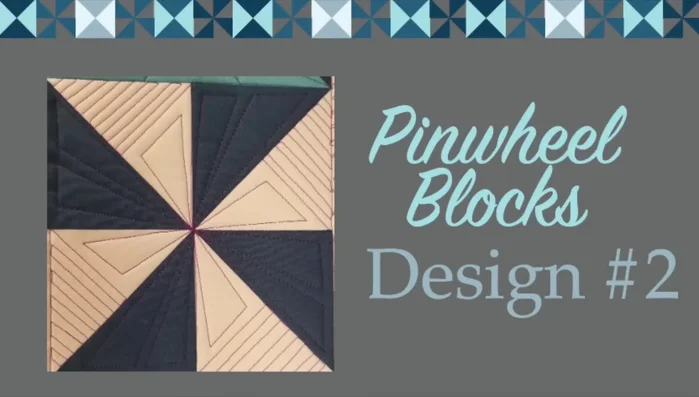
Methods: Pinwheel-Inspired Straight-Line Quilting
Tools Needed
- sewing machine
- free-motion quilting foot
- ruler (optional)
Step-by-Step Instructions
Identify Mini-Pinwheels
- Identify triangles to be treated as mini-pinwheels.
Identify Mini-Pinwheels Quilt Mini-Pinwheel
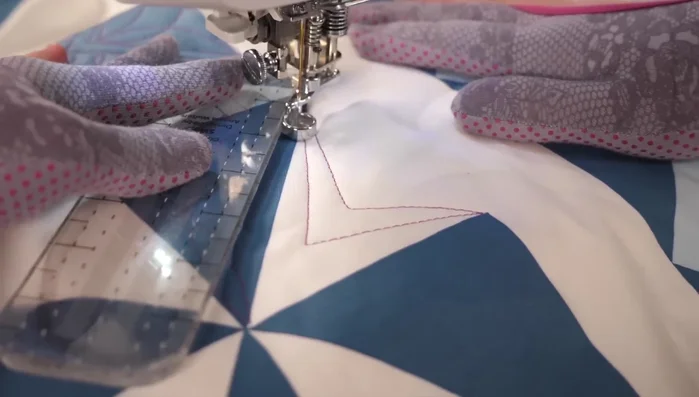
- Quilt a straight line from the furthest corner of a chosen triangle to the center.
- On the other side of the triangle, use straight lines (ruler or freehand) to flatten the area, making the mini-pinwheel stand out.
- Repeat this for all chosen triangles, using a less dense stitch density in the mini-pinwheel to enhance its visual impact.
Quilt Mini-Pinwheel
Tips
- A ruler can be used as a handle to help move the quilt during freehand quilting.
Methods: Square-Within-Pinwheel Design
Tools Needed
- sewing machine
- free-motion quilting foot
- slim ruler (optional)
Step-by-Step Instructions
Quilt the Inner Square
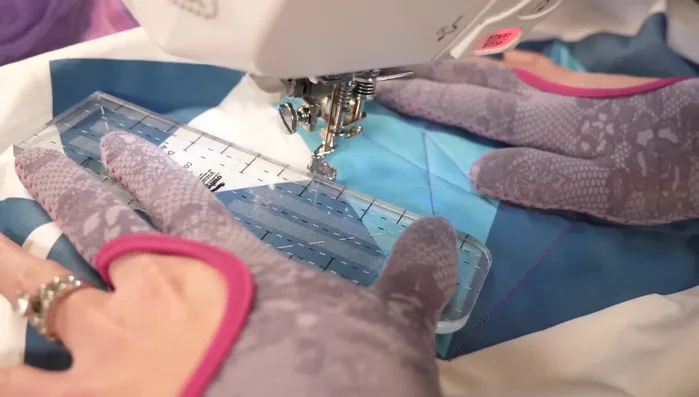
- Quilt a small square inside the pinwheel, starting about an inch from the edge and following the seams as guides.
Quilt the Inner Square Quilt the Inner Pinwheel
- Quilt a continuous curve design within the inner pinwheel, creating a circular pattern.
Quilt the Inner Pinwheel Highlight the Inner Pinwheel
- Add an echo line around the inner pinwheel to emphasize it.
Highlight the Inner Pinwheel Quilt the Outer Border
- Fill the outer border with alternating designs (e.g., wishbones and ribbon candy) in different color segments.
Quilt the Outer Border
Tips
- A slim ruler with clear markings simplifies following seams and changing directions.
Read more: 3 Easy Pieced Heart Tutorials for Quilting Projects