Free-motion quilting: the words conjure images of swirling designs and beautifully textured fabric, a level of artistry seemingly reserved for experts. But what if we told you that achieving this stunning effect on your own domestic sewing machine is entirely within reach? This isn't some esoteric craft requiring specialized equipment; with the right techniques and a little practice, you can unlock the world of free-motion quilting and elevate your quilting projects to a whole new level. Forget the limitations of straight-line quilting; prepare to unleash your creativity and add a personal touch to every quilt you create.
This step-by-step guide will take you through the essential process of mastering free-motion quilting on your domestic machine, from preparing your machine and fabric to stitching your first confident, flowing designs. We'll cover everything you need to know, providing clear instructions and helpful tips to ensure you're stitching beautiful, professional-looking quilts in no time. Let’s get started!
Preparation and Safety Guidelines
- Domestic sewing machine
- Supreme slider
- Gloves
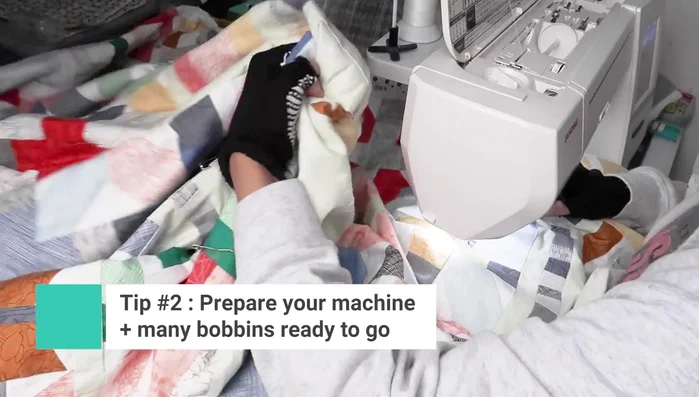
- Bobbins
- Two tables
- Always use a darning foot or free-motion quilting foot. This allows the fabric to move freely under the needle without being hampered by a regular presser foot.
- Lower your machine's feed dogs. This prevents the machine from feeding the fabric, allowing you to control the movement of the quilt and achieve free-motion quilting.
- Keep your speed slow and consistent, especially when starting. Speed control is essential for maintaining even stitches and avoiding breakage.
Step-by-Step Instructions
Setting Up Your Workspace
- Clean and prepare your quilting area. Set up two tables to provide ample space.
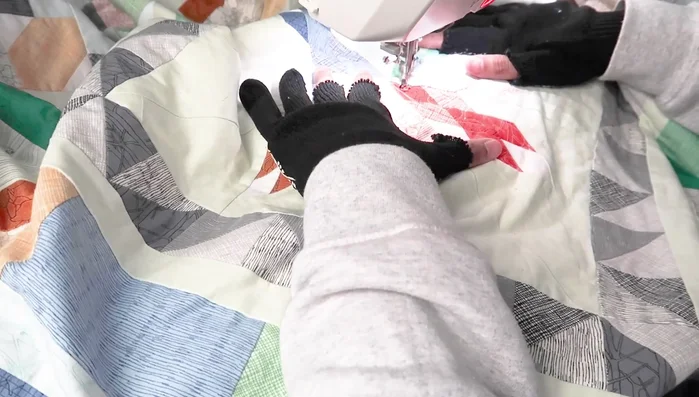
- Attach the supreme slider, put on your gloves, and prepare bobbins.

Setting Up Your Workspace Preparing Your Quilt
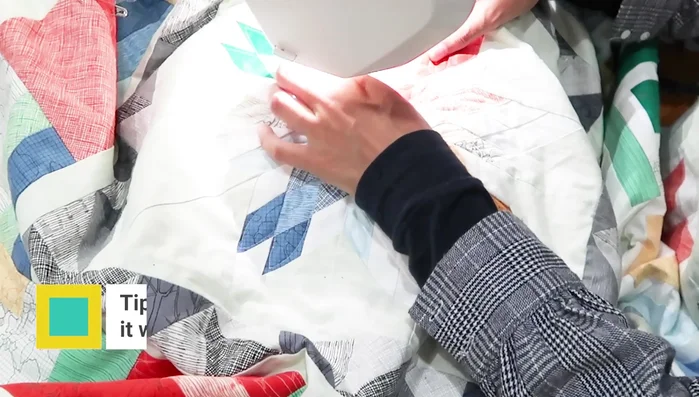
- Arrange your quilt. Bunch up the large pieces into a manageable 'hill' shape, starting from the center.
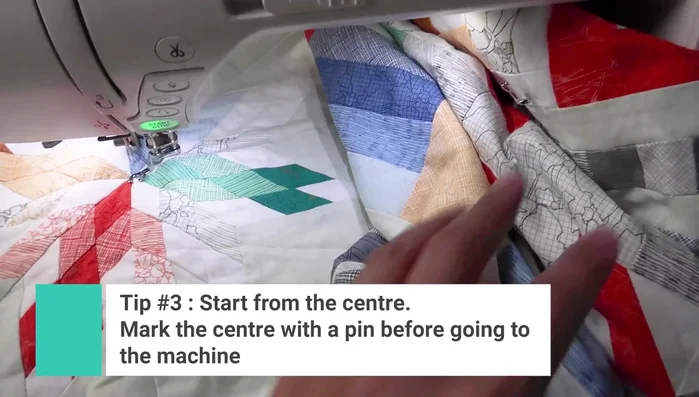
- Begin quilting from the center, especially if working with a medallion quilt. If it's not a medallion, find and mark the center.
Preparing Your Quilt Free-Motion Quilting Technique
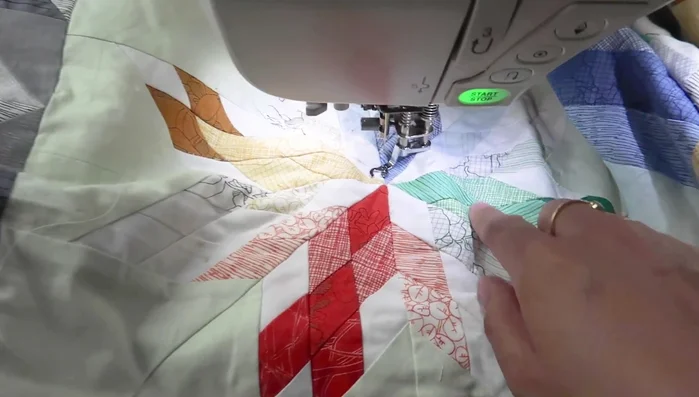
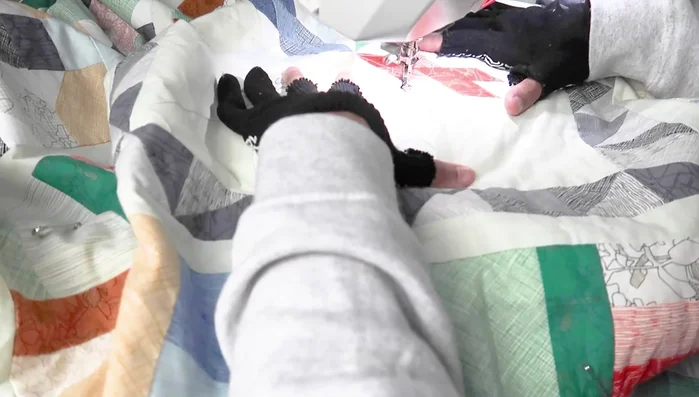
- Focus on one area at a time; flatten the section you are working on to make it easier to move.
- Work vertically towards yourself, pushing or pulling the quilt, avoiding unnecessary side-to-side movement.
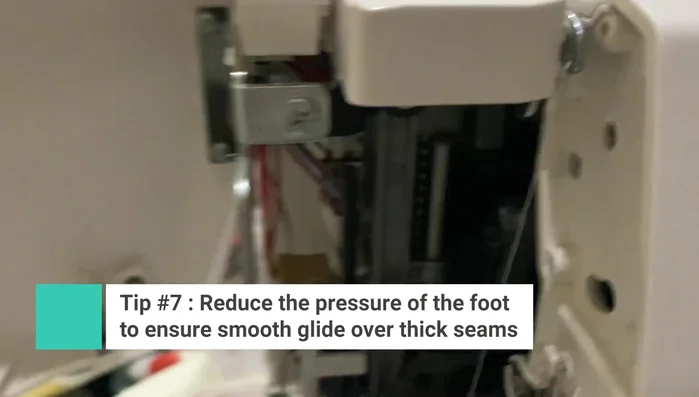
- Reduce foot pressure on your sewing machine to ease movement when dealing with thick seams.
Free-Motion Quilting Technique Managing Your Quilt and Position
- Shift the quilt frequently as needed to maintain your working position.
- For medallion quilts, work on one block or round at a time. For regular quilts, complete one quarter before moving to the next.
Managing Your Quilt and Position Maintaining Comfort and Efficiency
- Take breaks to avoid tension and shoulder strain.
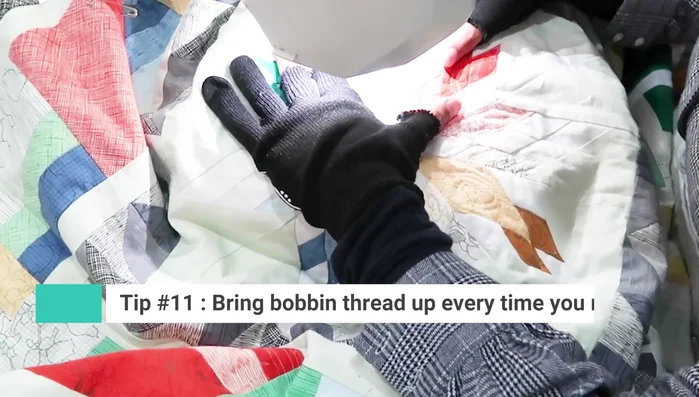
- Snip off threads frequently to prevent a large build-up at the end.
Maintaining Comfort and Efficiency


Read more: King Size Quilt Tutorial: Efficient Chain Piecing Method
Tips
- Create a spacious and organized workspace.
- Start from the center for easier management of fabric.
- Maintain a consistent vertical movement to reduce strain.
- Reduce foot pressure to facilitate movement over thick seams.
- Take frequent breaks to avoid physical strain.