Are you dreaming of a cozy quilt but intimidated by the seemingly endless tiny squares of traditional patchwork? Fear not, fellow quilters! This project is perfect for beginners and seasoned sewists alike, offering a delightful way to create a beautiful quilt without the tedious piecing of miniature fabrics. We're diving into the surprisingly simple world of the four-patch quilt block, a design that delivers impressive results with minimal effort. Forget the frustration of wrestling with tiny seams; this method relies on larger, easier-to-handle pieces.
This tutorial demonstrates a quick and efficient approach to constructing a stunning four-patch block, eliminating the need for those fiddly little squares entirely. Prepare to be amazed by how quickly you can assemble this classic design using our streamlined technique. Ready to start stitching? Let's jump into the step-by-step instructions below and create a beautiful quilt block in no time!
Preparation and Safety Guidelines
- 5x5 inch fabric squares (charm squares or self-cut)
- Rotary cutter
- Ruler
- Sewing machine
- Iron
- Always use sharp scissors or a rotary cutter for clean cuts. Dull blades lead to inaccurate piecing and frustration.
- Press your seams carefully and consistently, either open or to one side. Inconsistent pressing will result in a wonky block.
- Pay close attention to matching seams and points, especially when joining your four patches. Accurate matching is key to a neat finished block.
Step-by-Step Instructions
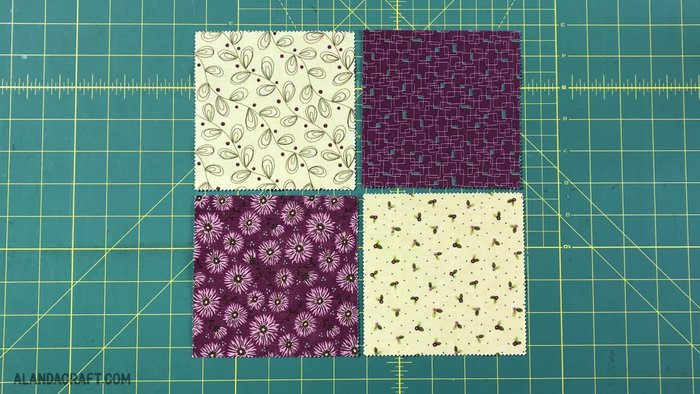
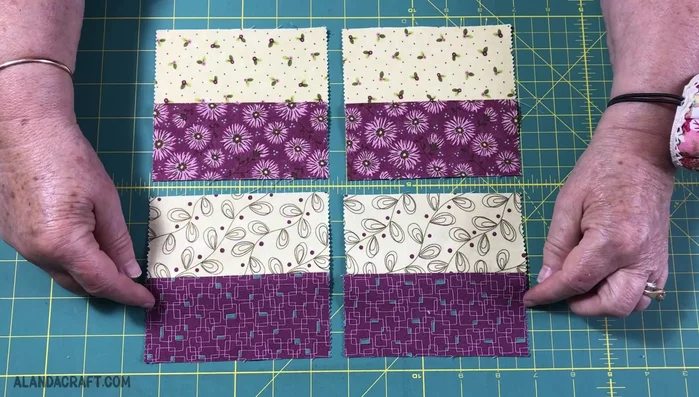
Prepare Squares
- two light, two dark. Arrange them diagonally.

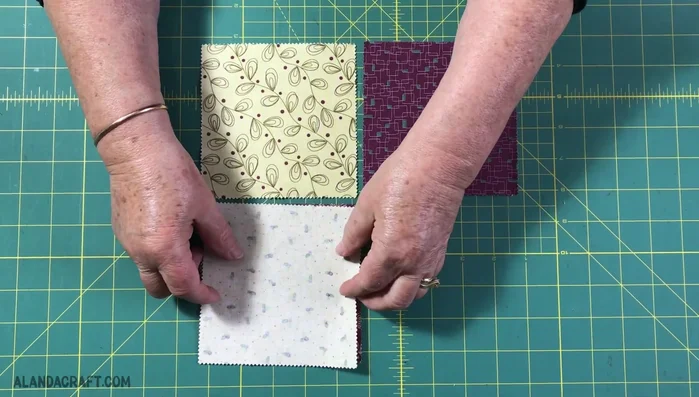
Prepare Squares First Seam
- Pair one light and one dark square, right sides together. Sew along one edge with a 1/4 inch seam. Repeat for the other pair. Chain piece to save time.
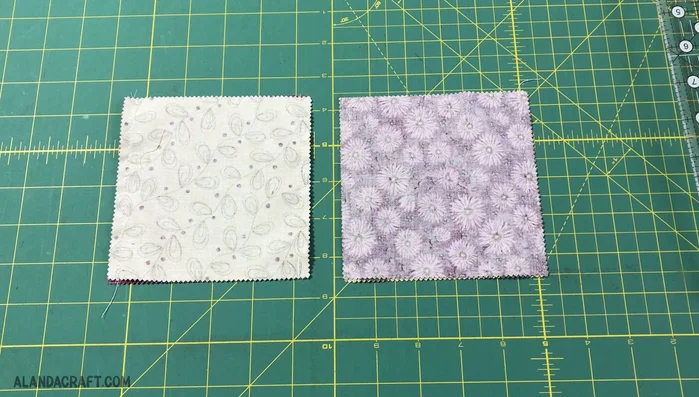
First Seam First Cut
- Lay the sewn pairs flat, seams vertical. Use your ruler to align the 2 1/2 inch mark with the center of each piece. Slice through the middle with your rotary cutter.
First Cut Press Seams
- Press seams towards the dark side of the fabric.
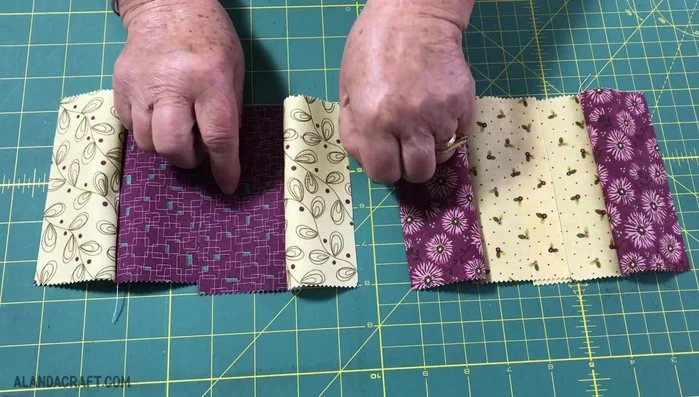
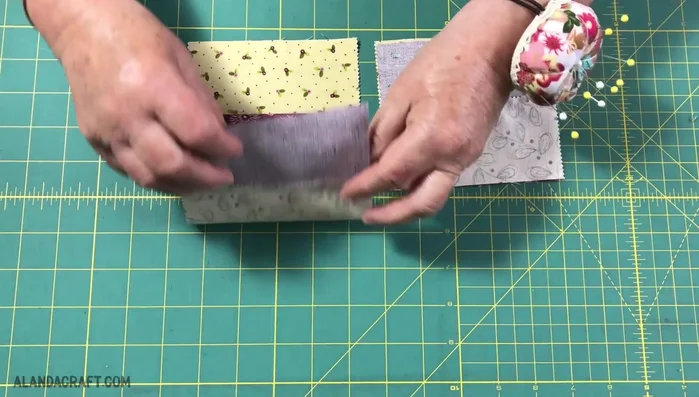
Press Seams Assemble Strips
- Lay the resulting four strips face up, matching light and dark colors. Overlap the pairs, ensuring light and dark colors align.
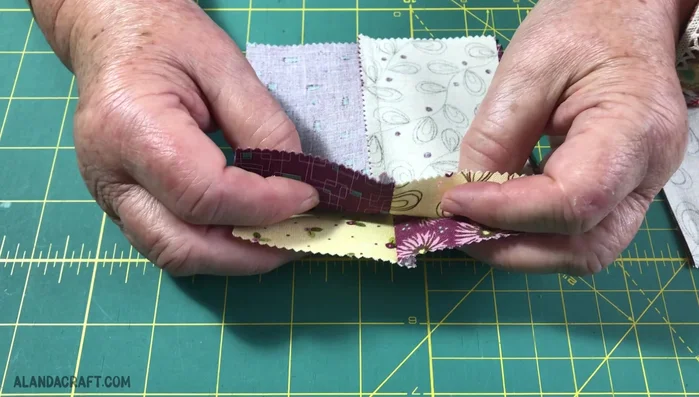
Assemble Strips Pin and Check
- Pin the pieces together, ensuring seams align. Check for accurate seam matching.
Pin and Check Second Seam
- Sew along the edges with a 1/4 inch seam, chain piecing if desired.
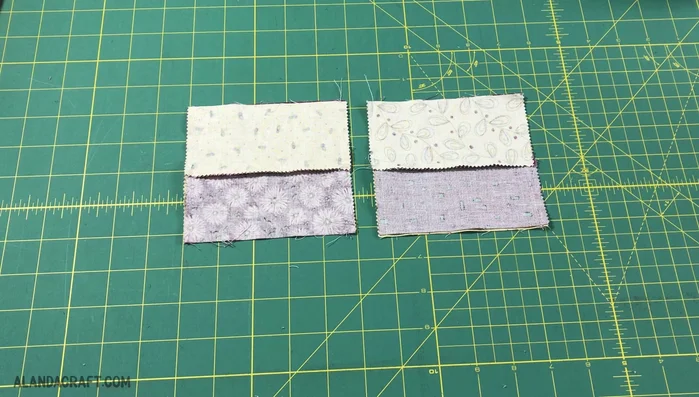
Second Seam Second Cut
- Lay the sewn pieces flat, seams horizontal. Align the 2 1/2 inch mark on your ruler with the center of each piece. Slice through the middle with your rotary cutter.
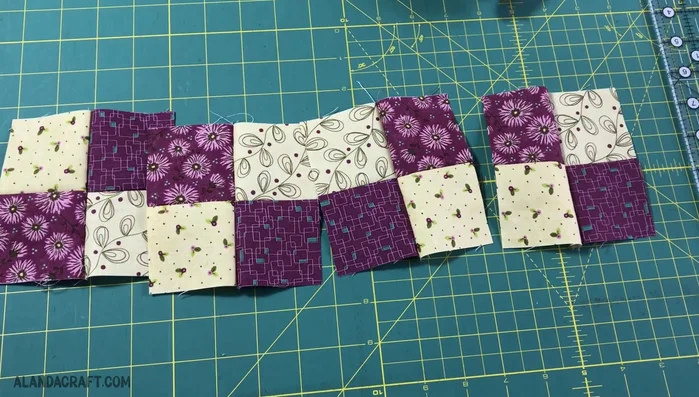
Second Cut Finished Blocks
- You now have four finished four-patch quilt blocks!
Finished Blocks
Read more: King Size Quilt Tutorial: Efficient Chain Piecing Method
Tips
- Chain piecing speeds up the sewing process.
- Pressing seams in a consistent direction is essential for accurate alignment.
- Always double-check seam alignment before sewing to prevent errors.