Foundation paper piecing (FPP) is a quilting technique that allows for incredibly precise and intricate designs, even for beginners. This method, utilizing pre-printed paper templates, guides you through the construction of complex blocks with surprisingly simple steps, eliminating the guesswork often associated with traditional patchwork. Forget worrying about wonky seams and mismatched points; FPP offers a reliable path to creating stunning, professional-looking quilt blocks. The meticulous nature of the process results in sharp, clean lines and perfectly matched seams, a rewarding experience for quilters of all skill levels.
This beginner's guide will walk you through each stage of foundation paper piecing, from choosing the right materials to finishing your perfectly constructed block. Ready to unlock the secrets of this precise quilting technique and create breathtaking quilt designs? Let's dive into the step-by-step process now, and discover how easy it is to achieve beautifully accurate results.
Preparation and Safety Guidelines
- Fabric scraps
- Printer
- Foundation paper or tissue paper
- Cardstock
- Rotary cutter
- Ruler
- Seam ripper
- Sewing machine
- Pins
- Iron
- Spray starch (optional)
- Use sharp needles and rotary cutters to ensure clean cuts and prevent fabric slippage, which can lead to inaccurate piecing.
- Always pre-wash and press your fabrics before starting to avoid shrinkage and ensure consistent results. Ironing seams open after sewing is crucial for accuracy.
- Pay close attention to your seam allowance. Consistent seam allowance is key to accurate foundation piecing. Use a seam allowance guide if needed.
Step-by-Step Instructions
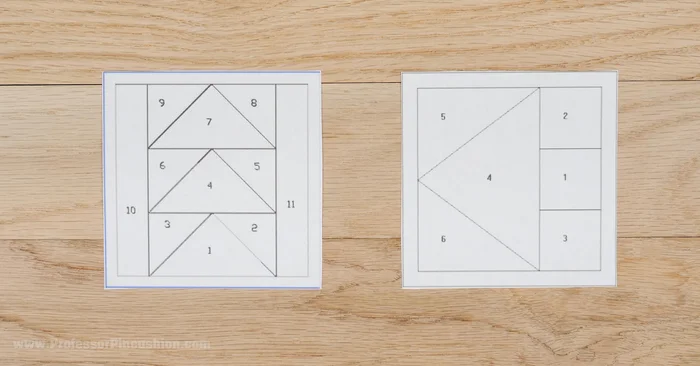
Prepare the Pattern
- Find and print a simple foundation piecing pattern. Ensure seam allowance is included or add it yourself.
- Print the required number of pattern copies. Plan your fabric selection.
- Crease the internal lines on your pattern using cardstock for easier sewing.

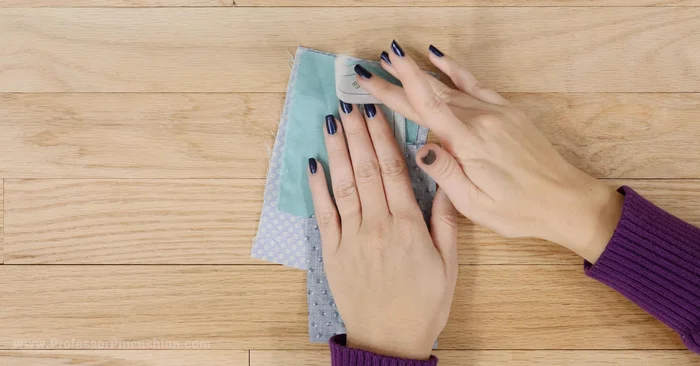
Prepare the Pattern Cut Fabric Pieces
- Cut fabric pieces larger than the pattern sections to avoid fabric being too small.
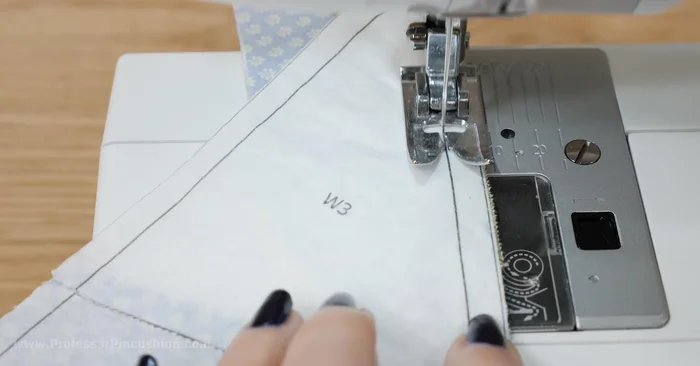
Piece the Fabric Sections
- Sew fabrics together following the pattern's order. Ensure right sides of fabric are together. Test placement to ensure proper coverage after pressing.
- Repeat steps 5 and 6 until the entire pattern is filled with fabric.
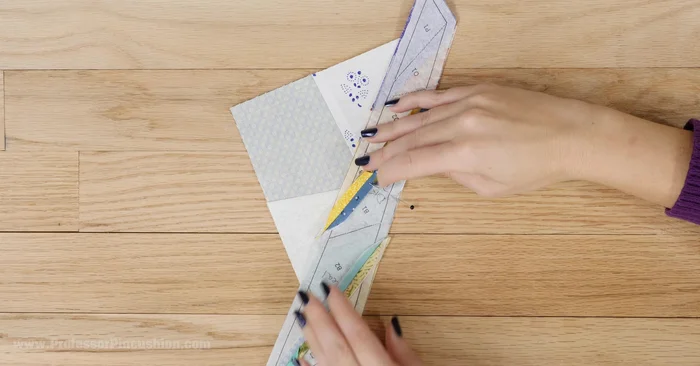
Piece the Fabric Sections Trim Seam Allowances
- After sewing each section, fold the pattern at the seam line, and trim the fabric to a 1/4 inch seam allowance past the folded edge.
Final Trimming and Finishing
- Trim the entire pattern, ensuring a 1/4 inch seam allowance around the edges. Use spray starch if fabric is difficult to handle.
- Remove the paper backing by carefully pulling or using tweezers. Spritzing with water can help.
Final Trimming and Finishing Assemble the Quilt Top
- Sew your completed blocks together to create your quilt top.
Assemble the Quilt Top


Read more: King Size Quilt Tutorial: Efficient Chain Piecing Method
Tips
- Cut fabric pieces larger than necessary initially to avoid issues with fabric being too small.
- Test fabric placement before sewing to ensure proper coverage after seams are pressed apart.
- Use spray starch to help with handling difficult fabrics during trimming.
- Spritzing the paper with water can help weaken it during removal.