Tired of bulky, expensive travel bags that take up precious space in your luggage? Do you dream of a lightweight, easily storable bag that's ready to deploy whenever you need it? Then get ready to unleash your inner crafter! This tutorial will guide you through creating your own personalized, foldable travel bag – a perfect project for beginner sewists and seasoned pros alike. Forget about paying exorbitant prices for flimsy travel accessories; with just a few simple materials and a little bit of time, you can craft a durable and stylish bag that meets your exact needs.
This DIY foldable travel bag is surprisingly easy to make, requiring minimal sewing skills and readily available supplies. The design is both functional and aesthetically pleasing, perfect for carrying everything from toiletries to souvenirs. We'll walk you through each step, from cutting the fabric to adding finishing touches, ensuring a flawless result. Ready to start sewing? Let's dive into the step-by-step process!
Preparation and Safety Guidelines
- Fabric (main, lining, rubber sheet)
- Zippers (3 x 10 inches, 1 x 34 inches, 1 x 57 inches)
- Handles (2 x 30 inches, 1 x 60 inches)
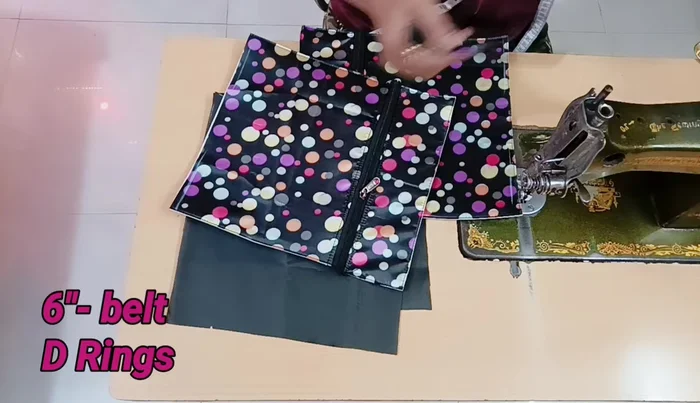
- Belt (1 x 6 inches)
- D-rings
- Detachable hooks
- Adjuster
- Sewing machine
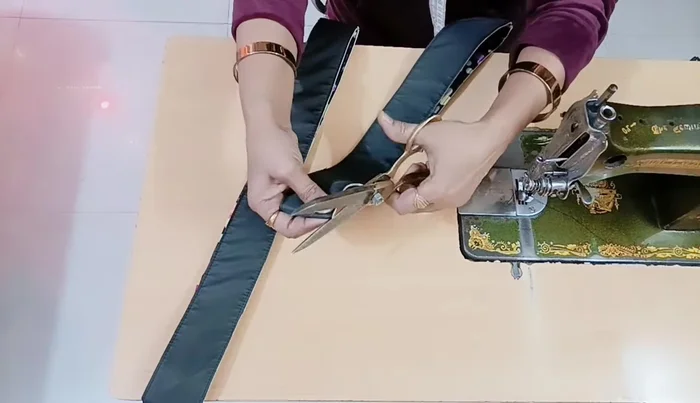
- Scissors
- Pins
- Measuring tape
- Iron
- Always use sharp sewing needles and pins to prevent fabric slippage and ensure clean stitches. Handle them with care to avoid injury.
- Before cutting fabric, double-check your measurements and pattern pieces to avoid wasting material. Pre-wash your fabric to prevent shrinkage after the bag is completed.
- When using a sewing machine, be mindful of your fingers and keep them away from the needle. Always unplug the machine before making any adjustments or cleaning.
Step-by-Step Instructions
Prepare Fabric and Components
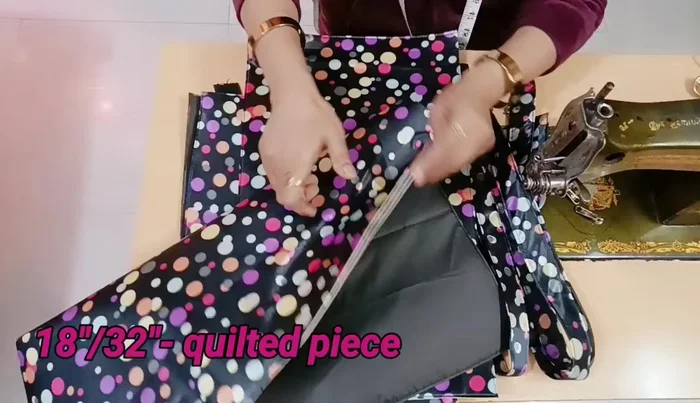
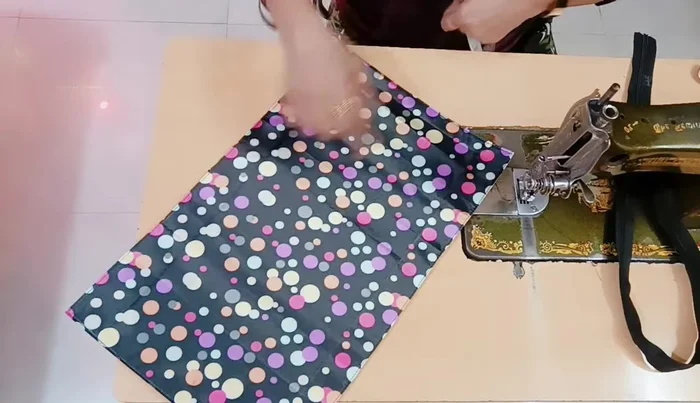
- Cut main fabric, rubber sheet, and lining according to specified dimensions (18x32 inches, 11x18 inches, etc.). Stitch them together at the sides.

Prepare Fabric and Components Attach Main Zippers
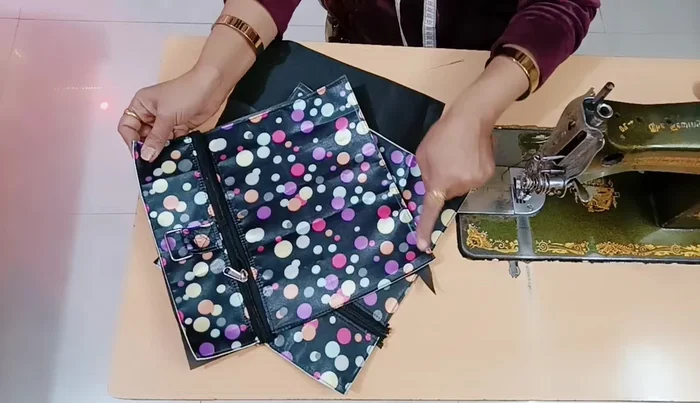
- Attach two 10-inch zippers to the 11x18 inch pieces.
Attach Main Zippers Create and Attach Bag Base
- Attach the 6-inch belt to the D-rings and sew this assembly onto the base fabric.
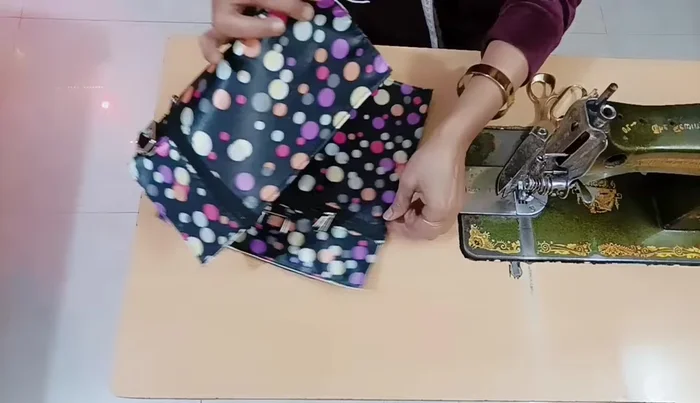
- Attach the 11x18 inch pieces, with the zippers attached, to the main fabric.
Create and Attach Bag Base Create and Attach Side Pockets
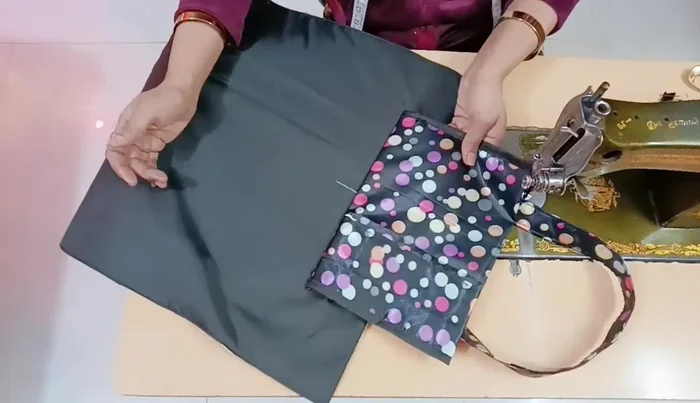
- Prepare the side pockets (two 10x15 inch pieces) by attaching 10-inch zippers. Attach the pockets to the main fabric.
Create and Attach Side Pockets Attach Main Zipper and Piping
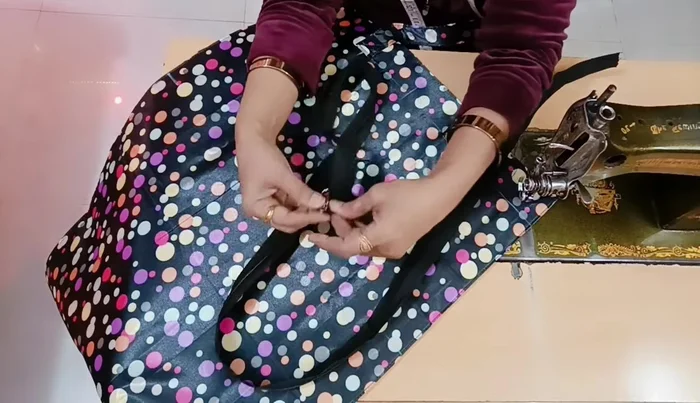
- Attach the long zipper (34 inches) and piping.
Attach Main Zipper and Piping Create and Attach Front Flap
- Attach 11x18 inch coated fabric and prepare the front flap with a 34-inch zipper.
Create and Attach Front Flap Attach Handles
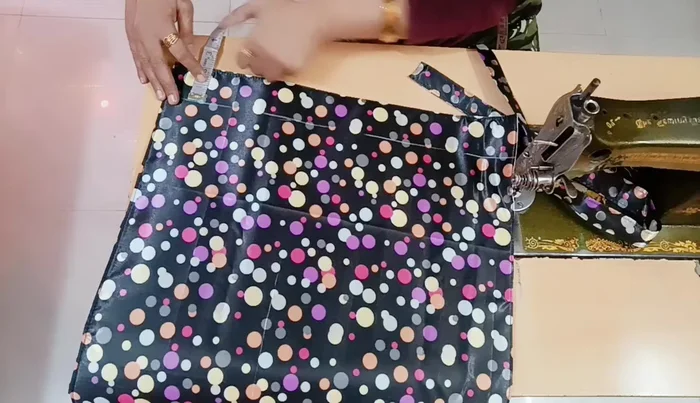
- Attach the 30-inch handles to the main fabric.
Attach Handles Attach Main Zipper and Shoulder Strap
- Attach the 57 inch zipper, attach the shoulder strap with D-rings and detachable hooks.
Attach Main Zipper and Shoulder Strap Attach Inside Pocket
- Create and attach an inside pocket to the bag.
Attach Inside Pocket Final Assembly and Finishing
- Attach the remaining handle, complete the final seams, and attach the shoulder strap.
Final Assembly and Finishing


Read more: DIY Quilted Makeup Pouch Tutorial: The Easiest and Fastest Method
Tips
- Ensure precise measurements for all fabric pieces to achieve a well-fitting bag.
- Use a consistent seam allowance throughout the process for a neat finish.
- Press seams open after stitching to create a flat, professional look.